Full guide to live streaming on Riverside
Multistream everywhere, pull chat in as lower thirds, brand the stream and repurpose it after.

Multistream everywhere, pull chat in as lower thirds, brand the stream and repurpose it after.
A complete guide to live streaming with Riverside, covering the destinations, the studio tools and what to do with the recording afterwards.
The video covers:
00:00 Riverside is your ultimate live stream toolkit. You can stream to multiple destinations at the same time. Bring all of the chats from Twitch, YouTube, and other platforms into your studio. Show those comments on screen as lower thirds, schedule your live streams, even with custom thumbnails and sync it to your YouTube channel.
00:16 Make your live streams visually engaging by sharing video and audio clips, share your screen and our new live stream layouts and brand tools means you can have your live stream look just how you like. In this video, I'm going to show you the entire process for setting up live streams in Riverside from scheduling streams to using our live stream layouts and making them visually engaging. I'll have chapters down here.
00:35 If you want to jump to a specific topic and those links are down in the video description as well. And when you're ready to try and sign up for free, just go to riverside.fm. All right, let's jump into it. Here I've logged into my Riverside account and this is my personal video podcast, but you'll see, you can create multiple studios in your Riverside account and even connect different destinations depending on the studio.
00:55 Now you can connect destinations like YouTube and Twitch. Once you're ready to record, but we can also do it using our studio settings here in the left-hand sidebar. I'm going to go down to settings and here you'll see a live stream option. Now we can log in with our Google account and connect our YouTube channel, Facebook page, LinkedIn profile, and more. By default, you can stream at 720p for free with watermark.
01:17 But if you'd like to stream at the full 1080p high definition and hide the Riverside watermark, you'll need to be on one of our standard or pro plans and upgrade to the live studio add-on. You also get some additional branding benefits with that upgrade, which I'll show you in a second. Connecting a destination like YouTube is as simple as clicking it.
01:33 You'd be prompted to log in with your Google account and then choose the YouTube channel where you want to live stream it continue. You'll see the list of channels here and just choose the one you want to connect. You'll get a confirmation that your YouTube channel is connected and you'll see it here. We can also connect things like our LinkedIn profile or Twitch.
01:49 Let's do that. And again, that's as easy as just logging in and now our Twitch account is connected as well. You can even live stream via custom RTMP using this. You could even live stream to Instagram to connect RTMP destinations like Instagram, log in on your desktop and in the left-hand sidebar go to create, then choose live video. You can add a title for this stream.
02:09 You could choose if you want this to be public or just practice. We'll choose practice for now, click next and now you'll get a stream URL and stream key, copy the stream URL and we'll paste that here over in Riverside and then get your stream key and paste that here.
02:23 That's how easy it is to set up an RTMP destination and you can even set up multiple. If you have custom streaming locations, or if you prefer to do your YouTube scheduled events via RTMP, you can do that as well. Now that I've connected three destinations, let's go into the studio to record. I'll go back to projects and back here on the main dashboard.
02:40 Let's go to record. Now here in the lobby, we'll choose our camera, microphone and speaker. This can be a webcam, built-in camera. If you have an iPhone and Mac, you can use continuity camera just by selecting your iPhone here. And you can even use mirrorless cameras in webcam mode with just a single USB cable.
02:56 If you want to learn more about using a mirrorless camera or dedicated webcam with Riverside, we have videos on that too. You can check one out right up here, choose your microphone and speaker whether or not you're using headphones.
03:06 And if you're streaming and recording just by yourself, not with remote guests, you can choose not to wear headphones and still choose I am not using headphones. Just make sure there's no volume coming out of your computer speakers. But if you are inviting remote guests, who can also be live streamed alongside you, then you'll want to wear headphones to cut down on the echo of your remote guest voice coming through your microphone. All right, let's click join studio. Here I am in the Riverside studio.
03:30 This is where you'll both live stream and record in high quality, which is one of the huge benefits of using Riverside for your streams. You also get high quality separate tracks, video and audio for you and your remote guests, which makes it easier to repurpose your live stream content later in vertical videos or short clips.
03:47 Now let's say I want to invite a remote guest to join me to record and live stream. I can go up to the invite tab here, and I can share this guest link when my remote guest clicks that link and loads it in their web browser, Google Chrome or edge or they can even open it in their iPhone app, iPad or Android using the Riverside app. And now my remote guest has joined me here in the studio, Mr. Manatee.
04:06 Now if I want to manage my live stream destinations or just check what I have connected, I can go up here to the live stream tools and I can see all the destinations I connected in my studio settings and I can still add more destinations right here before I record. You can log into your Facebook page, LinkedIn profile X, and again, add more custom RTMP destinations.
04:26 And even after you connect these destinations to Riverside, you can toggle them on or off right before you stream. So if today you just want to send it to your YouTube channel and Instagram, you can do that and enable Twitch when you're ready to stream there as well. These destinations stay connected to the single studio. And remember you can create additional studios where you have different platforms connected and live stream there.
04:46 You can also live stream using Riverside audience mode. You can enable this here and send this link. Riverside audience mode is perfect for webinars. You get many of the same tools as live streaming to social platforms, like lower thirds and showing comments on screen. But you can also do things like collect audience information and have people register for your webinar and do something called audience live call ins, where audience members can actually request to join via video and audio.
05:11 You get separate tracks, high quality recordings for them too. And then they can exit the studio when they're done. If you want to learn more about the audience live call in feature and all the webinar specific features Riverside has to offer, check out this video above. Finally, you can also click the gear icon here. And if you have the live studio add on part of your account, you can live stream it up to 1080p HD quality and remove the Riverside watermark.
05:32 Now you can go live right now just by clicking go live here at the bottom, but I want to adjust the branding for my studio, which will also be seen by my live stream viewers here on the right. You can also see the people tab. This shows you and any remote guests that are a part of the live stream. You'll see the audio going up and down.
05:48 That means we're getting their audio and you can also expand the menu under each participant to see what camera microphone and speaker they're using. This is helpful if your remote guest thinks they have a USB mic connected, but maybe they didn't select it when they joined in the lobby. Here you can double check before you start recording so they can switch that device underneath the people tab is the chat.
06:07 Not only can you chat privately with those in the studio with you recording streaming, your remote guests, but the live stream chat is where you'll see all the messages from platforms like Twitch and YouTube underneath that is the brand tab. And by default, if you're on our free plan or you don't have the live studio add on, you can choose the Riverside color scheme, or you also get the news flash color scheme.
06:27 This not only affects the color behind your video in the studio, but it also affects how your names and lower thirds will look here. You can choose the bold design, edgy, and others. I like going bold. If you upgrade to the live studio add on, you also get more options like prismatic. It's one of my favorites.
06:43 And you can also choose a custom brand color with a hex code to perfectly match your brand. You can also use a custom background image. If you'd like, let's stick with the prismatic and the bold style names. Speaking of the names, if you want to change those at any point while you're recording and streaming or before, just roll your mouse over the names down here, and you can add a title or change the name.
07:03 Mr. Manatee is our live stream expert, so we'll put that under his name and you can also change the size of the lower thirds. If you'd like to go large or medium, and you can go between the dark color scheme, lighter or using the highlighted color. Clicking more styles, it brings you back to the brand tab on the right. Underneath that is our text tool. These are lower thirds you can show while you're streaming.
07:22 You can build these out before you start live streaming or create a new one on the fly. Maybe I'm talking about the full webinar masterclass video. I mentioned I can save and show it on screen immediately. And it even has an automatic timer. So after five, 10, or 20 seconds, it can automatically disappear and then the name labels will reappear on our videos.
07:41 I can go in and click the three dots to edit this further and even customize it, changing the size of the lower third, choosing the color scheme, align left center or right and choose the auto timer or have the timer off. And I'll manually show and hide it. If you're using Riverside audience mode, you can even do clickable lower thirds like this one here.
08:00 And those watching on the Riverside audience platform can click this paper clip icon and visit the link that you have programmed. You can program those links by going to customize and then clicking the ad link on any lower third. Under that is the media board. Here you can load video and audio clips to play while you live stream and both you and your remote guests and anyone live streaming will see it.
08:20 I can show it live and we can change this layout in a moment. And this will also be recorded as a separate video and audio track, which I'll show you in the dashboard later. Finally, the last tool in the right hand sidebar is live stream layouts.
08:32 This is a powerful tool where you can focus on either the active speaker, show the grid view, like you're seeing now or adjust whether or not the video fills the frame or fits the frame. For instance, right now we're in the grid view, but I can choose speaker full screen and now it will switch between the active speaker, depending on who's talking. You can also choose speaker split screen.
08:50 So the active speaker is large here and the other members are down underneath. You can also choose to fill or fit the frame. If you choose fit, your full 16 by nine video will be shown at all times. Even if we go back into the grid view, you'll see the full 16 by nine video is shown for all the guests go back to fill and you'll see it zooms in on each video.
09:09 You can also switch between these live stream layouts using keyboard shortcuts. You'll see the keyboard shortcuts here. They're a little different if you're on windows or Mac, but here on a Mac it's option and one, two, three. So I can do option two and focus on the live active speaker option three, active speaker with picture in picture and option one back to the grid view. This allows you to quickly switch between all the different views.
09:30 This is also true of video clips or screen shares. I can choose to just focus on the video when it's playing, show a small picture in picture or the grid view, which will put us off to the side for any media or screen shares. Now let's say you want someone large on screen, whether or not they're speaking. Maybe it's an interview guest.
09:46 Well you can roll over the videos here and you'll see a little pin icon. Clicking the pin will actually make their video large no matter what, regardless of who's speaking. You can unpin someone by checking unpin. And if you'd like to reorder the grid and who appears first, you can actually roll your mouse to the top, click and drag these six dots to the left or right.
10:04 And that will reorder the guests. And last feature before we go live, if you go back to the people tab, maybe there's a special guest you only want to appear when you announce them. When you roll over that person, you'll see this hide option. Here you can actually hide a remote guest and they'll be sent backstage. They are not recorded video or audio when they're backstage. So you can let your guests know that.
10:24 Then when you're ready to announce them and bring them to the forefront, click the show button. And now they'll be brought forward. Another being recorded and live streamed with you. And to make your live stream more visually engaging, you can share your screen down here. That includes sharing a tab of your browser, an entire window. Maybe you have an application and the entire screen.
10:42 If you have a secondary display connected to your computer, you can share that. This is great for tutorials or showing how tos while you're streaming. We even have a place to add a script or bullet points by clicking script down here. You'll see a box drop down and you can just type here, have some notes or a literal verbatim script.
10:58 And you can even go into teleprompter mode, which focuses on the text, dims the video behind you. And then you can actually play and it will auto scroll, allowing you to read it like a teleprompter. You're still being recorded in high quality and live streamed. To hide it. I'll click script again at the bottom. And I think we're ready to go live. I'll click go live here at the bottom.
11:17 We'll get our five second countdown and now we're being recorded and live streamed in high quality. Both me and my guests, our separate video and audio files are being saved and I can access them later and I'm being streamed to all the platforms I had connected before. If I want to preview the live stream on one of those destinations like Twitch, I'll go up to the live record button here. You'll see all the destinations that are currently active.
11:39 And I can click the Twitch link here and it will load that live stream over in Twitch. And you'll see me and my remote guests are here in Twitch. And if someone sends us a message like down here, I'll actually get notified here in the Riverside studio because of our Omni chat feature. If I go over to the chat tab on the right and then to live stream chat, I can see the comments that are coming in from every platform I'm streaming to. You'll even have the platform name here, which is nice to call out to let your viewers know that you're actively seeing their comments. I can even show this on screen while we're live streaming.
12:09 I'll click show on stream and you'll see the person's icon, the platform they're on and their comment shows up as a lower third. And this is being live streamed to your entire audience. And then if you want to send a message to all those destinations like YouTube, Twitch and LinkedIn, I can type a message here and I just have to send that message once. And you'll see the message I just sent is here in Twitch as well.
12:28 As people join your live stream, you also get a count of your audience members up here. See there's one watching on Twitch and you can quickly copy and paste these links to post on social media to promote your live stream. Then during the live stream, we can go to our media board play those video files and these video files will be broadcast to those destinations.
12:45 Here we are on Twitch and you'll see the video playing again, making an engaging live stream either by sharing video and audio. Maybe you'd like to share your desktop for a tutorial and you'll see that's being shown on your live stream destinations as well. Now if you see the quality of you or any remote guests dropping while you're live streaming, it might be due to bandwidth constraints. Now Riverside is a feature that will help alleviate this.
13:05 Go to the studio settings by clicking the gear icon here, go to all settings, go down to advanced. And here you'll see hosts and producers can pause uploads, toggle this on and then whoever stream seems to be lowering in quality, go over to the people tab. You can expand their menu here and then pause their upload.
13:24 When you do that Riverside is still recording their video and audio in high quality, but it's not being uploaded in real time. Once the stream ends and you press stop recording and streaming, then their video and audio will be uploaded. So you're not losing anything, but it will help the quality be a little better while you're streaming. You can do that for everyone or just one individual guests.
13:44 All right, let's say we're done live streaming. I'll click stop here at the bottom. That will stop the live stream on all the destinations, including YouTube and Twitch and those separate video and audio files I talked about are actually being uploaded right now. You'll see the progress here. If you pause someone's upload during the stream, there's might take a little longer to upload.
14:01 So be sure to watch it here and let them know just to keep their tab open and computer on while it's uploading. Now we can jump into the Riverside editor and use AI tools like magic clips to repurpose our live stream. But before that, I want to show you how you can schedule a live event in YouTube with a custom thumbnail, all from the Riverside dashboard.
14:19 Here we are back in our Riverside studio and rather than go to record, let's choose plan. And here we can schedule a live stream by clicking schedule session. We'll title this session here. And remember this will actually sync to your YouTube event. Let's choose a date and time. Make sure your time zone is correct here.
14:35 If you're going to have remote guests joining you, you can type in their email addresses here and they'll receive an email with all the information they need to join the live stream. Then down under live stream destinations, I can toggle this on and you'll see our YouTube channel is connected right here.
14:49 I can toggle the YouTube channel on, I'll upload an image and this image will also carry over to our YouTube studio. You can choose whether or not this stream is public or private. And if you'd like, you can add other destinations that will have scheduled events like Facebook and LinkedIn. Let's click create session.
15:05 And that's all we need to do to have this event scheduled on our YouTube channel. This window will pop up and you can add the event to your Google calendar here or copy the link directly to the live stream event and then share it in your newsletter or on social media. Now, if we go to our YouTube studio, I'll go to content and then choose the live tab. And here's the live stream event that we just scheduled in Riverside.
15:25 I can jump into the details. And if I want to add more to the description, add it to a playlist or maybe add some tags, I can do all of that here in my YouTube studio and it will stay connected to my Riverside session. If you want this to be a public stream, you can change that here in YouTube as well.
15:39 Now, once all the files are uploaded and processed, then the real magic happens with Riverside's editing tools. I'll jump into a previous recording and the first thing you might want to do, if you want to create a polished version of your live stream, click generate on our full episode generator. You can even adjust settings like what aspect ratio you want.
15:56 If you want smart scenes to focus on the active speaker, apply your brand and even remove silences based on your set pace settings. I'll explain more on that in a second. And you can create a polished version of your recording in seconds. And you can also generate magic clips. And this will find engaging moments of your live stream and create those vertical videos automatically.
16:13 You'll see I've generated a bunch of magic clips from my long form recording. I can jump in and edit this further, but you'll see it applied animated captions, my branding, me and my cohost are already laid out in a vertical clip. And this is pretty much ready to go. If I want, I can change the aspect ratio quickly here by going to a one by one square, or you can go to the 16 by nine widescreen.
16:32 You can also adjust the animated caption style by clicking captions here. We have lots of presets, but even after you choose a preset, you can select a different font, choose the style, whether it's background or outline, change the size of the animated captions, whether you want one, two or more lines. And you can even choose how the active word is highlighted with several animation effects. And now we have engaging animated captions on our clip.
16:54 Then you can go over to export, export up to 4k video quality and quickly create multiple clips to share on social media. We can also jump into the full episode generator that we did earlier. And as a part of that full episode generator, it also applied our smart scenes. You can also do that manually in the editor by going to our layout tools and then smart scenes.
17:12 What that does is it will focus on the active speaker and they'll go back and forth between them and you and any other cohost and guests automatically. It's like a multicam editor with one click all in Riverside. We also have lots of other AI tools under our AI producer. Setting pace removes the perfect amount of silence.
17:30 You can go for a balanced approach good for long form things like podcasts or go to super fast and we'll even tell you how many pauses and how much time is saved when you apply this super fast is good for short form video like YouTube shorts, smooth speech can remove all filler words and unwanted sounds, cleaning up your entire hours long live stream in seconds.
17:49 Magic mute will mute a guest track when they're not speaking, which helps cut down on background noise. And you can also apply magic audio to all or individual tracks. If I go here to the tracks tool, I can adjust the volume of individual tracks, but magic audio will also remove background noise and make any microphone sound studio quality.
18:07 Let me show you an example of what it sounds like to use the built in iPhone microphone in a noisy environment and then what it sounds like using magic audio. So here we are outside, lots of background noise. There's a waterfall going here. My pool pump is in the background, but when I turn on magic audio, all that background noise is going to be cut out.
18:23 And again, it's going to be focusing on my voice and applying things behind the scenes to make it sound studio quality. Go down to the brand tool and you can apply a logo, background color and more, and then apply this every time you jump into the Riverside editor. You can also add background music, even multiple tracks in a single edit, adding a piece of background audio.
18:43 I can then drag it to the beginning like an intro, click the three dots and then adjust the volume and fade in and fade out of that background music. Also, if you have slides or other overlays you'd like to use, you can go to our uploads tab, upload an image file or even a custom audio file to use as background audio. And overlay that here in your edit.
19:02 If you need to jump in and record something quickly, you can do that with our record tool and you can even search for royalty free images and overlay stock imagery throughout your recording to make it even more visually engaging. You can also use our text overlay tool to add chapters, names, lower thirds and more throughout your clip.
19:18 Then when you're ready to export your long form video, you can go up to export up to 4k quality. Or if you'd like to make this a podcast and upload it to your RSS feed, go over to audio and you can export an MP3 of the same edit. Then all your exported clips, full lengths, vertical shorts and more are all saved here in your Riverside studio.
19:36 So you can download them and share however you'd like. And lastly, if you go to the show notes or recording files page, Riverside actually provides AI generated show notes. And here we give you keywords perfect for putting in your YouTube video, a summary, takeaways, titles, and even chapter markers throughout your live stream.
19:53 So if you're recorded for three plus hours, this will really help you organize and even automatically add chapters when you upload to YouTube. And if you want, you can download those separate video and audio tracks down here for you, every guest and every screen share and media board file you showed. And that's everything you need to live stream and record with Riverside.
20:12 If you have any questions, leave comments below this video. I'll answer you personally. And don't forget to subscribe to the Riverside channel and hit that like button. We recently had a video about the best streaming microphone. If you're looking to upgrade your gear and I'll link that video right up here. And if you'd like to learn more about using Riverside specifically for webinars and collecting audience info and more, check out this video right up here. Thanks for watching. We can't wait to see what you live stream.
More videos you might like
A full product tour: studio and recording, AI assets, editing, then hosting, newsletters and social.
A complete editor tour: transcript and timeline editing, AI tools, layouts, scenes and exporting.
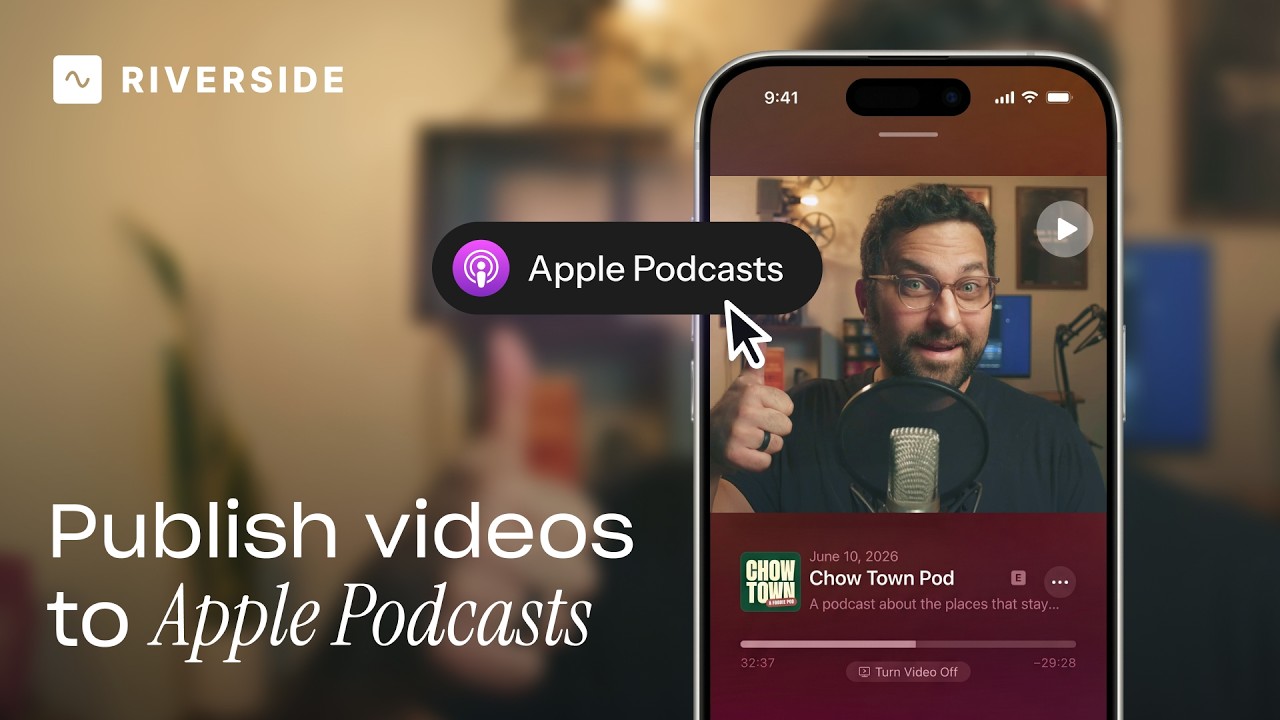
Publish video to Apple Podcasts so your audience can switch between listening and watching easily.
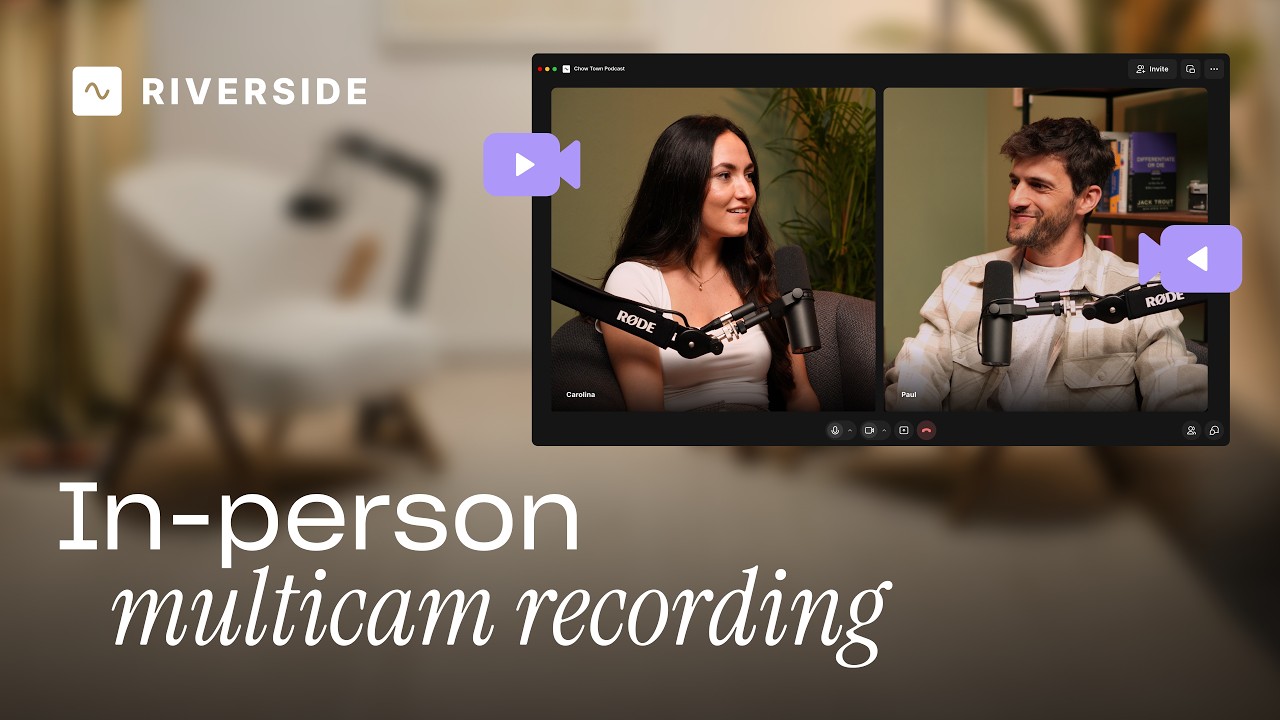
Add multiple in-person guests with their own camera and mic from one computer, as synced tracks.


.avif)
.avif)
.avif)
Got a process that works for you? Get featured by submitting your step-by-step flow. Help other creators save time, learn new tricks and improve their productions.


.avif)