.webp)


Key takeaways:
- To stream to Kick via desktop, you’ll need additional software like OBS or Riverside; or, you can stream from mobile using the Kick - Go Live app.
- Choose OBS Studio if you need free, highly customizable software for gaming streams, but be prepared to manually configure everything on your own.
- Riverside is a more intuitive option that makes it easy to stream and record in high quality, then edit and repurpose without leaving your dashboard.
- Use the Kick - Go Live app for quick mobile streams, but the Riverside mobile app is a better choice when you need higher-quality recordings and reusable content.
Want to stream on Kick but aren’t sure where to begin?
Most creators start with OBS Studio because it’s free and open source, but setting up your first broadcast can feel technical. You can also stream to Kick from a mobile device or use Riverside if you want a simpler, browser-based experience.
Whatever your preferred method is, this guide will show you how to stream on Kick (from desktop or mobile) using the best tools available.
What you need to start streaming on Kick
Here’s a quick checklist of everything you’ll need for your first successful Kick stream:
- Kick account and stream key: Sign up at Kick.com and find your stream key in the Creator Dashboard.
- Stable upload connection: For a consistent 1080p stream, verify that your upload speed is at least 12 Mbps. Kick supports a maximum bitrate of up to 8,000 Kbps.
- Ethernet connection: A wired connection is usually more stable than Wi-Fi and helps reduce lag and dropped frames.
- Capable hardware: Use a desktop or laptop that can handle streaming software without overheating.
- Streaming software: You’ll need OBS, Riverside, or another RTMP-compatible streaming tool to send your broadcast to Kick.
- External microphone: A good USB or XLR microphone helps ensure clear, crisp audio.
- Webcam or phone camera: While optional for your first stream, this is important if you want your audience to connect with you visually.
- Quiet environment: Choose a space with minimal background noise to keep the focus on your voice.
How to stream on Kick using OBS
Best for: Gamers, advanced creators, and streamers who need custom overlays or complex scene switching.
OBS Studio is the most common free desktop setup for streaming on Kick. It gives you full control over your broadcast, including scenes, sources, audio, overlays, and encoder settings. However, it’s very technical and requires more manual configuration than browser-based tools, making it overkill for simpler streaming sessions.
Here’s a step-by-step overview of how to set up a stream on Kick with OBS:
Step 1: Download OBS Studio
Select the appropriate version of OBS Studio (from the official OBS website) and download and install it. OBS supports Windows, macOS, and Linux.

Step 2: Find your Kick stream key
Log in to your Kick account, click on your avatar icon on the upper-right corner of the screen, and open your Creator Dashboard.
Select “Stream URL & Key” in the left-hand sidebar, then copy the “Stream URL” and the “Stream Key.”

Note: Do not show your stream key and URL to strangers on the internet! Malicious actors can easily use them to hijack your stream.
Step 3: Connect OBS to Kick
Open OBS and click “Settings” in the bottom-right corner.
Go to the “Stream” tab and set the “Service” to “Custom.” Paste the Stream URL into the “Server” box and paste your Stream Key into the “Stream Key” box, then click “Apply.”

Step 4: Set your video resolution
Next, open the “Video” tab and select your video resolution. The “Base (Canvas) Resolution” is your monitor resolution, while the “Output (Scaled) Resolution” is your streaming resolution. Make sure these values match.
We suggest you set your resolution to 1920 x 1080 if your connection speed can handle 1080p video quality. You can also opt for 1280 x 720 if your connection is slower and you prefer a less laggy 720p resolution.
Then set your “Common FPS Values” to 60 for fast-paced games, or 30 for Just Chatting or commenting videos.

Step 5: Designate your OBS output settings
From the “Output” tab, make sure the “Output Mode” is set to “Advanced” to access all the options.
Start by picking your “Rescale Output” and set it to:
- NVIDIA NVENC H.264 for NVIDIA GPUs.
- AMD HW H.264 for AMD GPUs.
- x264 for Mac or CPU-based setups.
Make sure your “Rate Control” is set to “CBR” (Constant Bitrate) since Kick does not support VBR.
A strict requirement for stable Kick streams is setting “Keyframe interval” to “2 seconds”.
Lastly, set your “Bitrate” to the highest value that your connection can handle. Ideally, it should be 6,000 or 8,000 for very fast connections, but you can lower it to 4,500 if your connection is slower.

Here’s a brief recap of how your video and output settings should look:
Step 6: Add your audio and video sources
In the “Sources” box at the bottom of the screen, click the “+” button and add the sources you need.
Common sources include:
- “Video Capture Device” for your webcam.
- “Game Capture” for gameplay.
- “Display Capture” for your full screen.
- “Window Capture” for one specific app.
- “Audio Input Capture” for your microphone.
- “Image” for overlays and static backgrounds.
Set up each scene separately. So, if you have multiple gameplay sessions or different backgrounds, you should create a new scene for each of them.

Note: You need to switch the layers so your webcam source is on top of the others, then resize it and move it to a corner. Otherwise, your gameplay or static background will cover your camera footage.
Step 7: Start streaming
Click “Start Streaming.” After a few seconds, check your Kick Creator Dashboard to verify that your stream is live.
Click on “Stop Streaming” once your session is over. Kick will show your channel’s offline banner, and your video on-demand (VOD) will save to your channel page.
How to stream on Kick using Riverside
Best for: Creators, interviews, and podcasts; mobile and desktop streaming.
If you don’t want to deal with the technical complexities of setting up a Kick stream inside OBS, Riverside is a much easier option.
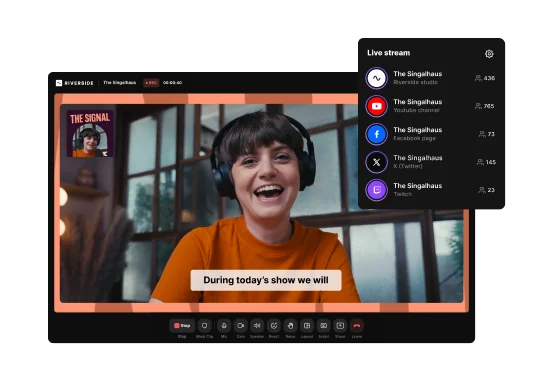
Instead of manually managing every scene, source, plugin, and output, you can create a studio, invite guests, and stream to Kick in just a few clicks. Riverside records separate tracks locally in high quality and even provides you with the tools to edit them in minutes.
Here’s how to set up a stream on Kick using Riverside:
Step 1: Create a new studio
Sign up or log into your Riverside account. You don’t need to download or install anything since Riverside runs in your browser.
From your dashboard, click “Go live” to enter the lobby and check your streaming equipment. Once you’re ready, click “Join studio.”

Step 2: Find your Kick stream key
Log in to your Kick account, click on your avatar icon on the upper-right corner of the screen, and open your Creator Dashboard.
Select “Stream URL & Key” in the left-hand sidebar, then copy the “Stream URL” and the “Stream Key.”
Note: Do not show your stream key and URL to strangers on the internet! Malicious actors can easily use them to hijack your stream.
Step 3: Connect Riverside to Kick
Inside your studio, click on the “+” button at the top of the screen.
Make sure the “Live stream to social” toggle is turned on, then click on the “+ (Add others)” button next to the social platform logos.
Select “Custom RTMP,” then choose a name for your session and paste your Kick’s stream key and URL.

Step 4: Customize your studio
Customizing your studio on Riverside is much easier than OBS. Click on the “Brand” button on the right-hand sidebar to add your custom overlays, background, and logos, and choose your studio’s colors.

Pro tip: On Riverside, you can save your branding options as presets and apply them to your lower thirds as well.
You can also select your layouts by choosing from our presets. Click on “Layouts” in the bottom bar, then pick the one you prefer (e.g., picture-in-picture, side-by-side).

Step 5: Invite your guests
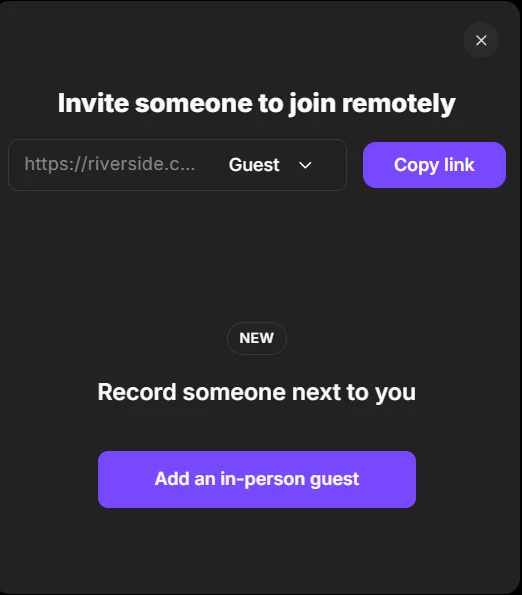
On Riverside, you can invite up to 9 remote guests to stream with you. Each of their audio and video tracks will record separately for maximum flexibility during editing.
To invite your guests, just click on the “Copy link” button to share your invite link.
Step 6: Go live
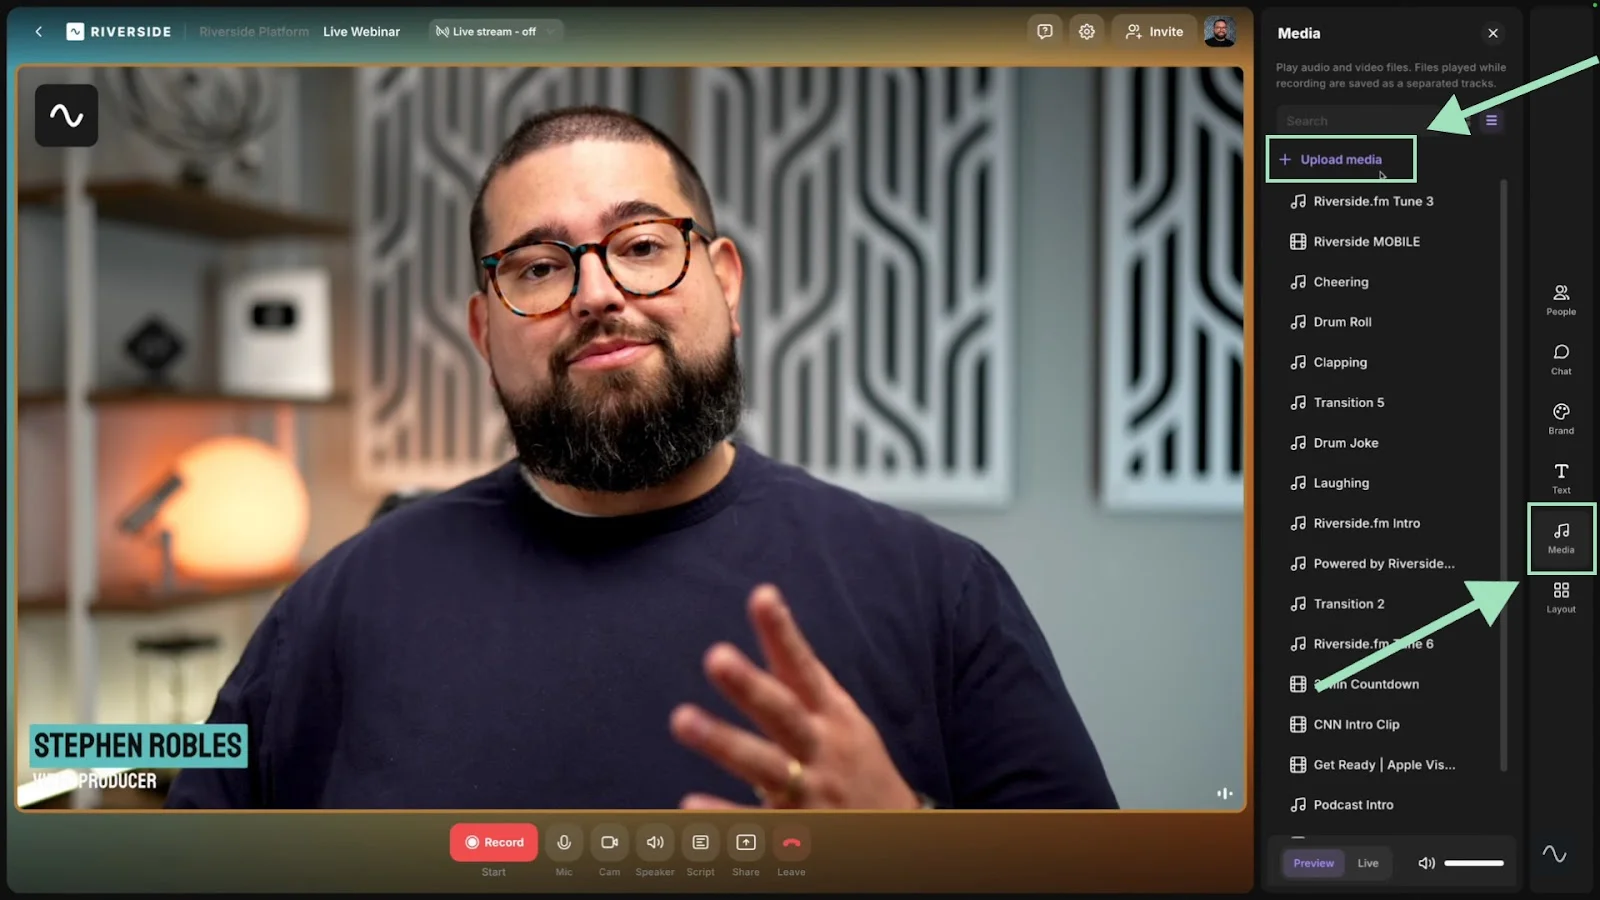
Once you’re ready, click the “Go Live” button to start streaming. You can use the live soundboard by clicking on the “Media” tab to add live background music or sound effects.
You can also:
- Multistream to other social media platforms and custom destinations simultaneously.
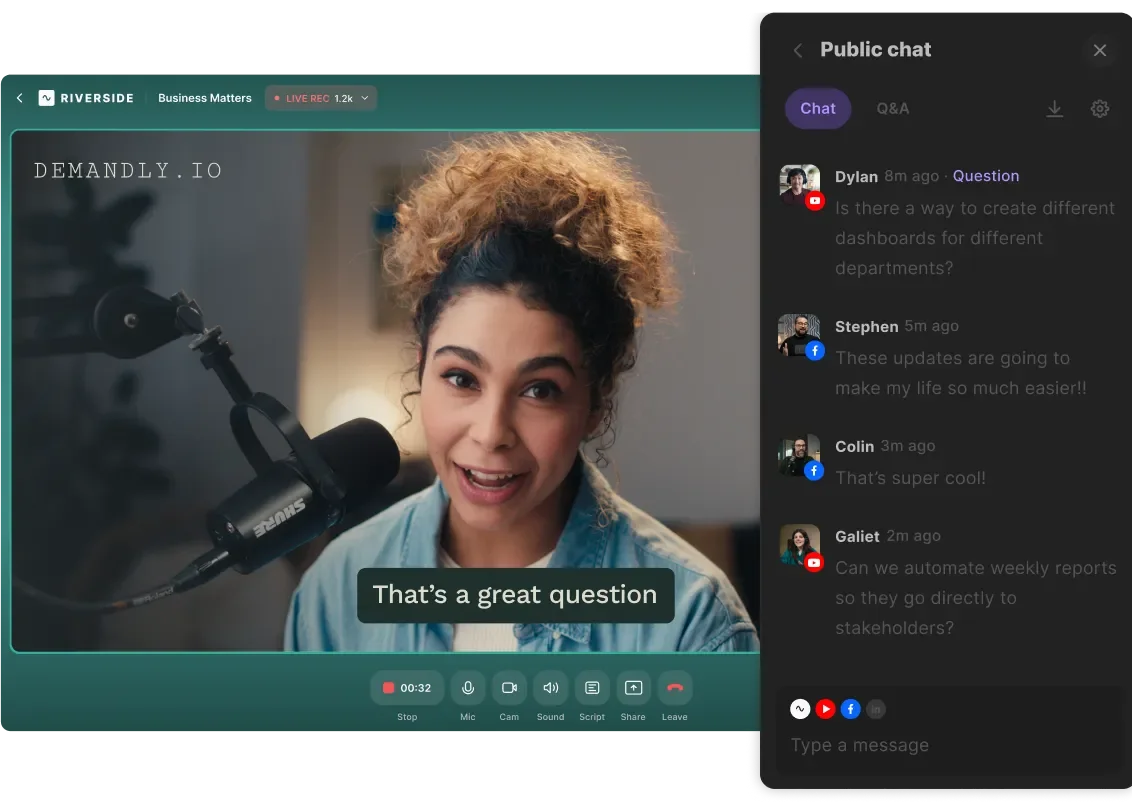
- Chat with all your audiences in one place with the unified Omnichat.
- Engage viewers with interactive elements like polls and Q&As.
- Invite a producer to help you from behind the scenes.
- Invite your attendees on stage with live call-ins.
Step 7: Edit and repurpose your recording
After your live stream is over, you can edit your recording in minutes with Riverside’s AI editor.
With the text-based editor, you can make changes to the automatically-generated transcript like a document. There are even options to cut and trim your video, add captions, and enhance audio with a click.
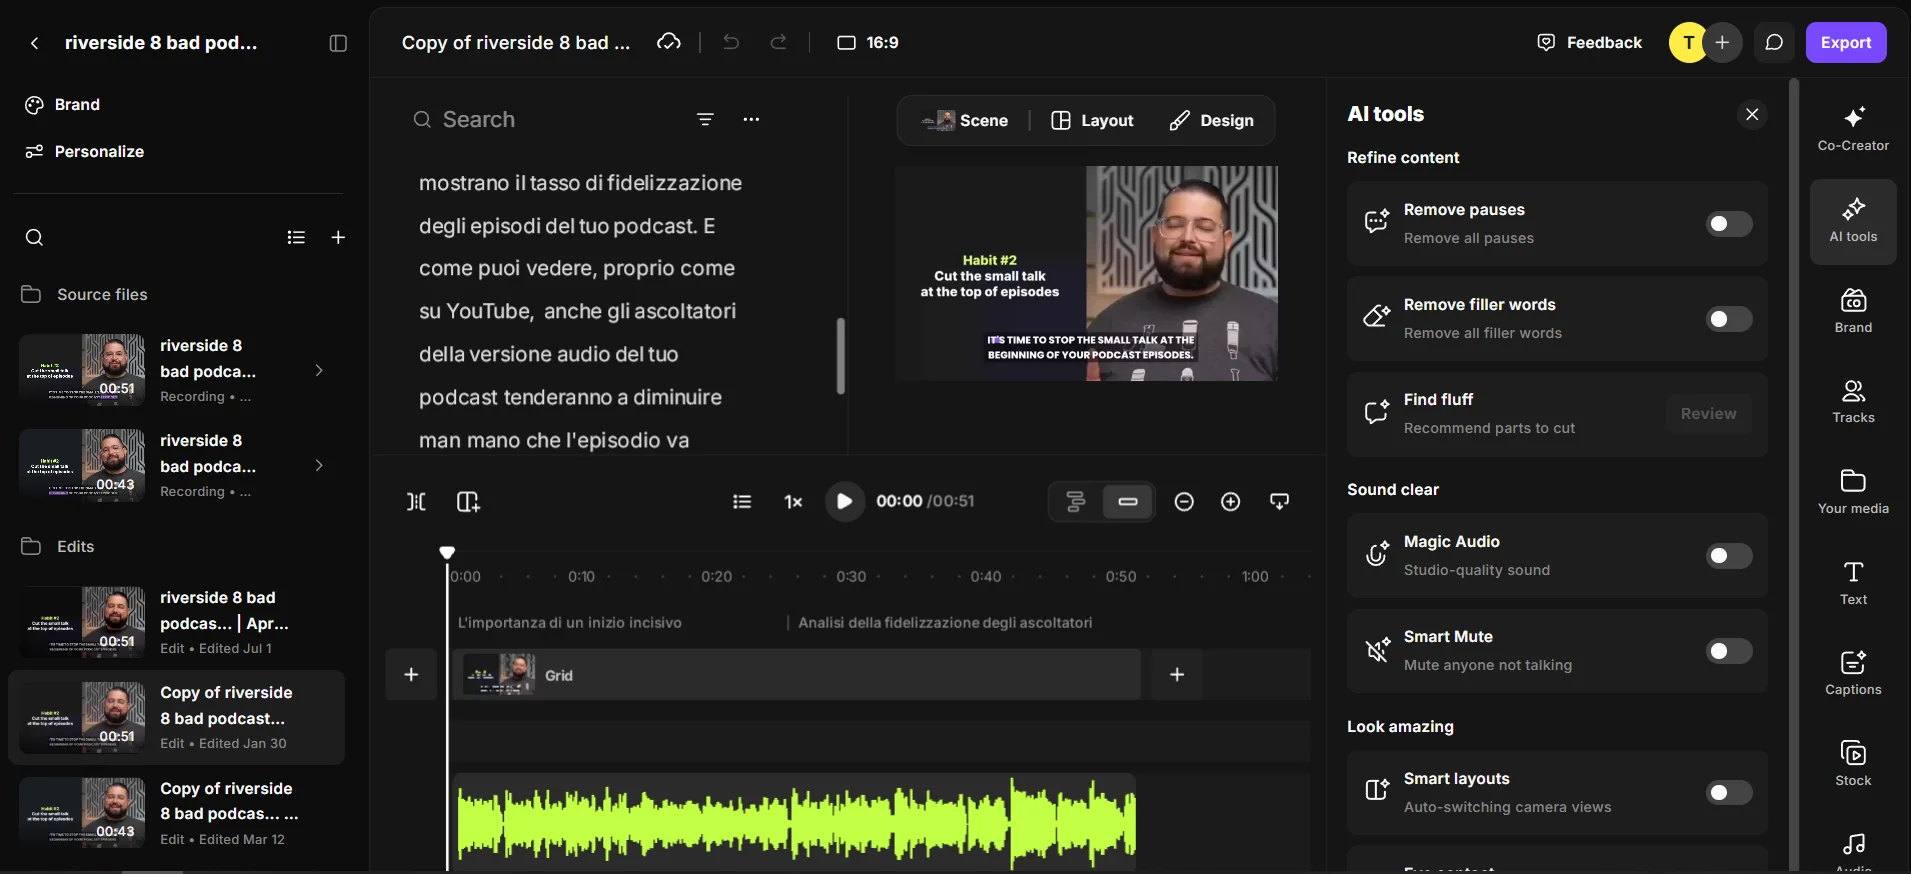
You can also repurpose your content by chatting with our AI assistant, Co-Creator. Just click the “Co-Creator” button and select the type of content you want to generate. You can turn your recording into short clips, social posts, blog articles, newsletters, and more.

Read more: Check our full guide (with expert tips) on how to live stream.
How to stream on Kick via mobile (iPhone and Android)
Streaming from your phone is a convenient way to share IRL (In Real Life) content or quick updates with your community.
While handy, the Kick - Go Live app only saves a basic VOD recording of your stream. It does not provide high-quality source files, which can make it difficult to repurpose your content later.
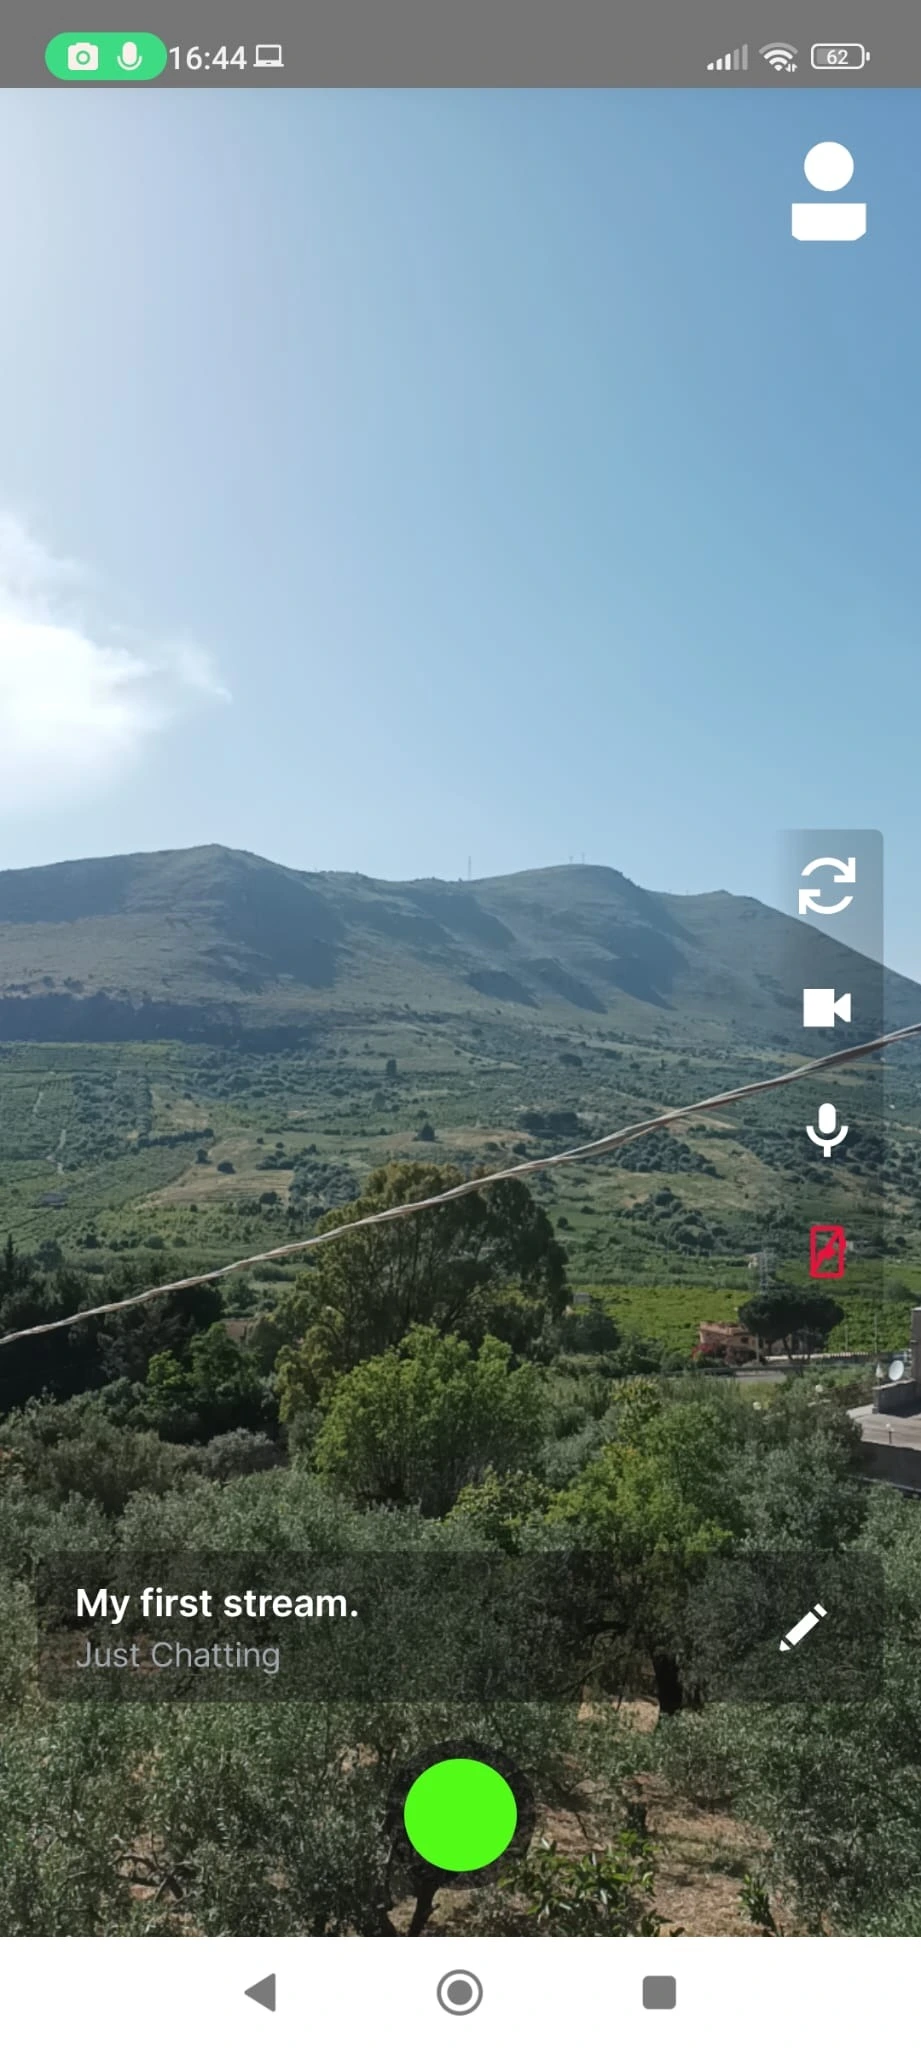
Here’s how to stream on Kick from the Kick - Go Live app:
Step 1: Download and log into the Kick - Go Live app
Go to the App Store or Google Play and download Kick - Go Live. Note that this app is built for creators who want to stream from mobile, and is not the regular Kick app for watching livestreams.
Log in using your Kick account credentials.
Step 2: Add your stream details
Tap the pencil icon to set up your stream info.
You can designate:
- Stream title
- Category
- Relevant tags
- Language of your session
- Video resolution
- Audio volume
- Whether you’re streaming mature content

Step 3: Go live
Grant the app permission to access your camera and microphone, then tap the green button to start streaming.
Tap it again to end the session.
Using the Riverside app for professional mobile streaming
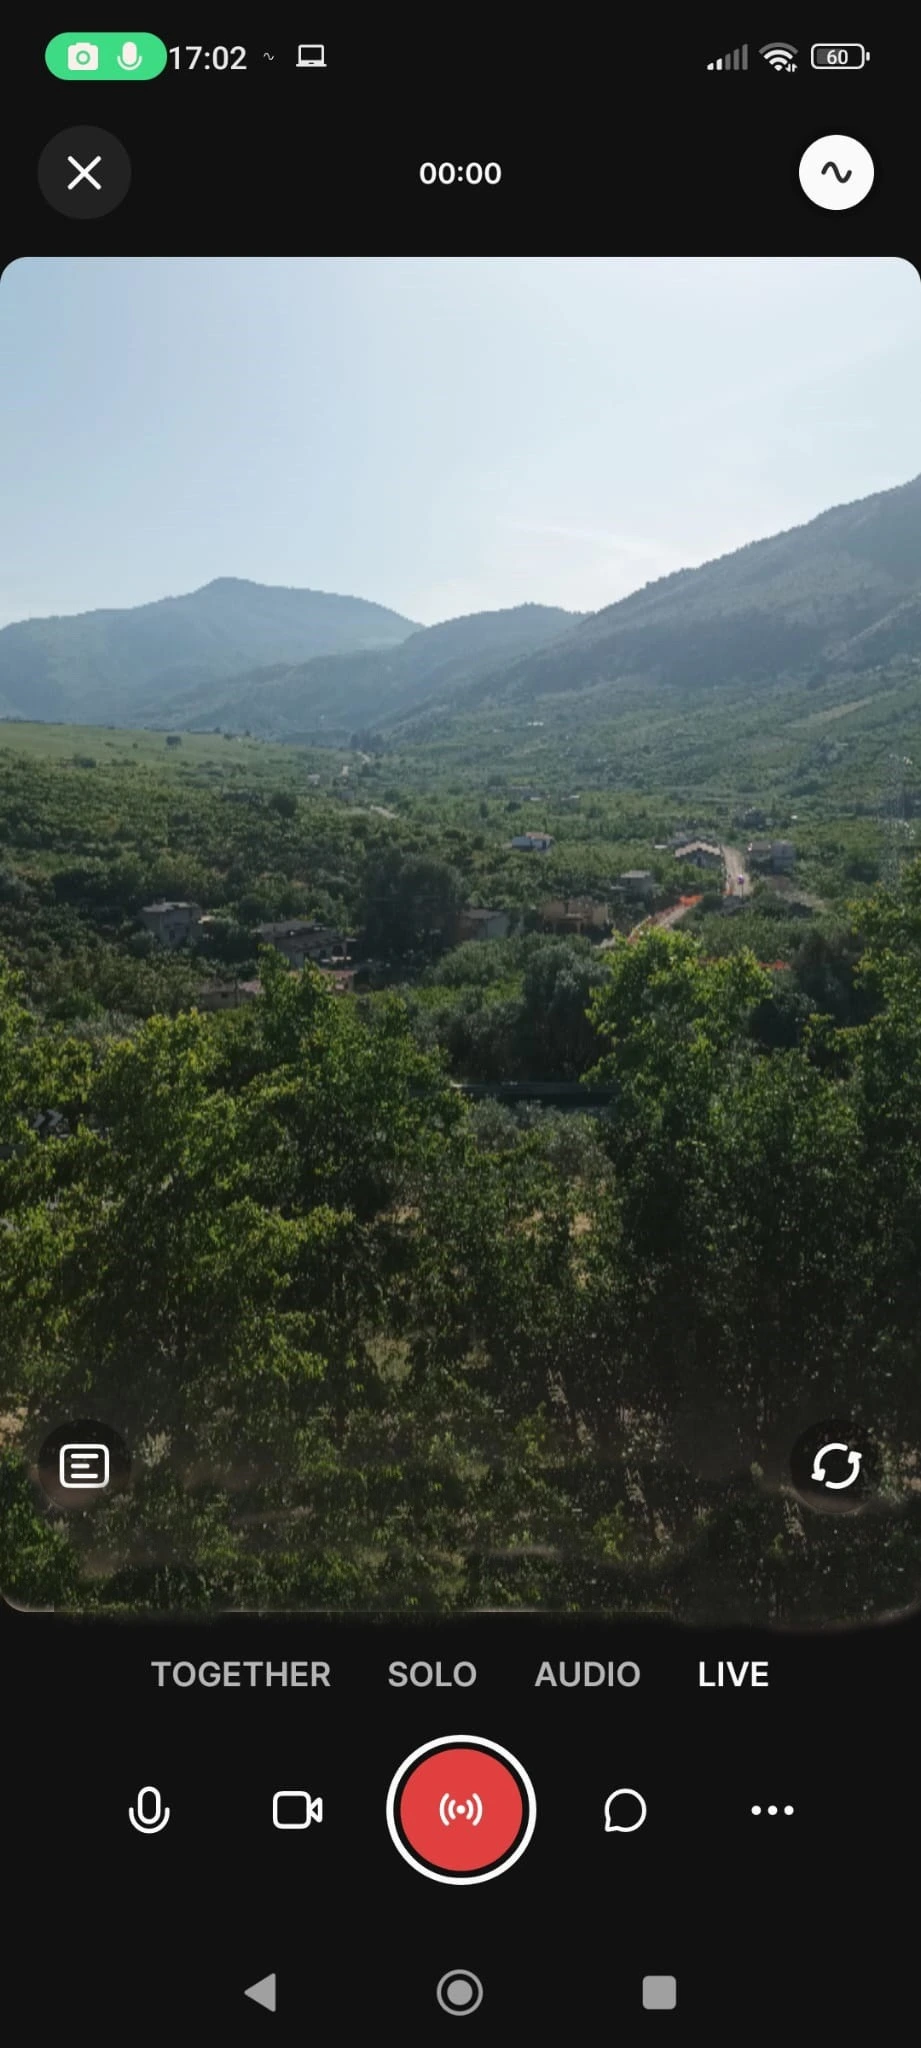
If the Kick - Go Live app is a bit too basic for your needs, the Riverside mobile app will give you more control for professional-grade results.
Riverside is a superior choice if you want to:
- Stream to Kick while simultaneously recording local 4K video.
- Invite remote guests with a simple link.
- Download separate audio and video tracks.
- Edit your stream after recording.
- Repurpose your live stream into a podcast episode, clips, or a blog post.
- Multistream to Kick and other platforms at the same time.
7 Tips for streaming on Kick
Use these tips to combine technical quality with a smart content strategy to grow your audience on Kick:
- Choose a niche category where people can discover you, or you’ll be buried under larger streamers.
- Establish a regular schedule and stream consistently so your viewers know exactly when to come back.
- Keep a regular conversational flow and avoid dead air at all costs. This helps immediately engage anyone who clicks on your stream.
- Prioritize audio quality. Viewers may tolerate average video, but they will leave if your audio is poor.
- Your stream title should be searchable and clearly tell viewers what they’ll get from the stream.
- Don’t treat your live stream as a one-time event. Record your content so you can turn it into promotional clips and posts for social media.
- Don’t make your stream feel like a constant sales pitch with too many donation links and sponsor callouts.
FAQs about live streaming on Kick
How many followers do you need to start streaming on Kick?
You don’t need any followers to start streaming on Kick. Anyone with a registered account can go live immediately. To qualify for monetization and become a Kick Affiliate, however, you need to stream for at least 5 total hours.
Do you need a capture card to stream on Kick?
No, you don’t need a capture card to stream on Kick if you are broadcasting directly from your computer or mobile device. A capture card is only necessary if you want to stream from a console (e.g., Xbox, PS5) through a PC using software like OBS.
How do you stream on Kick from Xbox or PS5?
To stream on Kick from Xbox or PS5, you need a capture card connected to a PC with OBS. Alternatively, you can also use a cloud-based broadcasting service like Lightstream.
Here’s a quick step-by-step:
- Connect your console HDMI output to your capture card.
- Plug the capture card into your computer.
- Connect the capture card to your monitor or TV through an HDMI passthrough.
- Open OBS and add the capture card as a video source.
- Start your livestream on OBS as usual.
How do you start streaming on Kick and get paid?
To start streaming on Kick and generate revenue, you need to become a Kick Affiliate and enable subscriptions (once you’re eligible).
Kick enables subscriptions after you stream for at least 5 total hours. You will receive 95% of subscription revenue, and 100% of donations. Beyond platform monetization, many streamers also earn through sponsorships, affiliate links, paid communities, merch, or coaching.
Can you stream on Kick and Twitch at the same time?
Yes, you can stream on Kick and Twitch at the same time using a multistreaming tool like Riverside. However, you’ll need to follow Twitch’s simulcasting rules.
Kick does not have exclusivity clauses, but Twitch’s terms of service allow simultaneous streaming only if:
- The Twitch viewer experience is not worse than the experience on other platforms.
- You don’t use Twitch to direct viewers to another live stream on a different platform.
- You don’t use services that combine activities from Twitch with other platforms, like Omnichat.