Key takeaways:
- Set up your iPhone with an external microphone, wired headphones, and a phone stand before recording.
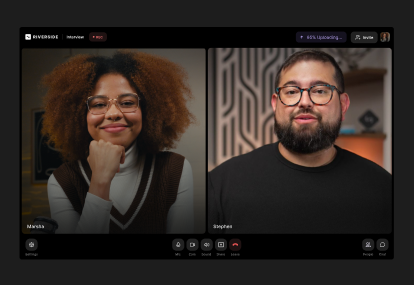
- Record with a dedicated podcast app like Riverside for higher-quality and reliable remote guests.
- Position your iPhone at mouth level in a quiet, echo-free space, then start recording.
- Edit on your phone for quick fixes, or switch to desktop for more control.
You don’t need a studio to start a podcast. With an iPhone, a good recording app, and a few essentials, you can record high-quality audio anywhere. In this guide, we’ll show you how.
Let’s dive in.
How to record a podcast on iPhone or iPad (5 easy steps)
Ready to start recording? Here’s a step-by-step guide on how to do it using your iOS device and the Riverside mobile app. But first, let’s take a quick look at what you’ll need to get started.
What you’ll need
- An iPhone (or iPad): iPhones on iOS 14 or later are better for recording audio and podcasts. Newer phones (iPhone 11 and later) tend to have better microphones and more processing power.
- An external microphone: While the iPhone has a solid mic, nothing beats the clarity of a dedicated mic. Check out our top picks for the best external microphones.
- A podcast recording app: The iPhone’s built-in Voice Memos app can work in a pinch, but you’ll get much better results with an app built for creators. With Riverside’s iOS app, you’ll get higher quality audio (and video!), the ability to invite remote guests, and time-saving podcasting tools.
- Headphones: These help you monitor audio and avoid echo. Wired headphones are best, but even AirPods are better than nothing.
- A tripod: If you’re recording video, a tripod will help stabilize your phone and keep you in the frame. Alternatively, you can use a phone cage or grip rig to mount your mic, light, and phone all in one place. This is especially useful for mobile interviews.
- Lighting: If you’re recording video, good lighting matters. Even a simple LED video light or portable ring light can brighten your face and minimize unflattering shadows.
Check out our guide on the best podcast equipment to get more podcast setup ideas and recommendations. Now, let’s get started with how to record.
Step 1: Download and open the Riverside app
Head to the App Store and install the Riverside app on your iPhone or iPad. Then log in using your account details.
Step 2: Launch a new session
Click “Create” and then “Record” to jump into your Riverside recording studio. (Don’t worry, the recording won’t start right away.)

Step 3: Invite guests or start recording solo
Tap “Invite” to invite a guest. If you’re recording solo, scroll to the “Solo” tab, which you’ll see just above the record button. You can also opt to record audio only by selecting the “Audio” tab.

Step 4: Start recording your podcast from your iPhone
Once your guests have joined and you’re ready, click the red “Record” button and enjoy your session!
You and your guests will be recorded locally in professional-quality audio and video. While you’re recording, you can use the teleprompter (bottom left) and visual effects (bottom right.)

Step 5: Stop the recording
When you’re done, press the “Stop” button. Within a few seconds, you’ll get a notification to view your recording. From there, you can edit or export your recording.
For a more in-depth guide, check out our article on how to record a podcast.
How to edit and publish your podcast on iPhone
Once you finish recording, you can use Riverside’s mobile editor right from your phone for quick edits on the go. Here’s how it works.
Step 1: Open the mobile editor
From your dashboard, click on the project you want to edit. Once it opens, you’ll see the editing tools at the bottom of your screen.
Step 2: Edit your podcast
From here, you can tap:
- Trim to cut out unwanted parts of your recording using a traditional editing timeline.
- Cut to make changes via text-based editing. Just delete text in your transcript and your recording will sync to the changes.
- Captions to style and add your own automatic captions.
- AI Tools to automatically remove pauses from your video.
- Correct to fix any mistakes in your transcript.
- Layouts to adjust your video's aspect ratio (9:16, 1:1, or 16:9).

Step 3: Export your file
Once you’ve applied all your changes, tap the purple export button on the upper-right corner of your screen.
From here, you can select whether you want to export a video or just the audio from your recording. Tap “Export video” or “Export audio” to export your file. It’s now ready to share or upload to podcasting platforms.
Tip: If you want more advanced tools, log into the full Riverside editor on the desktop. Your recordings automatically upload to the cloud, so you can access them here straight away.
In the editor, you can:
- Edit just by prompting the chat-based editor, Co-creator.
- Use a variety of AI tools to clean up audio, fix eye-gazes, and more.
- Add a background, logo, image, b-roll and music.
- You’ll also get automatic show notes and transcriptions.
- Repurpose your podcast into shareable clips, a blog, and more.
- Host and publish your podcast to Spotify, Apple Podcasts and other directories.
- Share your podcast directly to major platforms, like Spotify, Castos, and Transistor.
Bonus: How to record a clip from a podcast on iPhone
Want to create clips that capture the best moments of your recording using your iPhone? With Riverside, it’s super easy!
Just follow these steps:
Step 1: Switch to a vertical aspect ratio
In the editor, ensure the format is set to 9:16. This is the aspect ratio you need for TikTok, Instagram Reels, and YouTube Shorts.

Step 2: Designate the length of your clip
Tap the “Trim” option, then select the length you want for your clip. Most social media clips are less than 30 seconds long.

Step 3: Select the beginning and end of your clip
Scroll left and right on the timeline to pick the boundaries of your clips. You can also use the transcript to select the exact line where it should start.
Step 4: Add captions
Click “Captions” to add captions to your clip and adjust their style and position. (Riverside transcribes your content automatically when you record, making this easy.)
Step 5: Export your video
When you are done, tap the purple export button on the upper-right corner, then “Export video.” Once your clip is ready, you can download it to share on any platform.
Pro tip: Riverside automatically generates clips for you in your mobile app. But you can also generate more in the desktop version with Magic clips. Our clip creator turns your podcast recordings’ best moments into short clips for social media.
Common mistakes to avoid when recording a podcast on iPhone
Recording a podcast on an iPhone is pretty straightforward (especially with Riverside!), but there are a few common mistakes you should avoid to ensure the best results.
Not using a dedicated mic
Your iPhone’s built-in mic is great for notes and calls, but it picks up room echo and background noise easily.
What to do instead: Use an external mic whenever possible. Even a simple USB mic will dramatically improve audio clarity. This is the single biggest sound upgrade you can make.
Recording in a noisy or echoey space
Hard surfaces create echo, while everyday sounds (like HVAC or traffic) can sneak into your recording.
What to do instead: Record in a quiet space. Bedrooms, closets, or rooms with curtains and rugs work well. Turn off fans, AC, and anything else you can think of that makes noise.
Forgetting to turn on “Do Not Disturb”
Notifications, calls, and vibrations can interrupt your recording or create audible buzzes and pops.
What to do instead: Turn on Do Not Disturb or Airplane Mode (with Wi-Fi re-enabled if needed) before you hit record. If you have guests, remind them to do the same. It’s an easy step that prevents ruined takes.
Recording without headphones
Headphones let you monitor audio more closely. Without them, you won’t notice issues like mic rubbing, background noise, or dropped audio until it’s too late.
What to do instead: Use wired headphones to monitor your audio while recording. Bluetooth headphones can work in a pinch, but wired options are more reliable.
Relying on phone-native apps
Basic apps, like Voice Memos, are great for quick recordings, but they don’t offer much control, backup protection, or podcast-specific features. Audio recording quality is lower, and a crash or interruption can mean lost audio.
What to do instead: Use a dedicated recording platform like Riverside. It records locally in high quality, protecting your recording against internet or app issues. You’ll get cleaner files and a smoother editing workflow. (You can thank us later!)
Forgetting about battery and storage
Long recordings can drain your battery fast, while running out of storage can stop a session mid-recording.
What to do instead: Start with a fully charged phone or keep it plugged in. Make sure you have 5-10 GB of free storage if you’re recording audio, and 25-50 GB if you’re recording video.
Our top 3 recording apps for iPhone & iPad
If you're serious about sounding professional, you need an app that records locally and gives you real flexibility in post-production.
Here’s a quick look at our top podcast recording apps to turn your iPhone into a full recording studio.
Riverside
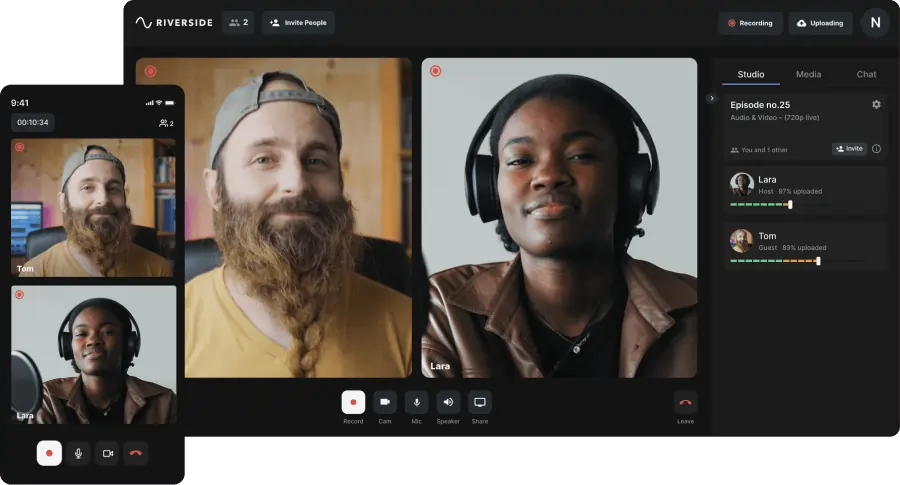
Riverside is the only iOS app that gives you a professional podcast studio you can carry in your pocket.
You can record locally with up to 10 participants, so you’ll get full HD audio and video even if your connection is spotty. All guests' video and audio tracks record separately, so you can easily cut out crosstalk. And every one of your remote guests can join from their desktop or mobile devices by just clicking a link (no downloads necessary).
After recording, you can make edits in the app or head to the desktop version for our full text-based podcast editor. (All recordings sync straight to the cloud, so you can easily jump between phone and desktop.)
Pros:
- Free and easy to use.
- Studio-grade local recordings in up to 4K video and 48 kHz audio.
- Support for video podcasts.
- Guest-friendly (sign in with a link).
- Cloud backup.
- Automatic noise reduction.
- Automatically syncs your project to the desktop version for more detailed post-production.
Cons:
- High-quality recording can drain your iPhone battery quickly.
Garageband
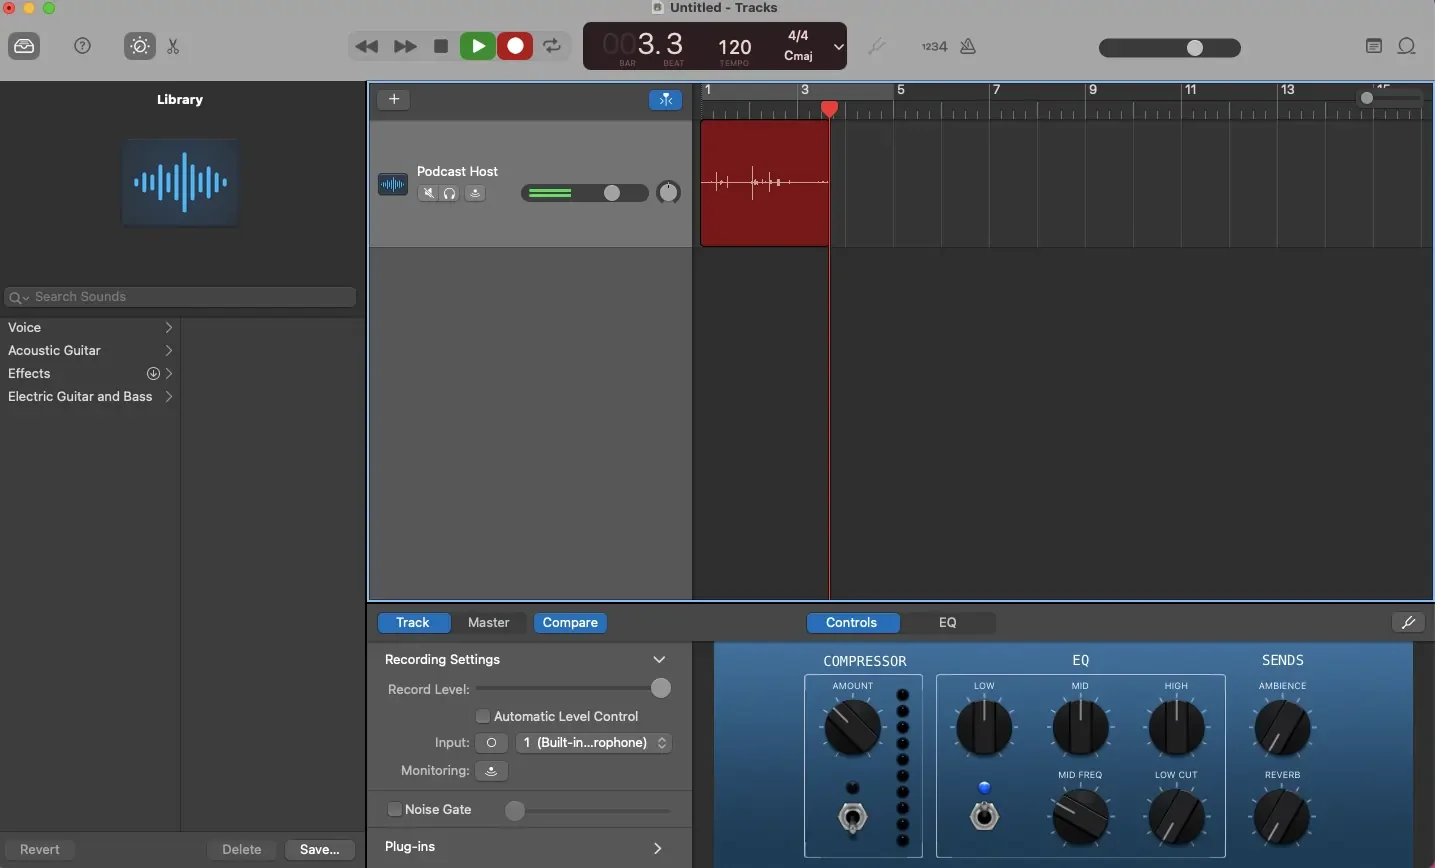
Garageband is Apple’s free multitrack recording app. It’s easy to use, but you can’t record remote guests, and it doesn’t support video podcasts.
Pros:
- Free (comes pre-installed on many Apple devices).
- Records locally in up to 44.1 kHz.
Cons:
- No support for video podcasts.
- No remote guest recording.
- Only basic editing tools on mobile (e.g., trim, split, volume adjustment).
- No live syncing with Garageband’s desktop version.
Podcast Maker
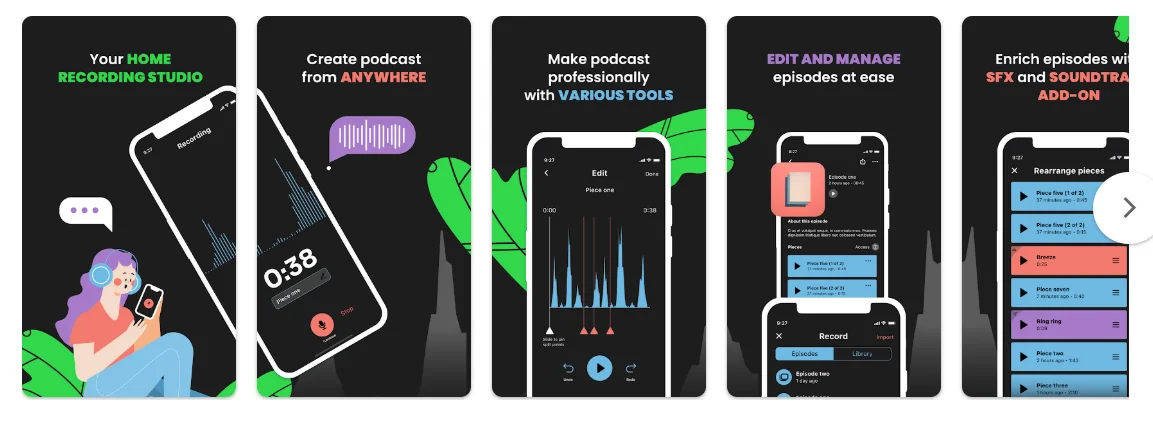
Podcast Maker is an all-in-one podcast app that lets you record and edit audio from your phone. It’s great for quick solo recordings and basic editing on the go. You can also publish straight from your phone to multiple apps.
Pros:
- Simple, streamlined app.
- Free features available.
- Basic editing tools like trimming and noise cancelling.
- Background music and sound effects library.
Cons:
- Ads and limited features on the free plan.
- Lower-quality recording (although the company doesn’t publish exact specs).
- Doesn’t support remote guests.
- Audio only.
Read more: For more options, check out our list of best podcast apps for iOS.
FAQs about recording a podcast from your iPhone
How do I make a podcast on my iPhone for free?
You can make a podcast on Apple for free with a free podcast recording app like Riverside
On Riverside’s, free podcast app you can record in 720p and wrap up your podcast with edits either in the app or desktop.
What is the simplest way to record a podcast?
The simplest way to record a podcast is on your phone with the voice memos app.
You won’t get the best audio quality like this though.
For something almost as easy, consider using a dedicated podcast recording app, like Riverside. This way, you can also record with in-person and remote guests.
It’s as simple as:
- Logging in and opening up a studio.
- Inviting your guests.
- Clicking “Record” to capture everything in high-quality.
- Exporting your files, or editing them in the same app.
You’ll get up to 4K resolution, and you won’t have to worry about eating up your phone’s storage. Everything records directly from your phone, but it automatically saves to the cloud.
Read more: If you want a full run down on all methods, check: How to record a podcast.
Can I start a podcast with just my phone?
Yes, you can start a podcast with just a phone.
Modern smartphones are capable of producing high-quality results. Even high-profile podcasters like Gary Vee use phones for some of their recordings.
The only risk here is that your phone will make your podcast sound less professional. You can avoid this by using a dedicated microphone, recording in a quiet and well-padded space, and using podcast editing software to polish your work before publishing.
What is the best microphone for recording podcasts on iPhone?
If you’re looking for a microphone for recording podcasts on your iPhone, we like the Shure MV88+. It’s compact, portable, and sounds great.
Read more: To see more of our picks, check our list of the best external microphones for iPhone and iOS recordings.
Does the iPhone come with a podcast app?
iPhone comes with the Apple Podcasts listening app. But the iPhone does not come with a podcast recording app, or at least not one designed specifically for that purpose.
You can use Voice Memos or GarageBand for audio recording, but neither supports remote guests. For the highest quality and more podcast-specific features, iPhone users can install the Riverside app for free.
Can I record a podcast on Apple Podcasts?
No, you can’t record a podcast on Apple Podcasts. Apple Podcasts is for listening, not recording.
To record a podcast, you’ll need a separate recording app and a podcast host. Then, you can record your podcast on your iPhone, upload it to your host, and publish it to Apple Podcasts for others to listen to.
Read more: Learn more about the process in our guide on how to upload your podcast to Apple Podcasts.


.webp)