Create and schedule social clips in Riverside
Turn Hooks and Magic Clips into branded vertical videos and schedule them in Riverside's Planner.

Turn Hooks and Magic Clips into branded vertical videos and schedule them in Riverside's Planner.
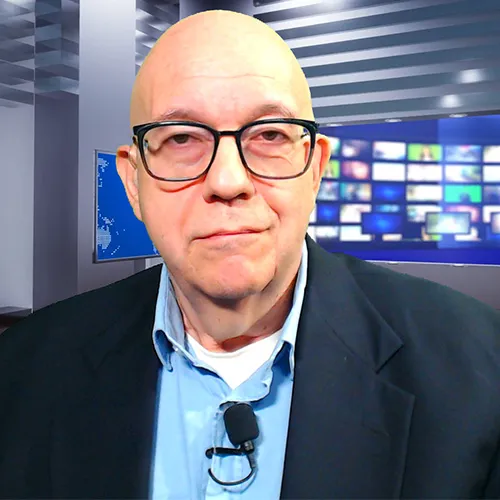
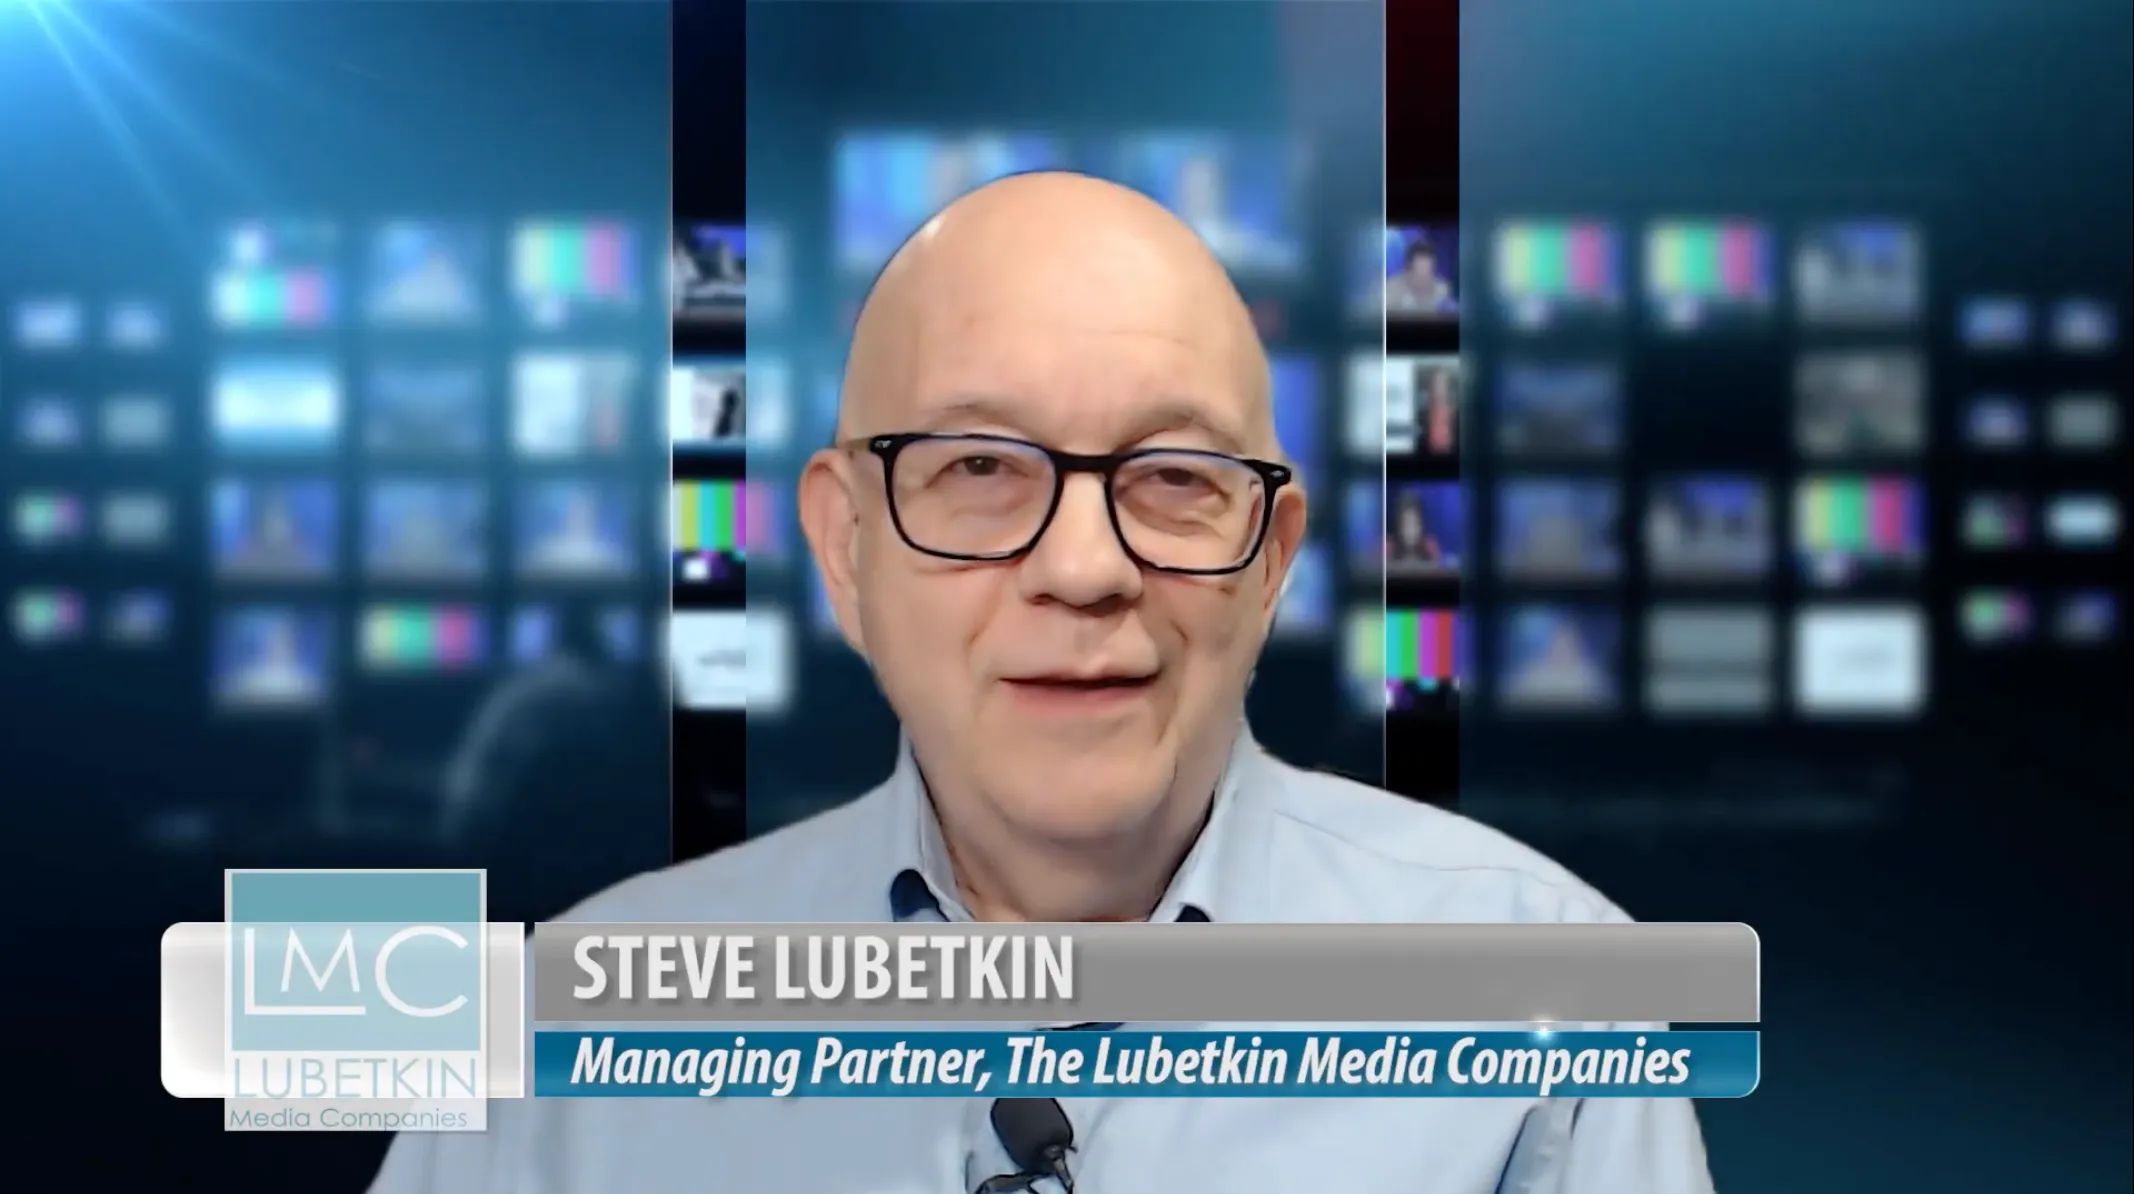
Downloading clips and uploading them to a separate scheduling tool adds extra steps to every episode. In this video, Steve Lubetkin shows how he turns Riverside's Hooks and Magic Clips into branded vertical videos and schedules them to Facebook and Instagram without leaving Riverside.
He opens a clip from Made for You, sets the 9:16 aspect ratio and hides speakers who aren't part of the clip. Then he applies a stacked layout and a saved scene with his show's background, logo and QR code. He turns on Remove filler words, Magic Audio and Fix eye contact, exports at 1080p, and finally uses the Planner to pick the post type for each platform, edit the AI-written caption and set the publishing date and time. It's a complete path from a finished recording to a week of scheduled social posts in one place.
In your project, click the Made for You tab and scroll to Hooks or Magic Clips. Click Edit under the clip you want to open it in the editor.
At the top of the screen, make sure the aspect ratio says 9:16, the standard size for vertical video. If it doesn't, click it and change it.
Click the Tracks icon on the right sidebar, hover over each participant's name, and click the toggle to turn off anyone not needed for this clip. The toggle turns from purple to gray.
Click Layout above the preview and choose a layout. Steve uses the one-on-one layout, with speakers stacked one above the other. Then click Scenes and choose a saved scene with your branding. Steve's includes a background, the show logo, a QR code saved as a transparent PNG, and a line of text explaining the QR code.
Click AI Tools on the right sidebar and turn on Remove filler words, Magic Audio (to even out guests without good mics), and Fix eye contact.
Click the purple Export button, choose Export, and select Video at 1080p. Leave Remove watermark on, and turn on Normalize audio levels and Remove background noise. Riverside emails you when the export is ready, and it appears in your Exports folder.
Connect your social accounts in Settings. In the Planner, click a day or click New and choose Social media post. For each platform, pick the post type (Facebook and Instagram treat posts and reels differently), click + in the preview box to choose your clip (filter by project), and edit the AI-written description. Set the date and time, then click Schedule.
00:00 Hi, I'm Steve Lubetkin from the Lubetkin Media Companies. In this video, I'm going to give you a quick look at exporting social media videos from the magic clips that Riverside extracts from your recordings. The show I'm producing social media clips for today is called Seekers of Meaning. It's a weekly TV interview style show hosted by Rabbi Richard Adress, an internationally known expert on the intersection of Jewish spiritual practice and issues important to baby boomers and other seniors.
00:29 In your studio, you're going to go to the project where you recorded your show. Under the project title at the top of the window, click on the Made for You tab and scroll down to the hooks or magic clips. In this demo, I'm using clips from the hooks section. Select the clip you want to prepare for social media by clicking on the edit button under the video thumbnail.
00:50 This will open the clip in the Riverside editing window. At the top of the screen, be sure that the aspect ratio of the video is set to 9 by 16. That's the standard size for a vertical video. If it doesn't say 9 by 16, click the icon and change that setting. This particular show had two guests in addition to the host, but the clip we're editing only incorporates comments by one of the guests.
01:15 So the first thing we wanna do is remove the video track for the guests who are not needed for the clip. We do this by clicking on the tracks icon on the right sidebar of the editor. This opens a list of all participants in the original recording. When you highlight each person's name, a toggle switch appears next to the name. Just click on the toggle to turn off the tracks you want to remove.
01:38 The toggle color will change from purple to gray. Next, go to the preview monitor and click layout above the video image. Riverside has a wide range of ways you can organize the images in the frame. we're going to use the one-on-one format that has one person stacked above the other. Now that we've chosen the stacked layout, we click on scenes and choose a saved scene we created that includes a graphic background, the show logo, and a QR code overlay that we created and uploaded to Riverside in the PNG format so that it has a transparent background and can float above the images.
02:13 We also have some text on the scene for branding and to explain what the QR code is for. When we click to select the saved scene, Riverside populates the timeline in the editor with the additional graphic elements and the display monitor updates to reflect these design changes. Now we're ready to use AI tools to make some final enhancements to our clip.
02:34 Click the AI tools button on the right sidebar of the screen. It'll open the tools panel. We always click the toggle for remove filler words because this does a great job of removing ums, ahs, stutters and other filler words. Next we click the toggle for magic audio. This is a great way to fix audio from guests who don't have external microphones.
02:56 It smooths out all the voice tracks so they all sound like they were recorded in the same studio. It also normalizes the volume so that all your guests are audible at the same sound level. Finally, we turn on the toggle for fix eye contact, which makes all your guests appear as if they're looking directly into the camera. Many guests find it hard to resist looking at faces on the computer monitor.
03:19 instead of into the camera, so fixing their eye contact is a great way to make sure the finished video feels like the participants are speaking directly to the audience. Once you've clicked all these toggles, click the purple export button in the upper right corner. This opens the export panel. Choose the first option, export, and the next panel shows export clip options.
03:40 We're going to export this clip as a video at 1080p high definition. Notice remove watermark is already toggled on. We're also going to turn on normalize audio levels and remove background noise. This is a sort of a final safety net for the audio fix that Riverside's already doing. When you click the purple export video button, Riverside will confirm with a box at the top of the editing window and will send you an email when the export's completed.
04:07 On the left sidebar, you can see that a new export file is listed in the exports folder. It's dimmed out because it's still processing. When the file is finished, it will be undimmed And the purple dot reminds you it's a new export that you can download, rename, or edit further. Now let's take a look at how we use the Planner to schedule out our social posts during the week.
04:28 You can add your social media accounts to Riverside in your settings. To schedule social clips for posting, either click on the day in the calendar where you want to schedule them, or click the purple New button at the top right side of the calendar. You can also display the calendar in different segments like weekly or daily. When you click the new button, you get a number of choices.
04:48 You can use the planner for scheduling your recording sessions with guests, your live webinars, publishing your audio podcast episodes, and for social media and newsletter posts. In this case, we're going to schedule social media posts, so we click that option. This opens the create post panel where you'll see all of your connected social media channels. We have two here, Facebook and Instagram, and both are pointing directly to the accounts we set up for this client on these platforms.
05:15 Facebook and Instagram handle posts and reels differently, so make sure you use the one that's best for your particular content. We're going to use post as the type for both platforms, so under Type, we click the drop down arrow and choose Post. Then we go to the preview box and click the plus sign. This opens a dialog where we can access all of our Riverside assets in this studio.
05:36 You can filter by project to find the clip you want to use. Once we've selected the clip, we scroll down to the description field and we've actually had some good success letting Riverside's AI tool analyze the clip and write some provocative thoughts about the content. In this case, we had to make a slight adjustment to make sure that a Hebrew phrase was rendered correctly instead of phonetically.
05:58 When you finished editing the description, be sure to click on the scheduling box just below the description or caption field and set the exact date and time you want the clip to publish. Once you've done this for all your social media accounts, you can click the schedule button to add them to your planner. That's all there is to it. Thanks for watching and if you have any questions, please email me at steve at lmediacos.com.
06:22 You can follow me on social media at podcast steve. Thanks for listening again and we'll see you out there on the net. Take good care.
USE CASES
Whether you're recording a podcast, hosting a live stream, or creating content for social, we've got you covered.
Got a process that works for you? Get featured by submitting your step-by-step flow. Help other creators save time, learn new tricks and improve their productions.