Create viral reels in the Riverside Editor (beginner's guide)
Build a vertical reel step by step: fast pacing, a proven hook, animated captions and overlays.

Build a vertical reel step by step: fast pacing, a proven hook, animated captions and overlays.
A step-by-step build of a vertical reel entirely inside Riverside, starting from a full podcast episode and ending with an export ready for Instagram or TikTok.
The video covers:
00:00 Which reel would you rather watch? This one? Or this one? Dots on. I did not think we were going to run into this again. Every time I help a family member with their Mac setting it up or anything, I turn off the dots. No one should ever have the dots. Well, that second reel was completely recorded and edited in Riverside.
00:19 Using powerful tools like magic clips in Riverside, you can generate dozens of pieces of content like those vertical reels from your long form podcast, webinar, tutorial, or just solo content that you record in Riverside. So in this video, I'm going to show you how I created that reel completely inside Riverside, all the tools that expedite the entire process. But of course, it all starts when you get that high quality recording from Riverside.
00:41 I use Riverside every week to record my video podcast and all that recording happens locally on me and my co-host computers. It gets uploaded to the Riverside dashboard and then you can download those files in high quality or use the Riverside editor to put it all together.
00:55 Here's my studio in Riverside with all the previous episodes of our podcast recorded. Let's jump into a previous episode and we can start making those reels right away. Of course you can use our magic clips to generate a bunch of clips in just a few seconds, but let's go into the editor and go through step by step how I made that reel. I'll click edit right up here and that sends us to the Riverside editor.
01:14 So I'm going to start with my full episode content here in the editor. There's a part of our show where we talked about dots in the macOS doc. So I'm going to use the search box here above the transcript to find that part of the conversation quickly. Now I want to have a little context for the conversation.
01:26 And so I'm going to start here and I'm actually going to split the timeline right here and then delete everything that comes before this moment. Now I'm going to go forward about 50 seconds because I want this to be about a minute long short. Let's go right here. I'm going to split again, delete the second portion. And now we have a 59 second clip, which is perfect. I'm going to quickly reformat this to a vertical clip, which I can do with a single click here.
01:46 Maybe I want to reorder which person's on top and bottom. I can go to the tracks tool and just drag a person up or down. And that changes the order in the video. I'm also going to go to the AI producer tool, go to set pace, and I'm going to go to the super fast setting because I want to remove any semblance of silence in this clip. I'll click apply.
02:03 And now you see we actually shaved off about five seconds, which is perfect because a great way to make a viral reel is putting something at the very beginning in the first second, that's going to draw someone's attention really fast. And so I want to have a reaction as the first thing people see. So I'm going to zoom in again.
02:18 And now you can see all those silences that were cut out. I'm going to hide that deleted portions by toggling this off. So right there is actually where I want to clip and put it at the very beginning. So I'm just going to select this text and I want this to play in context as well. So I'm going to go to the three dots and then click copy.
02:34 Now I can go to the very beginning of the clip, paste this and that's how the reel will start. I'll paste the text at the beginning. And now we have a little intro plus the full context and it's still under 60 seconds. Okay. Now let's add our animated captions, which I can go over to this tool in the right hand.
02:48 I have the preset that I use all the time, but I want this to be even more visually engaging. So I'm going to go to one line so it changes even faster. I'm going to make it larger. We'll go with the large size here and let's go with the 3d shadow effect. And let's go with this mint color for the active word. All right. Let's preview this. All right. That looks pretty good.
03:05 Now we can also choose to switch between the active speaker and both of us. And that uses our smart scenes. So I'll go over to the layout tool here on the right hand side and click smart scenes. This is automatically going to change the focus throughout the clip between both of us and just the active speaker. Now it's going to go back and forth, focusing on the active speaker and going back to both of us.
03:24 Now I might have to change the words a little bit because I don't want these on top of his face. So I might move the words to the bottom. All right. And that looks good there. I do have to change the spelling of my name here, but I can just click in the transcript and Riverside retype it. And that's going to correct it in those captions. So let's add some image overlays.
03:40 So he's talking about every time he helps a family member set up their Mac. And so let me pull up a picture of a Mac computer. I'm going to go over to the images tool here. And now I can search for a Mac. Maybe I'll search for a MacBook pro. We've got some great pictures here. This is searching a royalty free image library and I can just pick one, fill the frame.
03:57 And I'm going to zoom into the timeline using the zoom tool here. And I want this to be pretty quick. So I'm going to move this over, decrease how long this is shown on screen, maybe just for a second and a half. Let's see what that looks like. Now we're talking about dots in the Mac dock and someone might not know what that means.
04:11 So I actually captured an image from my computer and I want to upload this image so we can show it during this edit. So I uploaded a screenshot here. I can click it, fill the frame just like normal image overlays. And you can see it cropped it. So fill the frame, but I'm going to move it around because I want to be able to see the dots at the bottom.
04:28 So here we have an image overlay, but I'm also going to add a text overlay to show people what we're talking about. So I can go down to our text tool. Let's go with the black text on a white background and I'm going to type something like Mac OS dock. I'm going to add an emoji here on the text overlay with an arrow pointed down. Let's put that right here.
04:46 Now let's preview this again and see what that image overlay looks like. That looks great. So now we have an image overlay with a text overlay showing exactly what we're talking about. Now, another new feature here in the editor is we can add music to the entire short. So I'm going to click the music tool here on the right hand side, or I can scroll through and see different genres right here. I like the sound of that one.
05:05 So let me add that to this clip by clicking the plus icon. I'll move it to the beginning of the clip. I can change how long I want this music track to be shorter or longer. I'm going to make it the entire length of the clip. And if I click the three dots, I can also change the volume and fade in and fade out times. I'm going to lower this just so it's in the background and it's not too distracting. Let's also fade it in over three seconds.
05:26 All right. So I do want to add one more image overlay of an app with a wispy effect. So I'm going to try and find this image and then we can add one more overlay. All right. I found an image to illustrate what we were talking about. So I'm going to go back to my uploads, insert it, have it fill the frame. I'll move it over a little bit.
05:40 Let me add one more text overlay. If I want to make it even larger, I can actually just type in a number here. I'm going to go with 140, put that here in the top corner. All right. This is great. We're still under a minute, has lots of visual engagement. Now let's export this reel. I'll go up to the top, right. I can export up to 4k, but most platforms like TikTok and Instagram, really 1080p is good.
06:00 So I'll leave it there, go to exports. I'll click export video. Now in just a few minutes, I'll be able to download that and then upload it on Instagram, TikTok, YouTube shorts, and wherever I'd like. Now, if you want to be able to create lots of clips like this, even faster, you need to try our magic clips feature right here on my recordings page, you'll see, I have the option to generate clips here.
06:19 I can choose how long I want the clips to be. I'm going to choose 30 to 60 seconds. I can tell it to just focus on one speaker or the other, or even select multiple speakers. If you have more than two, and you can even choose the topics to highlight. I'll put it in a keyword here and I'll click generate clips.
06:33 And now in just a few moments, I'm going to get a bunch of vertical clips with animated captions already in vertical format. And I can just tweak it here and there, add some overlays. And just like that, look at all these new magic clips that have now been created. Now I'll click edit on one of these magic clips. You can see it's under a minute.
06:48 It's 55 seconds already has the animated captions and you can set those as a preset. Once you get it designed how you'd like, you can click the three dots and save it to your presets. And if you go over to your animated captions menu here on the right, you can actually set it. So future magic clips that you generate will use this version of your animated captions.
07:07 Again, I can reorder how people appear, go to layout and choose smart scenes, maybe move the captions to the bottom, quickly make it larger. I can even go to one word captions. If you really want to emphasize what you're saying, probably change that to chat GPT. And now you'll also see we have screen shares here and it's going to focus on the screen share or on participants, but I can still change that by clicking the scene down here above the timeline, go up to tracks.
07:31 And maybe I want to show myself in the screen share. Well, I can do that. Then we'll go back to just me when I stopped sharing the screen. And that's how to create viral reels in just a few minutes using Riverside. And that's not all Riverside has even more powerful tools that allow you to live stream to multiple social destinations, use our audience mode to host webinars and our powerful local screen sharing, which captures everything in high quality, great for tutorials.
07:55 If you'd like to learn more about the use cases for Riverside, I'll put one of our videos right up here. And don't forget to subscribe to the channel and hit that like button because we have even more features coming very soon. Plus I have full walkthroughs of the entire platform, which if you just want a high level view of everything Riverside has to offer. I'll put one of the walkthrough videos right up here. Thanks for watching. We can't wait to see what you create with Riverside.
More videos you might like
A full product tour: studio and recording, AI assets, editing, then hosting, newsletters and social.
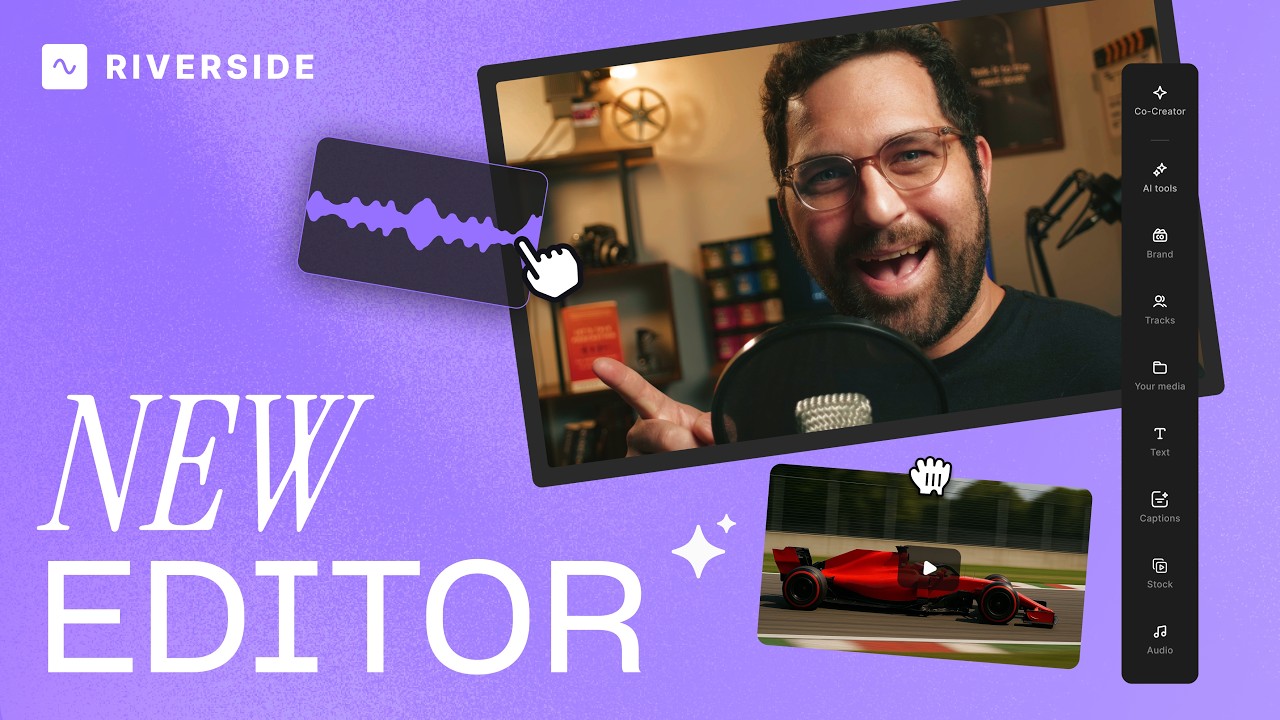
A complete editor tour: transcript and timeline editing, AI tools, layouts, scenes and exporting.
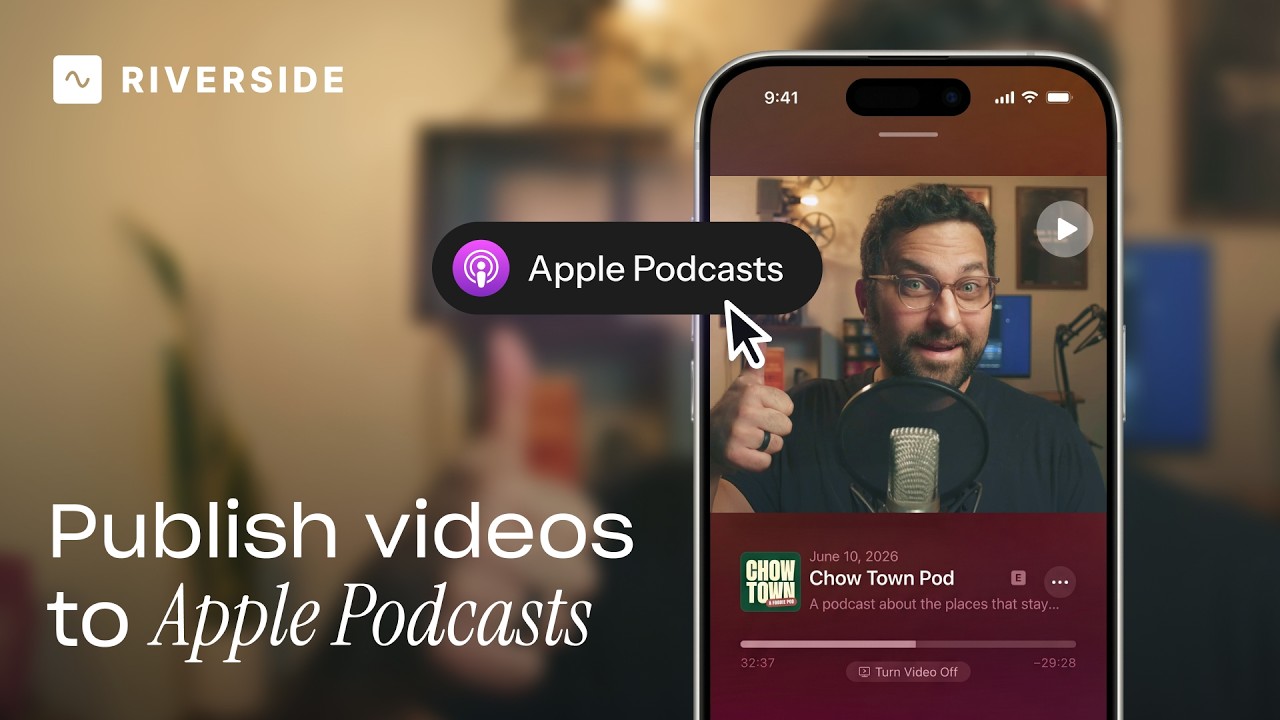
Publish video to Apple Podcasts so your audience can switch between listening and watching easily.
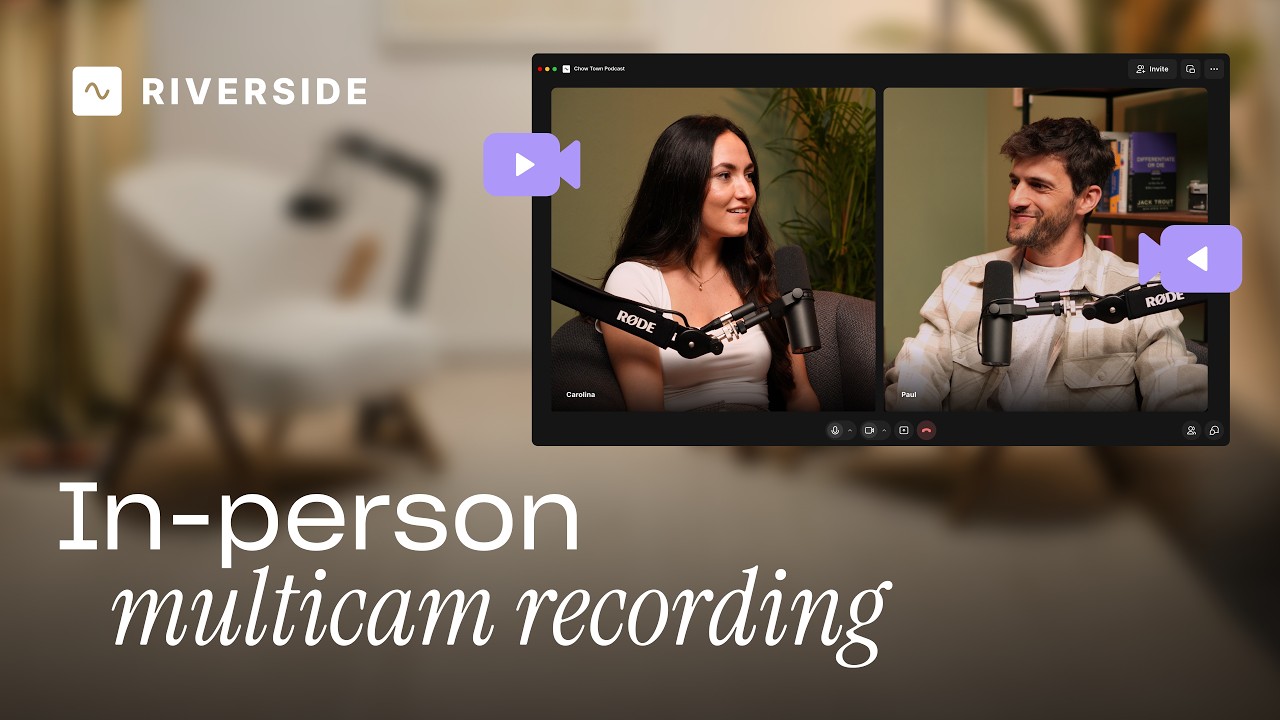
Add multiple in-person guests with their own camera and mic from one computer, as synced tracks.


.avif)
.avif)
.avif)
Got a process that works for you? Get featured by submitting your step-by-step flow. Help other creators save time, learn new tricks and improve their productions.


.avif)