Design one-of-a-kind clip layouts in the Riverside editor
Break out of the default clip layout by resizing, cropping, reframing and rotating every element on screen.

Break out of the default clip layout by resizing, cropping, reframing and rotating every element on screen.
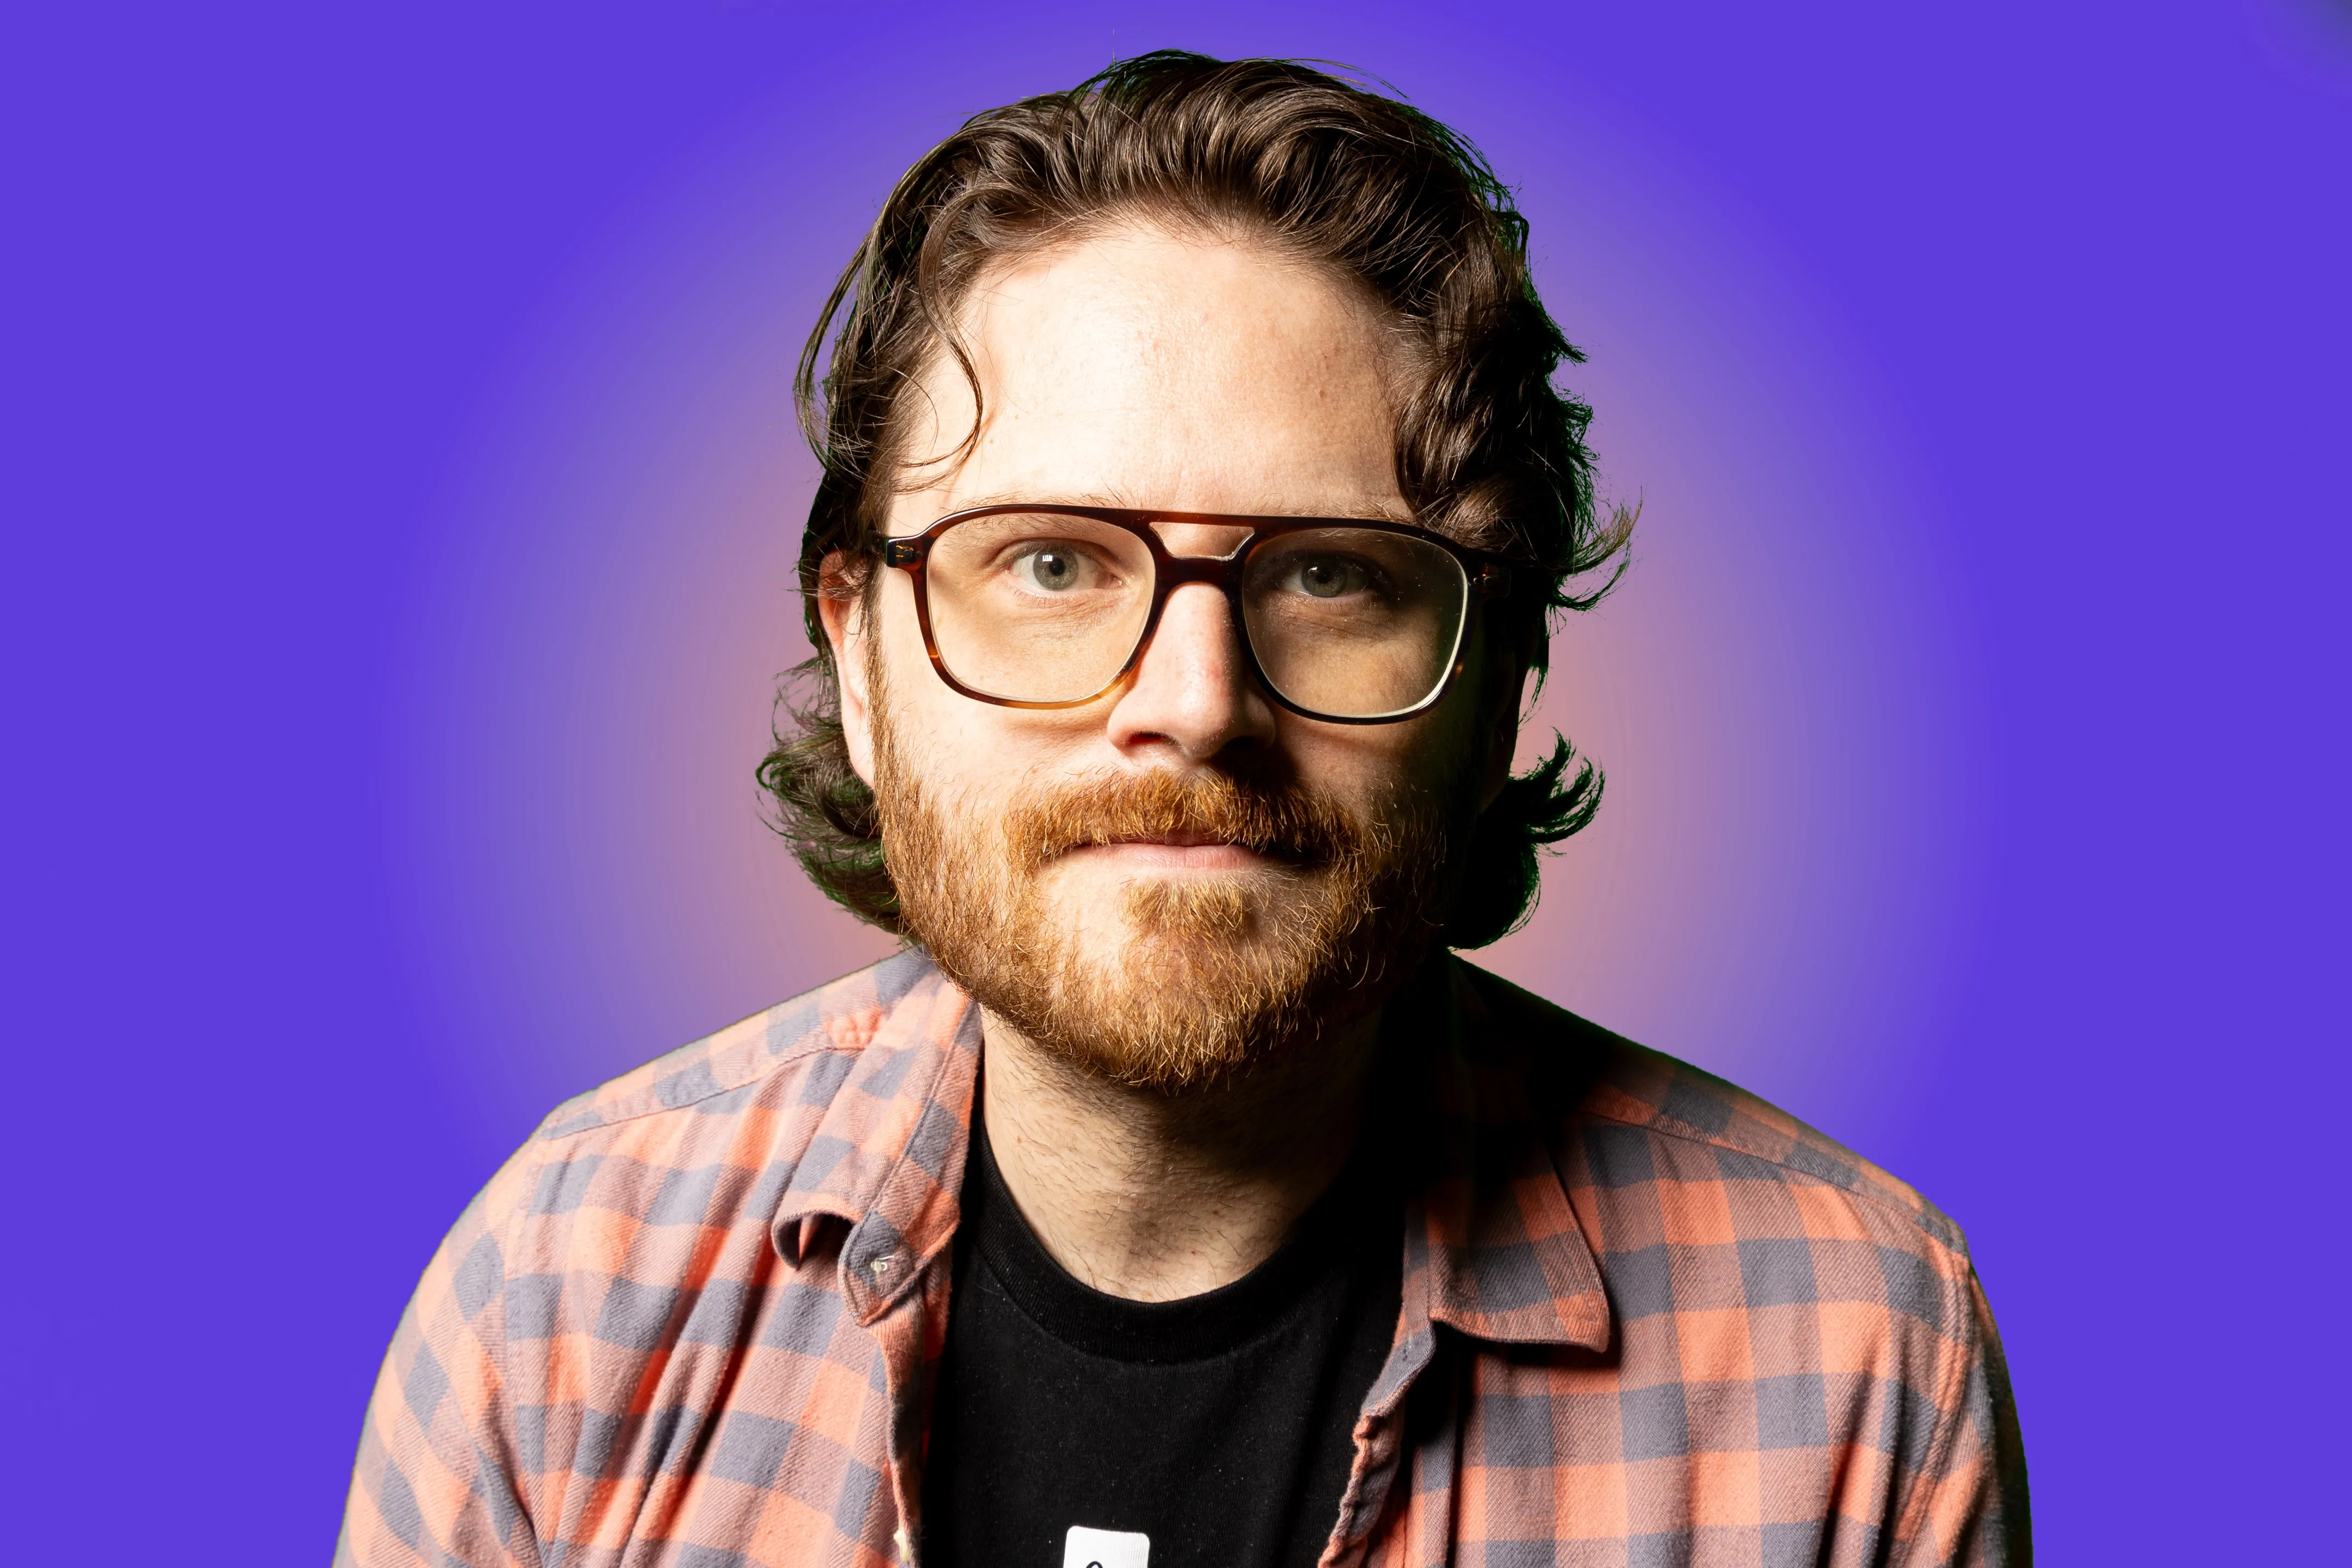
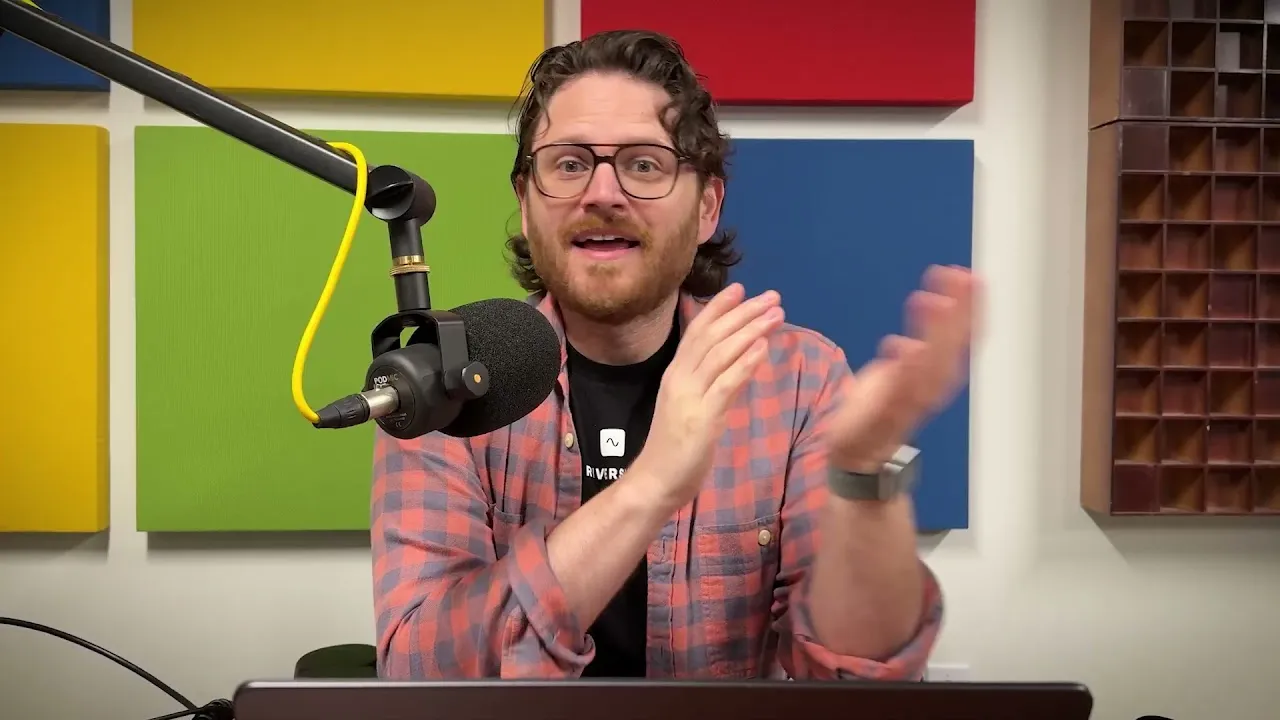
Scroll through social media and most podcast clips look exactly the same, with the same layout, the same framing and the same captions. In this video, Jon Richardson shows how the new Riverside editor lets you make granular changes to every element on screen so your clips stand out from everyone else's.
He creates a clip straight from the transcript, then uses the handles on each video to swap, resize and crop it, removes the border radius and moves both speakers to one side of the frame. He double-clicks into each video to reframe the speaker and match head sizes, rotates and resizes the captions, and fills the empty space with a stock image that snaps neatly into place. He finishes with a reminder to keep key elements clear of the areas social platforms cover with buttons and text, so your one-of-a-kind layout still reads well.
Highlight the section you want in the transcript and click Create new edit. Your brand settings give you a starting layout, which you can change from here.
Single-click a video to see its controls. Drag the circle in the center to swap it with another video on screen, drag the corner circles to resize, and drag the flat handles on the edges to crop.
With a video selected, set Border radius to 0 in the bar above it, then do the same for your other video. Drag each video into position (Jon stacks both on the left), and crop the sides; the edges snap to the center as you go.
Double-click into a video to zoom in and drag the person around inside the frame, then click Done. Match the head sizes and alignment across videos so the clip looks consistent.
Select the captions and use the rotate button to turn them. Jon rotates his 90 degrees to show what's possible. Resize with the corner circle, crop with the edge handles, and set the text size by picking a preset or typing your own.
Go to Stock > Images, search a keyword related to your topic, and click an image to drop it into your timeline. Resize and crop it like any other element; it snaps to the center, and you can crop it to line up with the edges of your videos.
Social platforms put buttons and text on the right side, top, and bottom of the screen, so keep your key elements clear of those areas.
00:00 Hey, how's it going? So something that really bugs me when I'm scrolling through social media is when I see podcast clips and all of them look exactly the same. Now with Riverside's new editor, you can actually make super granular moves and change things however you want them to be so that your podcast clips can stand out from everybody else's.
00:20 So what I've done here in the new Riverside editor is I've taken a clip by doing a selection in my transcript and hitting the create new edit button. So I've made this one minute clip and I wanna make this thing, and I'm gonna go really weird with this one just because this is for the sake of demonstration, but we can do things that you wouldn't really be able to do in a lot of other tools.
00:44 So my brand settings kind of brought it in to look like this, but I'm gonna actually change it. I'm gonna single click into this top video. And you'll notice that when you single click in, there's a few things that you'll see. In the center, there is the circle, which means that you can, drag and replace it with another video that's on the screen. Let's say you like the placement and the shape and the layout of that other one, but you just want this to be there.
01:08 That's how you do that. But for right now, we're just gonna focus on these circles in the corners, which resize what you have, and these more flattened shapes here where you can click and drag those in and it crops it down. So what I'm gonna do with these is I'm gonna actually take this, I wanna move everything over to the left-hand side of the screen.
01:28 and I'm gonna take my captions and tilt them on their sides completely. So the first thing I'm gonna do is actually take off the corner roundness, so the border radius. So I click in here on this bar above we see border radius. I'm gonna click that, bring it down to zero. I'm gonna do the same thing for my other video. And now I'm gonna drag this all the way to the corner.
01:50 I'm gonna drag this all the way to the corner and I'm gonna bring it, I'm gonna crop down the sides and now it'll snap. to where the center is, which is kind of cool. I'm do the same over here. And I'm actually gonna do a little bit of cropping. there's a lot of head space above where this speaker is right here. If you double click into the video, you can center the person and that'll give you a much better sense of where you are.
02:15 Double clicking into it means that you can drag the person around in the frame that you've created after you've single clicked in there. You can either click out of it or hit the done button. I mean, hit the done button. I'm gonna crop that down a little bit and I'm gonna drag I'm gonna well first I'm gonna actually zoom in a little bit and then I'm gonna drag her around and Because I want my video clips to look the exact same I'm gonna drag this one over here and just so I can align it best That looks pretty close.
02:53 And I'm going to double click in here, zoom in and wiggle that around. I always like it when people's like head sizes are the same. So we're going to take that and we're going to bring it right down here. Put right over there. And now I'm going to take my captions and we got this little rotate button. I'm going to rotate that 90 degrees.
03:16 And this also has that little circle in the corner that helps you resize it. It also has the little prop shape here, so I'm gonna crop it in a little bit. And I'm gonna take my size and I'm just gonna max out the size to the presets. You can type in whichever size you want, but I'm just gonna use a preset. I'm gonna make it right here, make it nice and big. Now, this is not something that somebody would normally do.
03:39 You would not normally have your captions on a 90 degree axis or even flip it completely upside down. But this is just so you can see how customizable you can make things look in the Riverside Editor. You know what, in this space, I wanna put a little image. So I'm gonna actually go down to stock and I'm gonna go into images and we're talking about hummus.
04:02 I'm gonna type in hummus and see what we come up with. Look at that, hummus. So I'm just gonna go ahead and click that and it drops it right into your timeline exactly right there. And this same thing, you can resize it, you can crop it down. You can make it look however you want it look. It's going to snap to the center.
04:22 I'm going to crop it so that it goes just to the edges of those videos. Look at that. you've got this amazing one of a kind look that you're not gonna see in any other podcast clip on social media. Just don't forget that social media platforms put stuff on the right hand side, they put stuff on the top and on the bottom, so just be mindful of that when you're making your clips.
USE CASES
Whether you're recording a podcast, hosting a live stream, or creating content for social, we've got you covered.
Got a process that works for you? Get featured by submitting your step-by-step flow. Help other creators save time, learn new tricks and improve their productions.