How to edit a podcast episode start to finish in Riverside
A repeatable editing process for video podcasts: cleanup, captions, B-roll, crops and overlays.

A repeatable editing process for video podcasts: cleanup, captions, B-roll, crops and overlays.
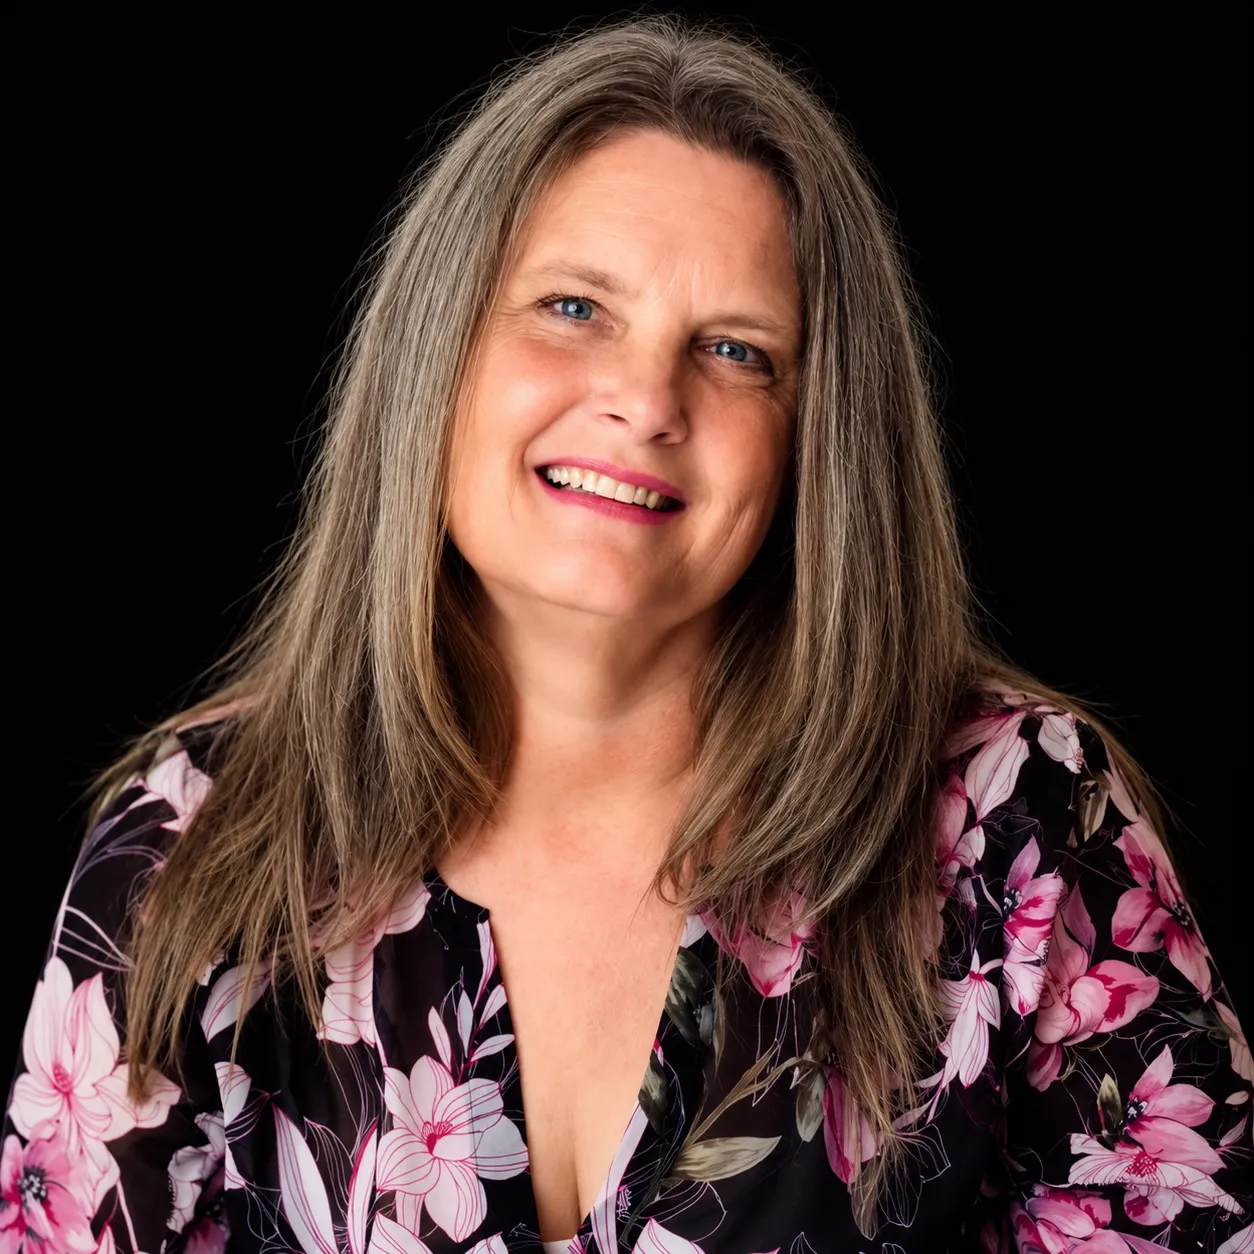
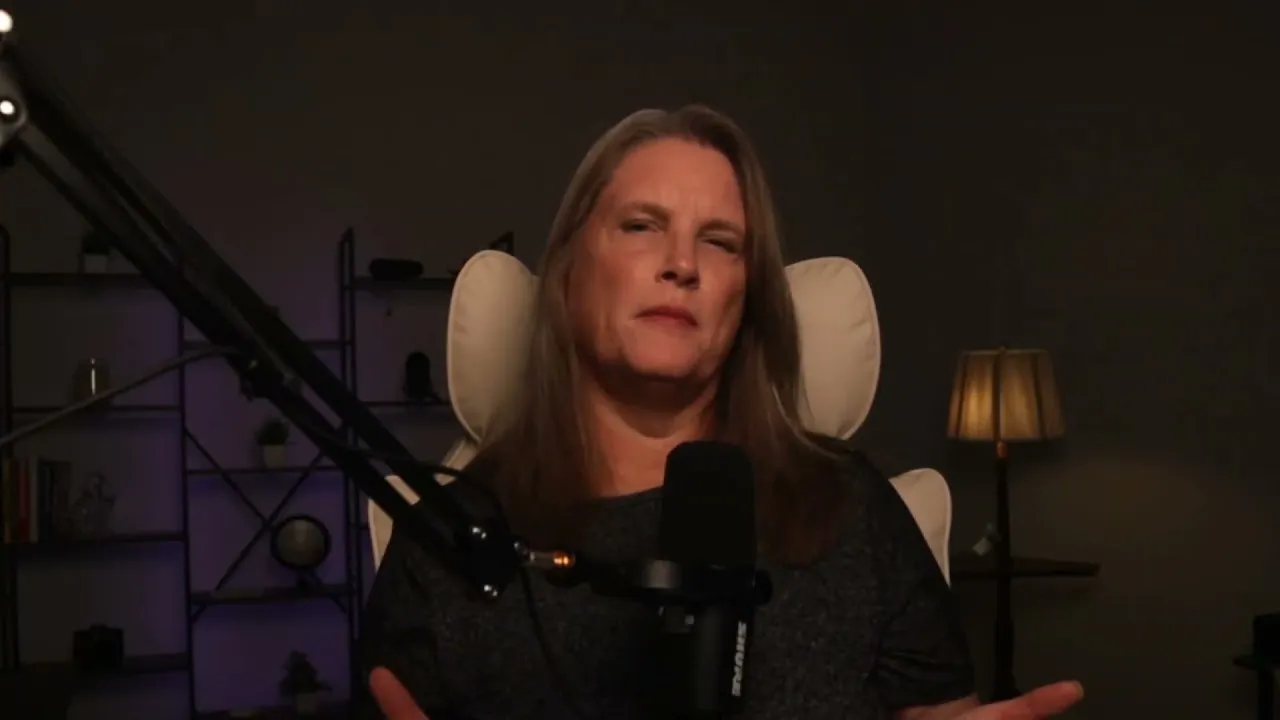
Editing a podcast can take hours and quickly become a chore that makes it harder to publish consistently. In this video, Leah Sparrow shows the simple, repeatable process she uses to edit her video podcast in Riverside, one clear enough that she now hands it off to an editor.
She plans the title, thumbnail, hook and B-roll before recording, then applies a baseline crop and branded captions to the whole video. She cleans up pauses, repeated sections and misspelled words directly in the transcript, adds B-roll and image overlays where she planned them, and tightens cuts with Refine cut. She also uses punch-in crops for movement and shows how to drop an export from another Riverside project straight into the timeline. She closes with a reminder not to obsess over individual uploads and to treat the podcast as one larger body of content.
Decide your title, thumbnail, and hook (the first 10–15 seconds) before you record. Mark spots for B-roll and movement in your script, so editing is about executing the plan, not inventing it. Leah keeps her script open alongside the editor as a storyboard.
Before anything else, apply what every video needs. Click Crop, zoom in slightly, and drag to center yourself. Add your branded captions and position them where they work for this video. Choose one or two lines, and set exact colors by entering your hex codes.
Wherever the transcript shows dots for long pauses, select them and press Backspace or click the trash can. Use Restore if you cut too much. Go through Riverside's comments flagging repeated or redundant sections and remove them. Fix any misspelled words right in the transcript, and the captions update too.
Put your playhead at the spot in the transcript where the B-roll should start and click Split to mark it. In Media, click Upload and add your clip, naming the file with keywords for metadata. Click it to add it, drag it into place on the timeline if it lands in the wrong spot, click the arrows to fill the screen, and trim it to the right length.
On the timeline, use Refine cut to drag the edges of a cut and make it tighter or looser. Listen back after each adjustment, and don't cut too close to the end of a word, or it may get clipped.
Split at the start and end of the moment you want to emphasize, select that section, click Crop, and increase it by about 20%. A quick zoom adds movement to talking-head video and keeps viewers engaged.
Upload a PNG, and it'll appear in the Images tab. Click it to add it, fill the screen, and trim it to the length you want. If an overlay lands badly, press Backspace to delete it, reset your playhead, and add it again. Give Riverside a moment to process before your next click.
In Media, open Projects, find the project you need, and choose its export (not the edit). Click it to insert it into your current timeline. This works for audio as well as video.
00:00 Editing your podcast, whether you're working with audio or video, is taking you hours or it's become such a chore that it's making it harder to consistently publish. I'm going to show you how I use Riverside to make the process easier and much more manageable. I'm not going to promise you'll suddenly love editing. I don't.
00:20 What makes it easier for me is having a simple, repeatable process. where I always know what I'm doing and what comes next. And there's been another benefit to understanding that process. I know what I can delegate, which is awesome. I've been able to take this same process and hand it over to someone I've hired to edit my videos because I can clearly communicate what I do.
00:46 the order I do it in and what I'm looking for in the finished video. So while the main goal of this video is to show you how I edit and give you some practical editing tips you can use inside Riverside, I also want you to pay attention to the process itself because if it helps you develop a process for your own content, one that makes editing easier for you today and easier to communicate to someone on your team later, the better I'm going to take you inside Riverside using an actual video I'm preparing for my own YouTube channel and podcast I'll show you how I set up everything remove repeated sections make those more surgical edits when I need to add those captions cropping b-roll and Simple movement without over editing and as an extra bonus I am gonna show you how I add additional video clips directly into the main timeline So several separately recorded clips play all together as one finished video.
01:48 I'll also show you how I edit the three standalone shorts I've created around the same topic. But before we open the editor, there's one thing you should know about why this moves so quickly for me. A lot of my decisions are made before I ever edit. I start with the title and the thumbnail and develop the episode around the promise I'm making there.
02:10 I use ChatGPT to help me organize my market research, client experiences, stories and ideas so I can find the spine of the video, but it doesn't write the content for me. By the time I record, I know my title, thumbnail and hook, which are those first 10 to 15 seconds where I need to tell someone what this is about and why they should keep listening.
02:32 That also makes editing easier because I'm not sitting in Riverside trying to invent B-roll or movement. The content naturally gives me those opportunities and I mark many of them before I record. And you'll see that during this process. If you're curious about that part of my process, I'll walk you behind the scenes in the simple shift that generates ideas every single week on my Making Business Effortless YouTube channel.
02:56 I'll put the thumbnail on the screen so you know what to look for when you're scouting around for me, Lea Sparrow. But you've come here to edit. So let's open Riverside. and get started. is a video that is going to actually go up next Monday on YouTube on the Making Business Effortless podcast. This is the editor inside of Riverside.
03:18 What I'm going to do first is add the pieces that I want throughout the video first. This helps me streamline the editing process. So I'm going to click the crops that I can because I've got my water bottle. Yeah, all kinds of fun stuff are happening there. So I'm going to just Zoom in.
03:45 Right there, let me see how much I can move myself. There we go. And center myself a little bit more in the screen by dragging. I'm using my mouse to drag. That's for the entire video just my baseline like it's just basically every video needs these things I've also branded my Captions so I just click on them boom there.
04:08 They are right there where I need them to be I'm gonna place them where it seems appropriate for this video With these you can change them around I have two lines here. I can change it to one line Which actually I prefer Sometimes I do two lines it depends on the on just a day of the week, whether it's a full moon or not.
04:29 I've got my branding for my stuff. You just enter the hex code and you've got your exact colors inside of your captions. Now we're to go ahead and go through this. Those are the first two things because it applies to the entire video and I'm going to show you how I edit inside the transcript. So when I see two over here inside the transcript, when I see two dots like that, I know it's too long.
04:53 Of course, this is at the very beginning of the of the video so it makes it obvious. But what I'm gonna do is just hit my backspace button on my keyboard and it's gone. Okay? And I just go through and I hit all of these or you can hit the little trash can. Three dots, two dots. I take those out but also don't forget you can always go back to that edit and click restore and you've got your paws back.
05:16 Now as you can see there's a little comment from Riverside and it says remove this section it seems to be a repeat or has highly redundant material. As you can see looking at the transcript, yes I did start over. So we're going to do that and it's gone. That's how quickly Riverside can help you with that.
05:37 You can go through all of those comments and here it is again. I yep I did I repeated again so we could come over here. Click that and there it's gone. It's out of the way. And like I said, I go through and I take care of these. So that's the first edits I'm going to do.
05:57 I'm gonna do those real quick and then we'll move on to the next step that I do inside my process for editing my videos. So I've done the listen through this after the first steps. You can also correct words, which I did with my website, leasparrow.com. This right here, we had a problem. And instead of saying L-E-A-H, it said, LEA and I just typed in my H and it corrected it and it also showed up in the captions itself.
06:24 And now we're into the next step. Now as you can see over here on the right hand side of the screen I have my script from Google Docs. This is where I put the storyboard so to speak together. So we're gonna go where it says if you're an entrepreneur over here in the script we're gonna click here because I'm gonna I'm gonna add an overlay.
06:46 Now notice you can do this and my... the audio version pops up down here where you can see all the waves, all that happy stuff. Now we're right here. I am going to click Split. Now hang in there, there's a reason why I do this split here. It helps put the overlay in properly.
07:07 So I'm gonna do Split right here. Here's our split. That's where I want the video to go. I put it at the beginning where I want it to start. I'm going to show you how to upload your videos to this. Over here on the right hand side you have your media. I'm going to upload this but I want you to notice something about how I named this. You can put your keywords to your b-roll and it can help with metadata.
07:28 It doesn't hurt it. Wait for it to process. And then I'm going to just click on it and boom, it's right where I need it to be. I think let's double check. I don't think it is. I don't think it landed where I needed it to. So I'm going to zoom out a little bit more. And then here we go. And I'm going to grab hold of this just like you would with your mouse.
07:50 You just click on it and drag and drag it over here where I actually want it to land. There we go. Yay. All right. Now I want it to fill the whole screen. So all I'm going to do is this. these arrows and it's all filled up and there's your overlay and it's ready to go. So you can use the transcript to see where your video is actually ending up and where it's ending. I think that'll work or maybe we'll do this.
08:12 Let's see where it ends up if I just go to the very end of it. Yeah that works better. Alright cool. The only reason why I split it is so I can identify it a little easier next time. Another thing I'd like to show you is maybe you split it incorrectly. If you see this line right here where it says refine cut, this is more of your surgical type cuts that I had spoken about earlier.
08:34 And so you can get in on these cuts. The cursor to move. There we go. On these cuts down here that you made, if you made a split and say, it cut it off too. Sometimes it cuts it off too close. So you can literally zoom out and see where you've cut it off. But I highly recommend getting in there, really getting in there and seeing where it because you can, as you can see, I can make it even tighter if I wanted to.
09:01 I can drag it out more and that's actually, you know, things that I don't want in the video. So I can give it a little pause or I can make it tighter. You know, you can make your decisions with this kind of surgical cut just by dragging it back and forth. and then it pretty much sets. You might also wanna listen back to it to make sure you didn't do something screwy. Be careful about cutting too close on certain words because they may not show up completely as their end and it may continue on.
09:27 But I'm just gonna check that real quick to make sure. Okay, like that transition and it looks pretty good. So that's how I do the overlays when I add overlays. Okay, so we're going to crop this one. We need to do the split first.
09:48 Let's do undo really quick. I want to split it right there, Okay. Split it and then come to the end of it where I want it the crop to happen. Nope, not there. There. The reason why I'm doing this is so that it will apply this crop exactly where I want it to apply it.
10:12 right here in this scene. So make sure it's highlighted. If you're to do a special crop, what I'm going to do here is I'm going to click here. I'm going to hit the crop button and I'm just going to increase it. 20 % done and what that does is this right here it should zoom in on me when I go oh my gosh it was working Yeah, so that works the way I want it to work and crops are great because it adds some movement to your talking head videos and keeps the viewer a little bit more engaged.
11:02 We're gonna crop again. We're gonna put our cursor right here before YouTube. Click Split. Come down where you want it to be, which is right here. The crop is gonna happen right here and in there. So here's our split. We put our cursor over it, drag it over just like you would with your mouse.
11:23 Click on it. Click on the video piece. Click the crop. Increase it. Then I just keep going through my little list here of what I want in my video. And again, I have a spot where I'm going to add an overlay. It's right here. This is where we're going to add the overlay.
11:44 I'm gonna do a split here. And you can shorten your overlays. This is where I'm gonna put the overlays right here where I'm wiggling this around. Here's the beginning of where we want the overlay, but we need the overlay over in Riverside. So again, right hand side, your media, click that, click Upload, and grab your...
12:06 B-roll. overlay, click on it, boom, it's right where I want it to be. Now this one is a tad bit too long compared to the other one that was too short. So I'm gonna have it fill the screen, okay, right, and then I'm come down here and I'm just gonna say I don't want this that long.
12:27 So I'm gonna make it a little bit shorter, two seconds a little bit too... Let's see what that looks like. It might be too short, but I'm gonna see what it looks like.
12:50 That works fine. This is a text overlay that I use. I'm to do split there. I'm gonna end it there. I'm do this right here. I'm gonna get over here and put this at the beginning where it belongs. And I'm going to do like I did before.
13:11 I'm gonna upload but this time it's going to be just this ping and this will end up over in your images tab. So you have all, then you have your projects, you have your videos, and then you have your images tab. And if let's say I just want to use this as an image, I can do it like that. I can bring this Cancel. I want it to fill up the whole screen and voila we have it there.
13:35 Now there's one problem with it. I want it to only be. This long. There we go. Now let's see where it's gonna go.
13:58 There we go. am pressing the space button to stop it. Okay, let's say you added a scene and decided that cut wasn't all that great, which is what I kind of found out with this one. So what I'm going to do is I am going to delete it by hitting the backspace button on my keyboard. Then I'm going to go back to where I wanted the video to start. Set it where I want it be.
14:23 on it again. I'll wait for it to download. Sometimes you got to let Riverside and your internet catch up with you. What I've noticed from working in radio, if you click too fast, you get to go in too quick, the tech, everything tends to go, hey, wait a minute. Okay. Now press space button, see how this looks.
15:01 Okay, that's good for me. Okay, say you have a project that you did inside of Riverside and there's a piece of it that you want to add to your video that you have sitting here in the editor right now. If you go over to projects over on the right hand side, click on your media, go over to the projects over here on the right hand side and you can click here and you can find all your projects names and the one I'm looking for is in this one titled step two and the one that I need is the export not the edit.
15:29 but the export. So I'm gonna click that and let it insert into this video. And there you go. That's how you enter this Riverside project into this Riverside project or any video for that matter into the timeline of your current audio slash video. You can do this with audio as well.
15:51 That's pretty much my editing process. And that's it. The video is edited, uploaded to YouTube and now I leave it alone and let it do its work. And that's actually one of the best pieces of advice I can give you. Don't obsess over every individual upload. Your podcast is an ecosystem. One episode is just one piece of a much larger body of content.
16:13 So give it time to do its job and pay attention to what's happening across your podcast or channel before you decide what needs to change. If you'd like to check out what the finished product looks like for me, you can go check out my podcast, Making Business Effortless over on YouTube or head over to leahsparrow.com to learn a little bit more about me, how I help service-based business owners bring in more consistent cash and clients and check out more of my content.
16:41 Feel free to poke around. Thanks for hanging out with me and I hope this makes your own editing process a little easier.
USE CASES
Whether you're recording a podcast, hosting a live stream, or creating content for social, we've got you covered.
Got a process that works for you? Get featured by submitting your step-by-step flow. Help other creators save time, learn new tricks and improve their productions.