Turn your iPhone into a podcast studio with the Riverside app
Record a full podcast on iPhone with a USB mic, then edit, caption and export 4K without a computer.

Record a full podcast on iPhone with a USB mic, then edit, caption and export 4K without a computer.
The iPhone 17 Pro as a complete podcast studio in your pocket. Everything shown works on iPhone 15 or newer thanks to the USB-C port, so no computer is needed at any stage.
The video covers:
00:00 iPhone 17 Pro is an entire podcast studio in your pocket. I'm going to show you how you can easily record high quality video and audio podcast just with your iPhone and a USB mic or even more advanced setups where you can add a little bit of lighting and even monitor yourself using the rear camera so you can record with remote guests or by yourself and then even edit and export your content on iPhone, which means the entire production flow is right here on your phone.
00:24 Plus, I'm going to tell you about this monitor, which is MagSafe wireless and perfect for podcasting. While iPhone 17 is super powerful, you can actually do this with iPhone 15 and newer because of that USB-C port. Plus, iOS 26 allows you to choose your microphone input right here built into the iPhone. So we're going to connect a USB microphone to the iPhone, and that's all we need to record high quality video and audio.
00:46 Now, for a budget microphone pick, I would recommend the Samsung Q2U. It's about $70. Sounds great, and you can connect it with a single cable to your iPhone. But I'm going to go with an upgrade pick. This is the Shure MV7 Plus. It's USB-C rather than mini USB. This way it works with more of your cables, and this sounds great. I use this when I travel.
01:04 Then all you need is a USB-C cable. We're going to connect one into the microphone, the other end into iPhone 17 Pro, or again, iPhone 15 or newer. And that's it. We're ready to record. Now, whether you're recording solo or with remote guests, you want to download the free Riverside app to record. This is going to let you record in high quality video and audio locally on your device, but then let you manage and even edit those files in the app without taking up space on your phone.
01:26 So I logged into the Riverside app. Let's click Create, and then let's go into Record. Now, you want to make sure your orientation is unlocked by swiping down and then unlock your orientation there so you can switch it to landscape. And then one of the new features for iOS 26 is to make sure to choose the right microphone.
01:45 And you can do that when you swipe down to get to control center, tap the green area here up at the top, and then you'll actually see this input section. Tap Input, and then you can make sure that your USB microphone is chosen. That means that microphone will be used when you record with the Riverside app.
01:59 You can also choose some audio effects here. If you're in a good recording environment, maybe some sound treatment or you're at home, you can go with the standard audio. But if you're outside or maybe in a noisy environment, you can actually use Apple's voice isolation, which works incredibly well. That's going to cut out that background noise and echo.
02:16 I'm here in my studio, so I'm going to select Standard, and then we're ready to record. I'm going to swap this to the front facing camera, turn my phone landscape or sideways, and then click Join. Now, when you see this pop up, you actually want to tap No, because you're going to use your microphone both to hear your remote guests and for your voice.
02:34 To do that, we're going to get a pair of wired headphones. These can be really cheap, like $10 wired headphones you get off Amazon. And we're going to plug these into the back of the USB microphone. And even our budget microphone pick, the Samsung Q2U, also has that headphone jack for you to use.
02:49 Now, before we hit record, we can actually invite remote guests. This can be a co-host or an interview guest. I'll tap Invite, and then I can share the guest link, either copying it to my clipboard, or just hit the Share button. And then I can send this via text, air drop, slack it to someone or email it. And then my co-host or guest can also join with the Riverside app, or they can join on the computer. You can mix and match.
03:10 Now, the last thing you'll want, because you don't want to hold the iPhone the entire time you're recording a podcast, I would get an inexpensive tripod like this one for about 30 bucks, and a little clamp or mount for the iPhone. I like using these MagSafe mounts that hold onto the phone securely. And now we're ready to go.
03:23 Once my remote guest has joined me, or I'm just ready to record solo, I'll tap the red button. I'll get a countdown, and I'm recording. And what you're seeing right now is the actual Riverside recording. You're hearing this microphone, the Shure MV7 Plus directly into my iPhone. And this is the iPhone's front-facing camera, which actually looks incredible.
03:40 So this is all you have, just your iPhone, USB microphone, and wired headphones. You're good to go. You can record a high-quality video and audio podcast just like this. Then when we're done recording, I'll hit stop. Those local video and audio files are gonna upload to my Riverside account.
03:55 They won't be on my iPhone anymore taking up space. And then I can edit them right here in Riverside. I'll show you the editing process in a moment, but now let me show you a slightly more advanced setup. If you want the highest video quality possible, use the rear camera on your iPhone. It's gonna look even better than the front-facing camera. But if you're recording with remote guests, how are you gonna see them?
04:14 Well, for that, I can use this small rig wireless monitor and actually connect it wirelessly to my iPhone. Just gain a little QR code on the back of the small rig monitor. It actually has a mini Wi-Fi network that it puts off. And once you're connected, you can actually swipe down to control center, tap the screen mirroring button, mirror your phone screen to the small rig monitor. And now you can see what's on your iPhone screen on this monitor.
04:37 Because it's MagSafe, it attaches just to the back of your phone and you can record it just like this. Then you can go into the Riverside app, click create like we did before, hit record, and you'll see your remote guest or co-host on this monitor. Mount this on a tripod.
04:51 And now you get the highest quality video with the back camera and using the small rig monitor. I did an entire video on pro iPhone setups, like a true entire studio around an iPhone. I'll link that video above and down in the description.
05:03 But let's jump back into the studio. I'm gonna tap on the video preview here because I'm gonna flip around and use the back camera this time. This way you can see the difference. I'll connect our USB microphone again. We should see that pop up that says yes or no. And we'll tap no.
05:17 I can swipe down to the control center and make sure that that microphone is used as the input. And now I'll connect it to my tripod one more time, but this time add one more accessory. Depending on your lighting situation, a little cheap LED light might go a long way. This one is about $25 on Amazon. Link to this and everything else in the video description below.
05:35 You can change the intensity and color temperature. And it fits right here on the cold shoe mount with my iPhone. And now I'm ready to record even higher quality with that back camera. Here I am in the studio. I might have a remote guest with me. I'm seeing them on the monitor on the back of my phone and I'll hit record one more time.
05:50 And this was an actual Riverside recording using the rear camera on iPhone 17 Pro Max, still using the Shure MV7 Plus USB microphone connected directly to the phone. And as you can see, you get super high quality video and audio recording directly with the Riverside app and this setup, especially the upgraded cameras on the iPhone 17 Pro models.
06:09 This could really be your entire podcast studio in your pocket. Looks and sounds great. Now, once you've recorded with the Riverside app, you can actually edit it right here as well. I'll jump into that first recording I did and let's jump in to actually make some edits.
06:24 You'll see when you recorded the Riverside app on your iPhone, you actually get a full transcript right here. Now I can trim it, just cut the in and out points or I can edit it. When you go into editing mode, you can actually select individual words or even sentences and delete them right here from your phone. Adjust the size of the transcript and then you can choose full paragraphs or sentences rather than just words.
06:45 I'm going to cut out that little intro. I'll just select that line and then tap delete. Then I can scroll down, look at everything. Maybe I want to edit out specific words and once we're done editing, I'll tap save.
06:57 Now I can preview it right here. I'll even see the transcript following along as I talk. I can add animated captions, just tapping here, choose the style of captions I would like. So now I have those animated captions. I can even change the aspect ratio all here from my phone. I'll make it a vertical video.
07:13 Now I have those animated captions. I'm formatted vertically and when I'm done, I can actually export this clip right here on my iPhone in up to 4K quality, vertical or landscape. I'll click export and then I can create another edit or another clip from my podcast recording all right here.
07:26 And Riverside actually has a co-creator feature, basically an AI producer that can help you write descriptions, make clips of your content and more and it's built in to the Riverside app right here. For instance, I can ask it to write a description of my recording and co-creator is going to write it based on my recording and transcript all right here on my phone.
07:45 And I can copy that, ask follow up questions and more. I can have it create entire show notes, generate a newsletter email, create a highlight clip and this can be for short videos that you've done on your phone or entire podcast that you've recorded from your phone as well.
07:57 And once that edit I made is done exporting, I could download it here and then upload it to social media, the YouTube apps and I've done everything record, edit, make clips, write descriptions and use AI to repurpose my content fast right here from my phone.
08:11 Just got the notification that this clip is done. I can tap share and I can send it to a social media app, download the clip to my camera roll and save for later. And if you wanna make clips of your past recordings because this is your same Riverside account you use on your desktop, your iPad or other devices, you have access to all of your recordings that you can edit, repurpose and export right here from your iPhone.
08:32 And that's how to use your iPhone as an entire podcast studio in your pocket. If you have any questions, leave comments below this video, I'll answer you there and links to all the gear that I talked about is down in the description as well.
08:42 Don't forget to subscribe to the channel and hit that like button. Lots of content on the channel about podcasting for mobile devices, iPads or if you wanna upgrade your setup and even build a home studio, I'll put a video right up here that talks about setups for all budget levels.
08:54 And if you're interested in monetizing your podcast, no matter how many downloads or bigger audiences, check out my video here where I talk about five ways to monetize right now. Thanks for watching. We can't wait to see what you create.
More videos you might like
A full product tour: studio and recording, AI assets, editing, then hosting, newsletters and social.
A complete editor tour: transcript and timeline editing, AI tools, layouts, scenes and exporting.
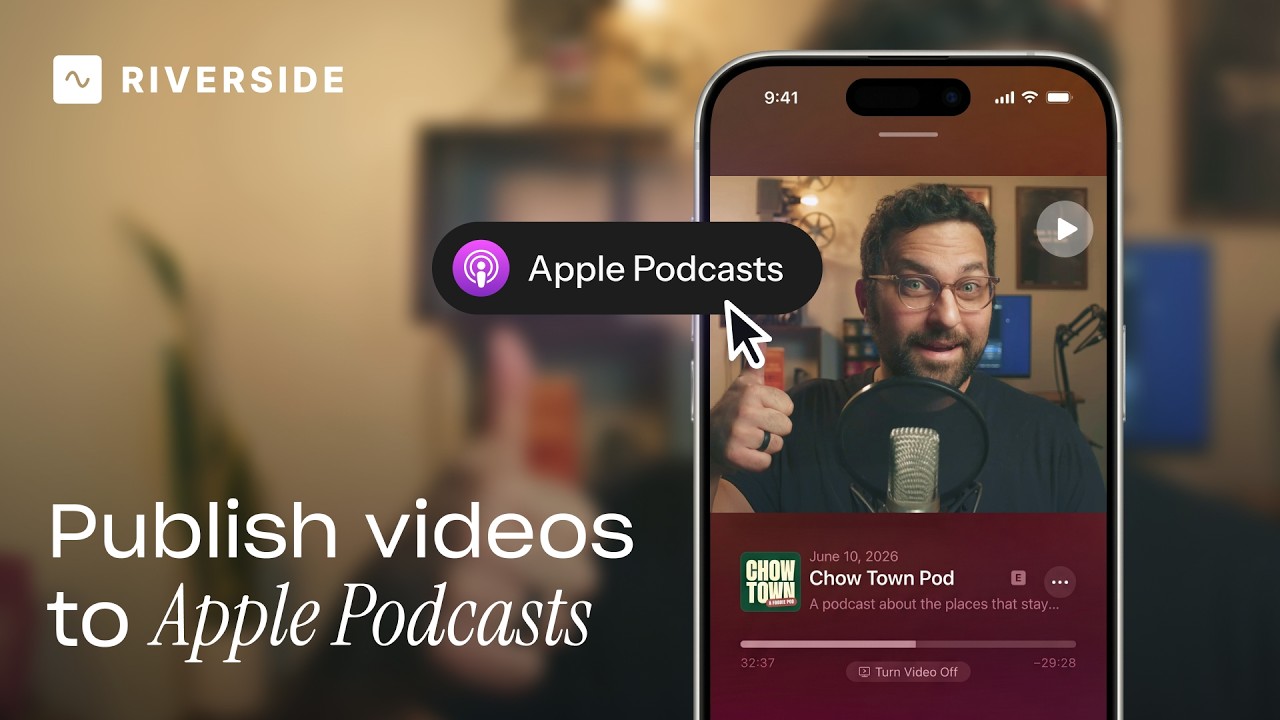
Publish video to Apple Podcasts so your audience can switch between listening and watching easily.
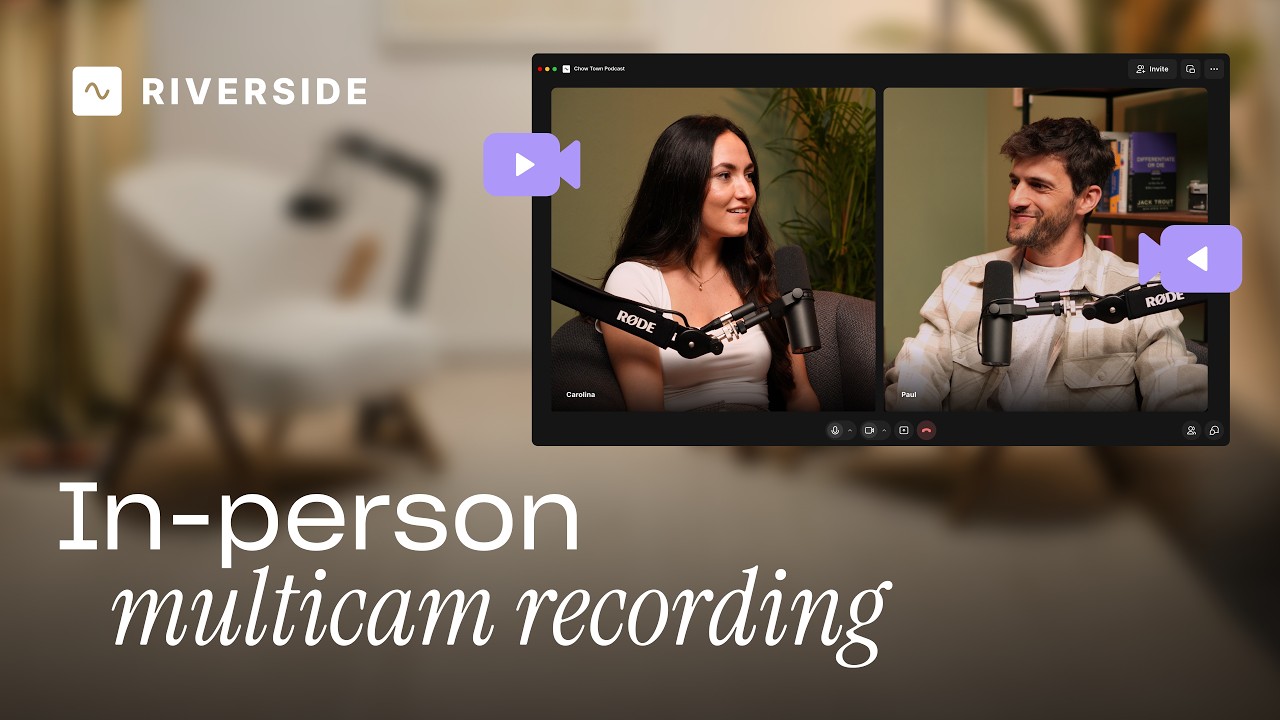
Add multiple in-person guests with their own camera and mic from one computer, as synced tracks.


.avif)
.avif)
.avif)
Got a process that works for you? Get featured by submitting your step-by-step flow. Help other creators save time, learn new tricks and improve their productions.


.avif)