Studio layouts
Picture-in-picture, split and screen share layouts that carry into the editor as scene changes.

Picture-in-picture, split and screen share layouts that carry into the editor as scene changes.
Riverside added new layouts you can switch between live in the studio. Whatever you choose while recording carries straight into the editor as scene changes, saving you time later.
The video covers:
00:00 Riverside has new layouts you can use in studio. That means when you're live streaming and recording, you can choose new picture-in-picture options, ways to share screen in engaging ways, and the best part is whatever layouts you choose while you're recording in the studio will be carried over into the Riverside editor, saving you even more time in the editing process.
00:18 Here's how to use the new studio layouts in Riverside. I'm logged into my Riverside account and let's jump into a studio to record. Once you're in the studio, you'll see a new tool at the bottom center called Layouts. Click Layouts to expand and you'll see new layouts for both you and a host or guest, two-thirds and one-thirds layouts, and new layouts for sharing
00:41 your screen where you can be small in a circle in the corner, or one of my favorites is actually a vertical picture-in-picture. I'm going to take myself out of full screen and start sharing content so you can see what it looks like. I'll also hit record so you can see what this looks like in the Riverside editor. But now that I'm recording and this will also be sent to a live stream if you connect that, I'm going to go ahead and go to the share tool and then share
01:01 a new window. And here I'll share our window talking about the new co-creator in the Riverside editor. You should check that out too. A video linked above and down in the description. And now I can go to the layouts tool here and maybe I want that vertical picture-in-picture layout. This is one of my favorites. Well now this is being recorded and sent to my live stream. I can also add myself in a picture-in-picture circle like right here, or I can still choose
01:22 to share my 16x9 frame and the screen shared next to me. I'll go back to that vertical picture-in-picture view and then stop sharing. I'm actually going to invite a remote guest so we can take a look at some of the other layouts. Now with a remote guest we can have the side-by-side layout or I can go to that one-third's two-thirds look. I can also swap maybe pinning myself so I'm two-thirds and the guest is one-third. Or I can go to that full 16x9 view or go back to that grid splitting at 5050. You can also go full screen on the active speaker which again is great for live streams. Now let's stop recording and let's take a look at these layouts in the editor.
01:50 Here on the project page let's jump into the editor by going to create and then clicking edit. As always you get that full transcript so you can edit just by selecting and deleting text. It's as easy as that. If we look down at the timeline we'll see there's some scene changes and sure enough when I shared my screen in studio while we were recording this is the layout I was using. I have a vertical picture-in-picture with a screen share and then here in the editor I can apply my brand with a single click and I'm almost ready to export.
02:16 Now you can always use our AI tools to remove silences, remove filler words, and mute people when they're not speaking. That's the smart mute feature. But you can also use the co-creator in the editor to generate titles, show notes for your podcast, and even create engaging clips of your long-form content. I can ask it for a thing like episode titles and here I have five ideas for episode titles all based on my recording. And I can go in and ask it for newsletters,
02:39 for social media posts, and if you want to change the layout to something different you had in the studio. You can use the layout tool here. You can choose to change this scene or all similar scenes which which that will affect any scene where you were sharing content. And you can choose from the circle picture-in-picture. You can even change the size of that circle by clicking large here. You could change how you and your co-host were displayed.
03:00 Maybe you prefer that zoomed in 50-50 look or you want to go too off to the side and then add some video b-roll or slides. Well you can use our image, video, or text overlay tools. Add those images or slides all right here in the Riverside editor. Alignment guides let you know when it's centered. And then when you're ready you can export this content in up to 4k quality.
03:19 And those are studio layouts in Riverside. Now if you'd like to learn more about co-creator and what it can do in the Riverside editor like add b-roll or even background music, just just asking it in a natural language, check out our video on co-creator in the editor right up here. Don't forget to subscribe to the channel and hit that like button. Lots of new features coming soon and if you missed a few, I did a roundup of 15 powerful AI tools all built into Riverside. You can watch that video right up here. Thanks for watching. We can't wait to see what you create.
More videos you might like
A full product tour: studio and recording, AI assets, editing, then hosting, newsletters and social.
A complete editor tour: transcript and timeline editing, AI tools, layouts, scenes and exporting.
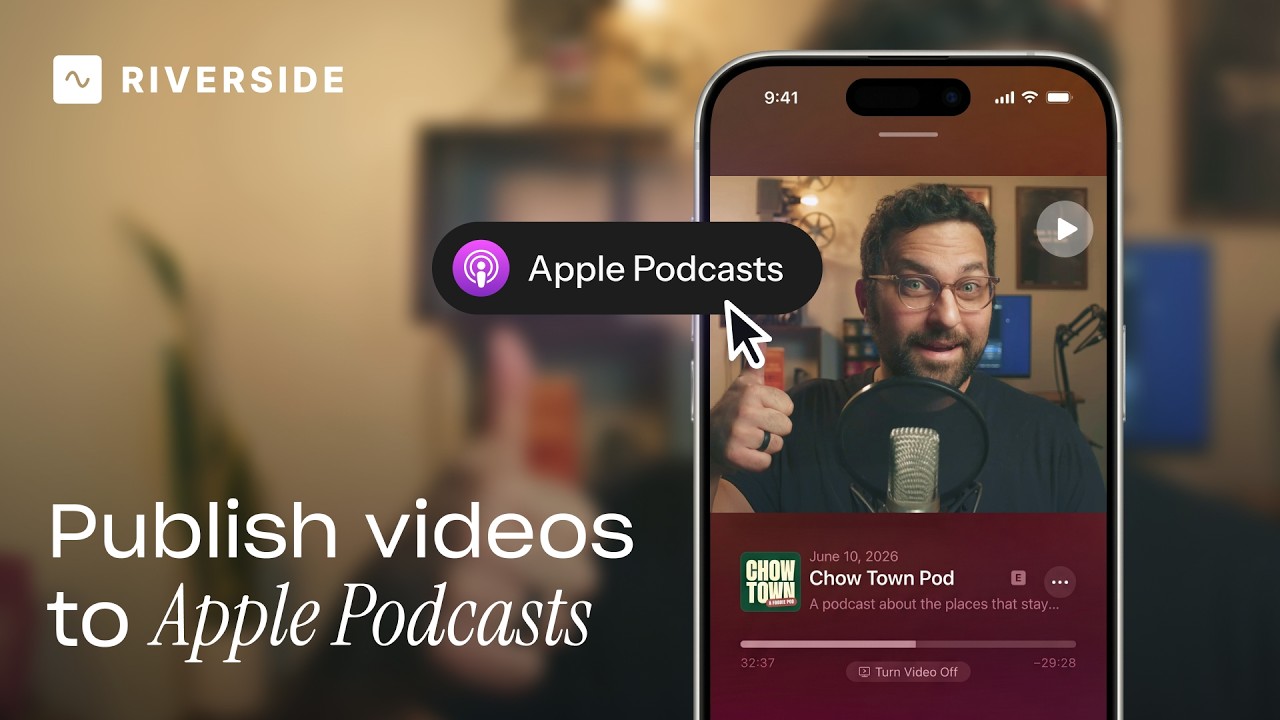
Publish video to Apple Podcasts so your audience can switch between listening and watching easily.
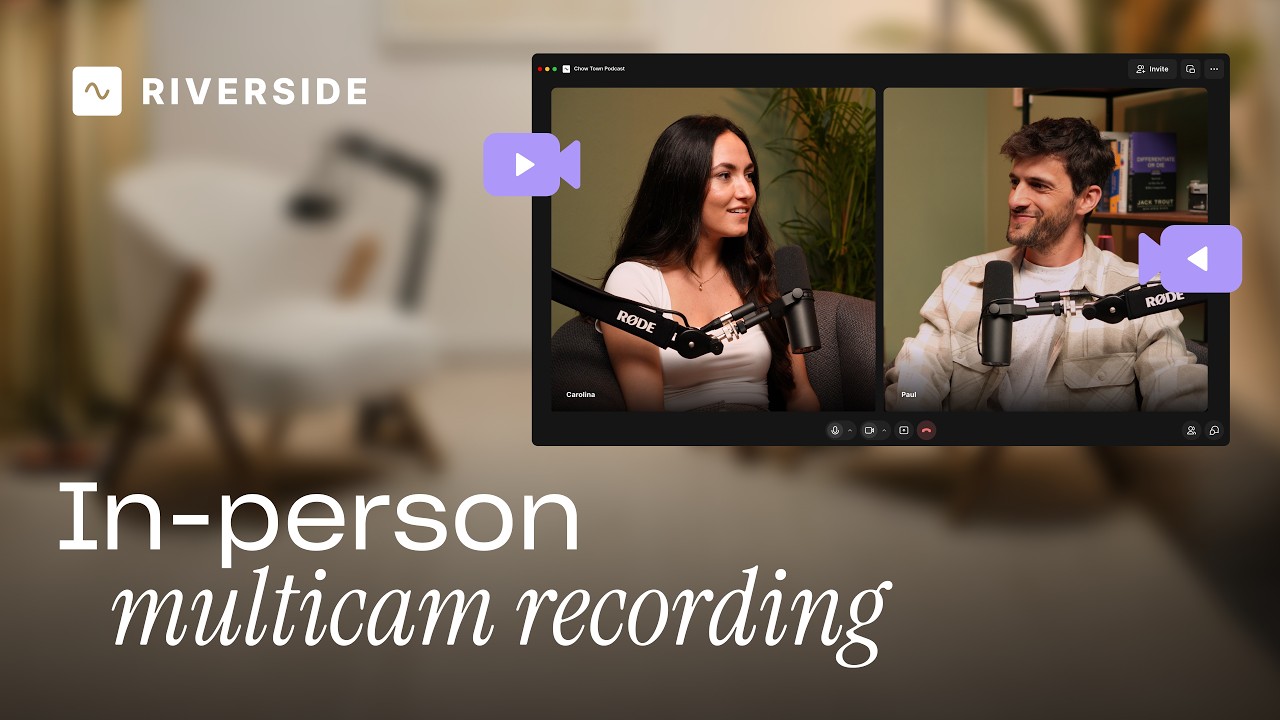
Add multiple in-person guests with their own camera and mic from one computer, as synced tracks.


.avif)
.avif)
.avif)
Got a process that works for you? Get featured by submitting your step-by-step flow. Help other creators save time, learn new tricks and improve their productions.


.avif)