Add transitions to your videos in the Riverside Editor
Add transitions between clips — fades, blurs, wipes and pixelize — and combine them with layouts.

Add transitions between clips — fades, blurs, wipes and pixelize — and combine them with layouts.
Transitions between clips have arrived in the Riverside Editor, and they work both within a recording and when inserting separate footage into it.
The video covers:
00:00 That's right. They're finally here. You can now add transitions between clips in Riverside. Now when you jump into the editor, you can split clips, add different transitions. This is great to combine with different scene changes and layouts, and you can do it as many times as you would like throughout your edit. Here's how to use our new transitions feature. So here I am in
00:17 the Riverside editor, and let's say I want to change the scene and add a transition at this point in the timeline. I'll place my playhead here, split the clip, or just click the S key on your keyboard, and now as you hover between those sections, you'll see a new add transition option. I'll choose add transition, and you'll see multiple transitions from a fade to blurs.
00:37 You can wipe different directions, pixelize, and more. Let's go with the pixelized transition at first. You can choose how long you want the transition to last, and to make this transition even more compelling, I'm going to change the layout of this scene. I'll go to the layout tool here. We'll focus on the active speaker. I'll click his name here, and if we preview this,
00:55 you'll see it goes from the two of us through the pixelated transition, and then to the active speaker full screen. And then you can add as many as you would like. Let's have another one here by splitting this clip. I'll change this layout back to the two of us. And remember, you can also swap positions of participants in the window just by clicking and dragging and moving them over. Let's click the transition. We'll go with the fade, and let's see what that looks like.
01:17 It goes from him, and then cross fades to the both of us. This also works great if you want to insert a clip, maybe it's an edit, a sponsor spot that you recorded separately in the middle of your edit here. So I'll split once again, and now I'll click the plus icon to add a new section.
01:32 This could be a blank section. This could be one of your recordings or edits, but let's choose uploads here, and let's actually choose a short clip I uploaded. This could be something you're talking about on a podcast or the recording, and I can still roll my mouse between the added clip and the recording, add a transition. Let's go with the wipe right, and now let's preview this transition. It's going from the two of us. It's going to wipe over. Now it's a clip being played that I uploaded. This can be, again, one of your recordings and edits, or one of the clips you've uploaded, and then it will go back to me and my guest.
02:03 I can add another transition out of that clip. Let's go with the dreamy transition. We can preview that. It'll go from just Jay, and now back to me and the guest. And that's how to add transitions in your Riverside edits. If you have any questions, go to this video on YouTube and ask a question in the comments. I'll answer you there. And don't forget to subscribe to the channel and hit that like button. Lots of features coming, and if you haven't seen Co-creator yet,
02:26 that's a huge feature both in the dashboard and in the editor. You can learn more about Co-creator at this video right up here. And if you're looking for even more AI tools to speed up your editing and help you repurpose your content, I did a video about the top 15 AI features in Riverside. You can check that out right up here. Thanks for watching. We can't wait to see what you create.
More videos you might like
Grow your audience with podcast SEO, a unique selling point and branding that turns searchers into listeners.
Tips from PodMatch on planning and hosting podcast interviews that keep listeners hooked until the end.
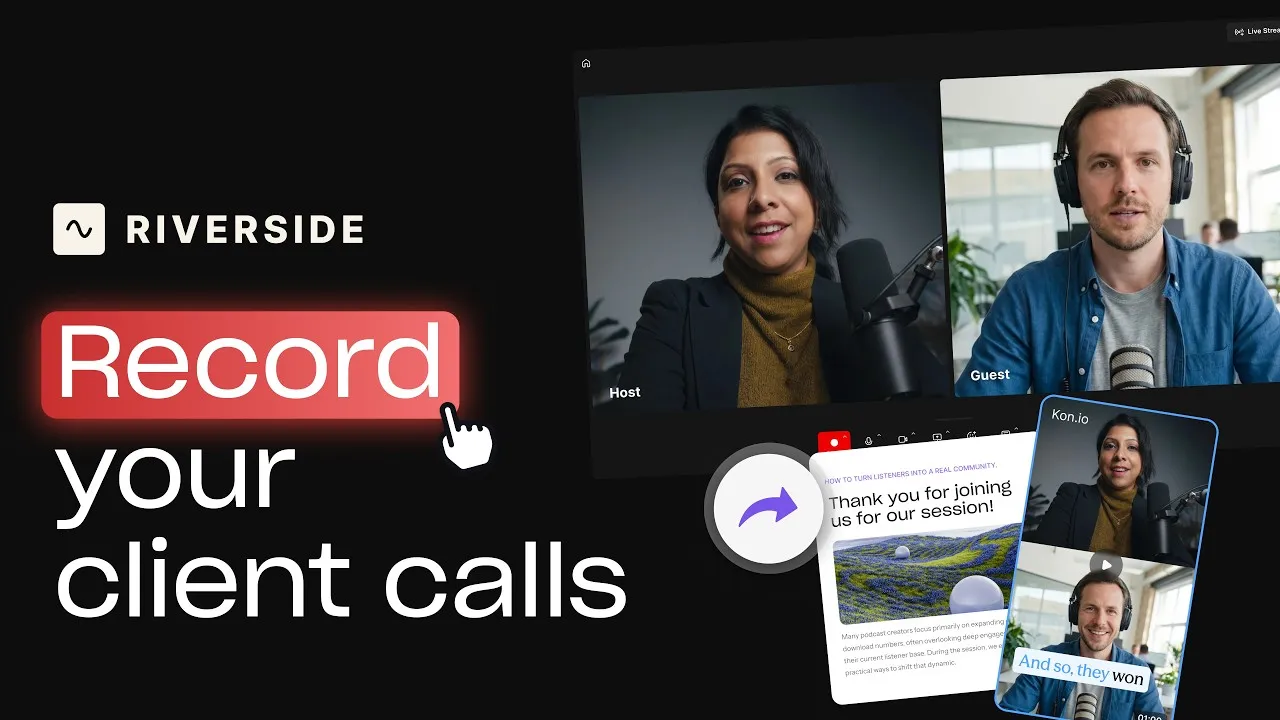
Record calls in Riverside, then use the transcript to create follow-ups, highlights, and insights.
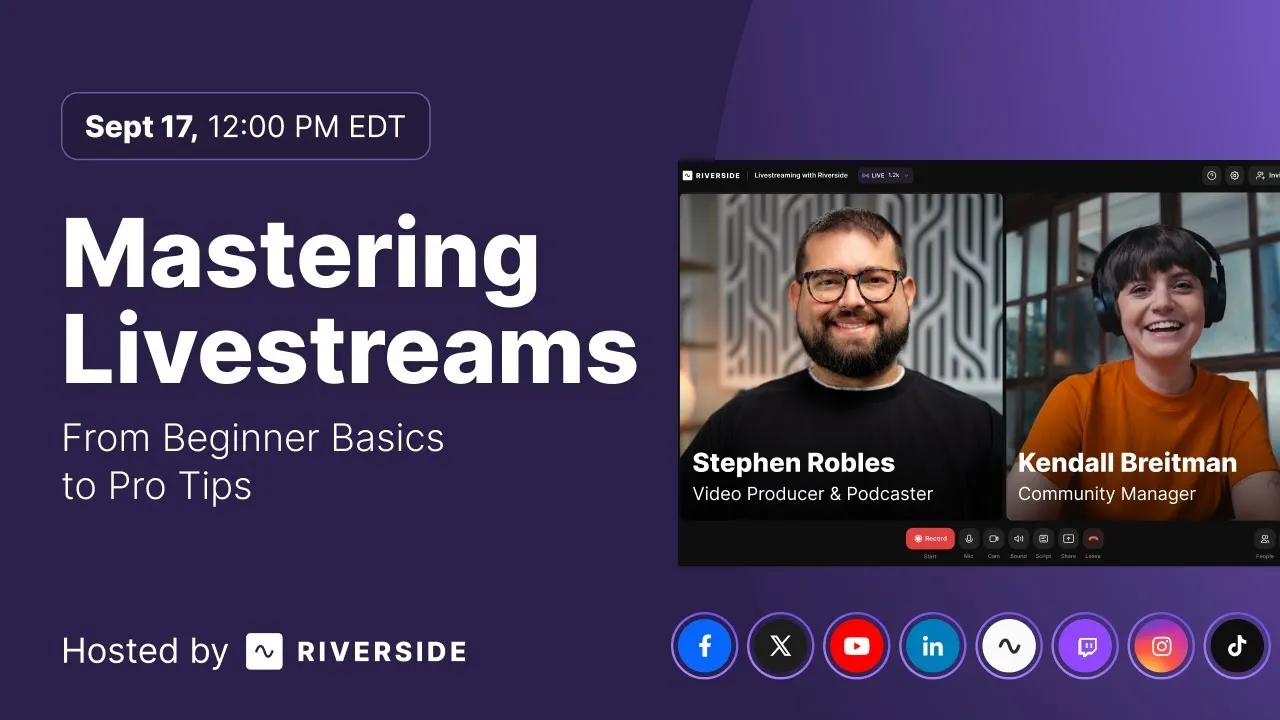
Learn how to plan, set up, repurpose, and keep livestreams engaging.
Got a process that works for you? Get featured by submitting your step-by-step flow. Help other creators save time, learn new tricks and improve their productions.


.avif)