Add zoom and pan effects in the Editor
Add some movement to your videos with zoom and pan effects in the Editor.

Add some movement to your videos with zoom and pan effects in the Editor.
Riverside has added zoom and pan to the Editor, the movement some editors know as the Ken Burns effect. It brings motion to static talking head shots and helps guide viewers to what matters.
The video covers:
00:00 In a world where a talking head video is usually static, one feature changed it all. We've just introduced a new zoom and pan feature and some of you that work in video might know it as the Ken Burns effect. Basically that means that your videos get more movement or you can focus on a specific thing. So you can start at one place and then zoom slowly into a specific part of the screen. So you can use it to emphasize, you can use to help guide your viewers and there are a few ways that you can use it that I'm going to show you in this video.
00:29 So let me show you how to use zoom and pan now in the Riverside Editor. So first what I'm going to show you is how to use it kind of in a talking head video if you want to just slowly zoom in onto your shot. So what I'm going to do is I'm going to zoom into my timeline and I'm going to pick exactly where I want this moment to happen and it's a lot easier now that you have this transcript right here in your timeline. But let's say that I want to add a little bit of emphasis here. I'm going to click on the part of the timeline where I want to add that emphasis and then under animations you're going to now see zoom and pan. So I'm going to click this button right here and then you'll see if you zoom into your timeline that you have this line.
01:08 That's going to indicate how long your zoom will happen. So let's say that I want this to be a pretty short one. You're also going to want to choose where your zoom starts and ends not just in your timeline but how it looks in the video. So for example you'll see this start here and end button right here. So this is how to look when my video starts. I'm in a hundred percent view and nothing's really zoomed in. But let's press end and let's say that I want it to be 150 percent zoomed in and I want to drag it so that I'm centered. So then I can choose ease in, ease out, linear, any of that. But I'm going to choose ease in and out for now and then press done. So here is what my video will look like now that I have those settings.
01:57 And you can see that it's slowly zoomed into my shot. If I want to zoom back out what I can do again is I can click in the part of the timeline where I want that to happen, click onto my canvas, press animate and now I'm going to add another zoom and pan. This one I'm going to set short as well but the start time here is 150 and the start percentage I'm going to do here is 100. So it zooms back out. So let's see how they work together.
02:23 It's going to go perfect. If I want to edit any of those I can just go right over here, press animate and you can see my zoom and pans are right here. You can also see them in the timeline. If I want to edit this first one it'll take me here. I can adjust those in and out points or I can get rid of it entirely. Now I want to show you how you do that for something like a screen share. So let's say that you're creating a tutorial and you want the video to really follow where your mouse is and emphasize a button. So in this video we're showing the timeline and I want to emphasize that. So I'm again going to click on the screen, click animate and add a zoom and pan here. So what I want to do here is I want it to be very quick. You could see right over here
03:10 it's going to be very quick and the start will be 100 but the end let's do 200 and then I'm going to drag over to the timeline where he's emphasizing. Maybe I'll even do 250 and really get in there. So I'll press done, show you how that'll look. You can really see that close on the screen. For this video I also want to maybe zoom into another part of my video instead of just that zoom in and out that I showed you earlier. So how I do that is I'm going to press animate, add another zoom and pan and let's for this one change, we'll keep the same 250 but let's have it end over at the canvas so that maybe he's showing something over here. And so let's show you how
03:56 that'll look. So it zooms in over here to the timeline and then kind of moves over to the canvas. So you can really follow along with those types of tutorial videos and screen shares. You could also do this with things like image overlays. So I'm going to go over here and let's just add a stock overlay. Let's just do this microphone and I'm going to make sure it's full screen. But let's say that I really want to zoom in on that microphone very slowly just to add movement to my b-roll. I'm going to click on my image overlay and then over here on animate, you already had the option to animate in and out. So let's say you want the image to fade onto the screen and kind of swipe off. You can still do that. But under this you'll see zoom and pan and over here you can see that the line now is on the image overlay rather than the timeline.
04:42 So I'm going to shorten that a bit and then let's end it at 150% and we'll have it zoom in on that microphone and press done. So then here you can see it'll slowly zoom in on that video. So between on-screen videos, having those screen shares, image overlays, there are a ton of ways that you can use this new zoom and pan to create some movement in your videos or to add some emphasis or make it even easier for people to follow along with whatever you're teaching.
05:13 So I'm excited to see what you create with the new zoom and pan feature now in your Riverside Editor.
More videos you might like
Grow your audience with podcast SEO, a unique selling point and branding that turns searchers into listeners.
Tips from PodMatch on planning and hosting podcast interviews that keep listeners hooked until the end.
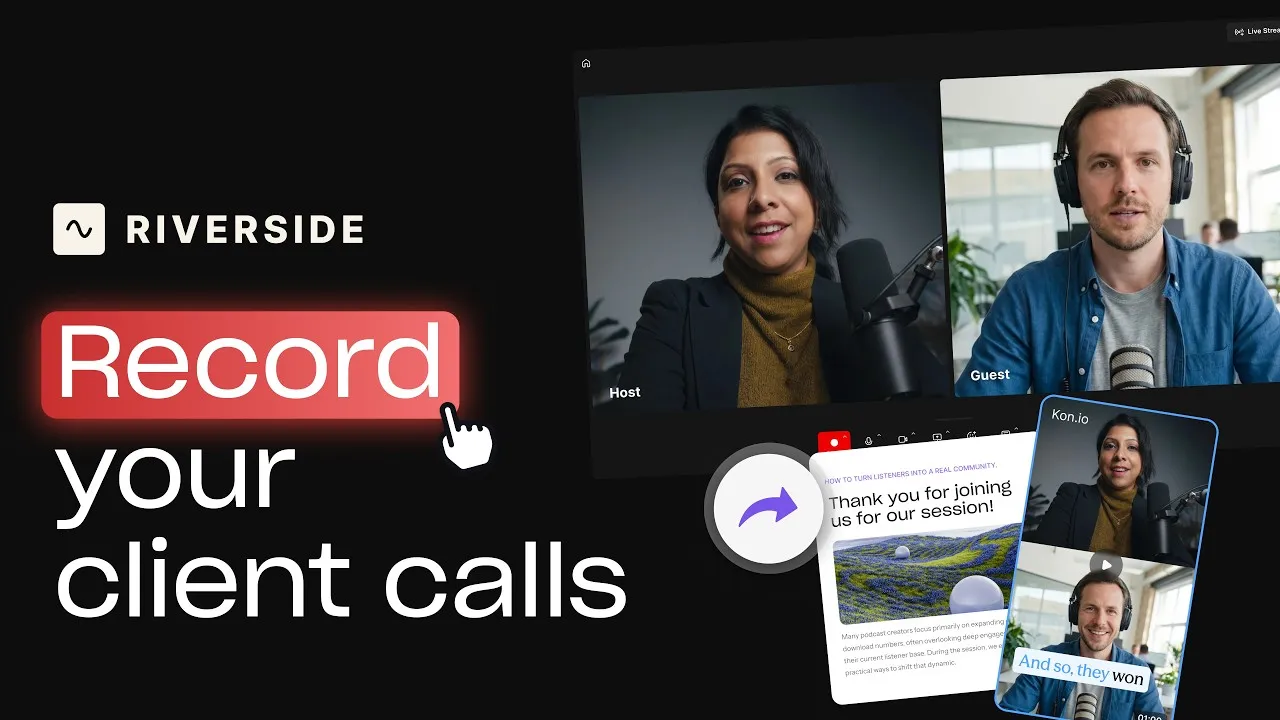
Record calls in Riverside, then use the transcript to create follow-ups, highlights, and insights.
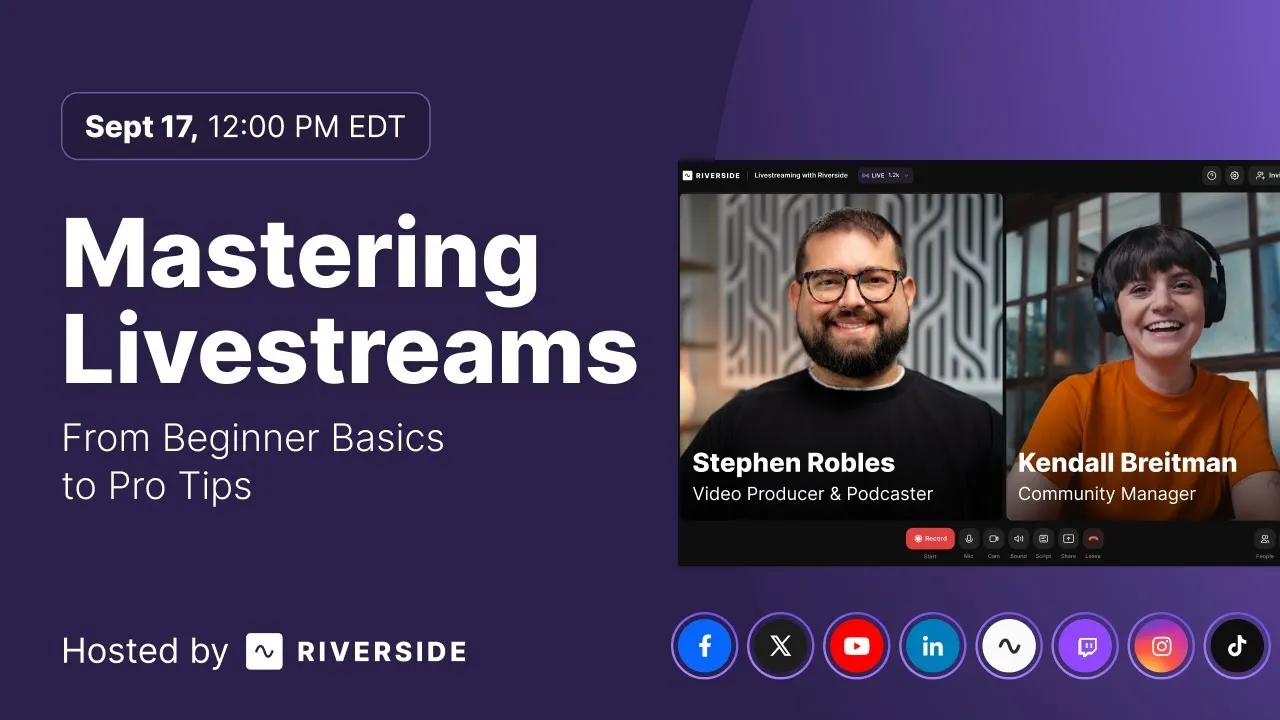
Learn how to plan, set up, repurpose, and keep livestreams engaging.
Got a process that works for you? Get featured by submitting your step-by-step flow. Help other creators save time, learn new tricks and improve their productions.


.avif)