Fix crosstalk in your podcast edit
Fix crosstalk by muting the interruption or sliding one speaker's audio so both people are heard.

Fix crosstalk by muting the interruption or sliding one speaker's audio so both people are heard.
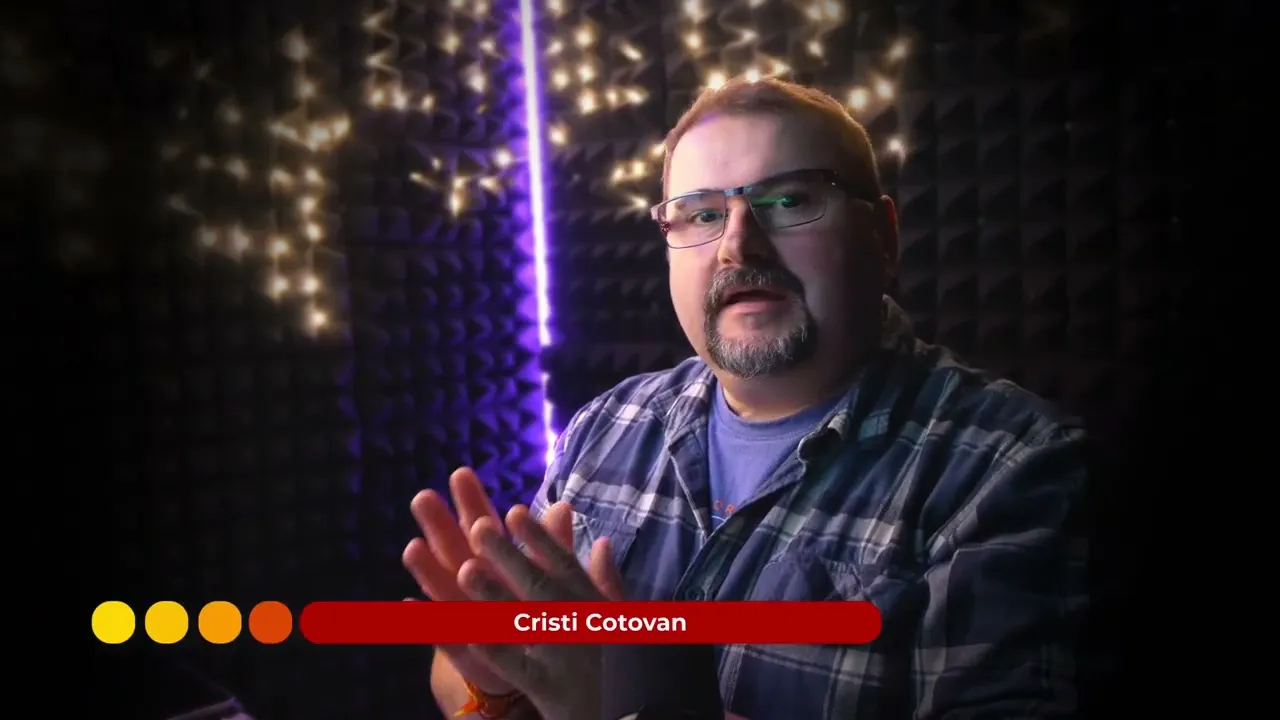
When a host and guest talk over each other, the usual fix is to mute one of them and lose what they said. In this video, Cristi Cotovan shows two ways to fix crosstalk in Riverside, including a newer approach that keeps both speakers in the final edit.
He expands the tracks to see each speaker's audio on its own line and shows the quick fix of muting just the interrupting part. Then he unlocks the tracks, splits out the overlapping segment and slides it forward so the voices no longer overlap. He fills the resulting gap, mutes the audio that comes back because editing is non-destructive, and adds scenes so nobody appears on screen talking without sound. The result is a cleaner conversation where both people's points survive the edit, with only a little extra track work involved in the process.
Riverside gives each speaker their own color, so overlapping speech is easy to spot on the timeline. Click Expand tracks to see each speaker on a separate line, then play the overlap and decide whether the interruption can go or needs to stay.
If the interrupting line isn't important, drag across just that speaker's track where they talk over the other person, and click Mute. The audio is gone, but their mouth will still move on screen.
To keep both speakers, click the lock icon in the timeline toolbar to unlock the tracks. Tracks are locked by default to keep them in sync, so only move small segments, never a whole track.
Click your track just before you start talking and press S (or click Split), then split it again where your segment ends. Drag the isolated segment forward until it no longer overlaps your guest.
Moving the segment leaves a black gap. Drag the edge of the clip before it to fill the gap; because editing is non-destructive, the original audio comes back, so select that part and mute it. If your moved segment now overlaps your guest's next line, repeat steps 4 and 5 on their track.
Add scene breaks around any moment where someone's mouth moves with no sound, using New scene or the keyboard shortcut. In that scene, go to Layout > Solo speaker and pick whoever is actually talking from the dropdown.
00:00 Hello, this is Cristi. Today I want to show you a quick workflow that I use when I have to remove crosstalk in my podcast edits. I use Riverside for this and sometimes we talk over each other, we interrupt each other. So now the new editor in Riverside allows you to fix this much more elegantly and also keep both speakers if you need to.
00:21 And let me show you how this works. I have this edit here with Brett Fisher and At various times I can't help myself and just interrupt him and talk over him. You can see it in the timeline because Riverside will color every speaker differently. You see in the timeline here that our speech is actually overlapping.
00:41 I am talking over him. I don't wait for him to finish talking. So there are two ways to fix this at the moment. One of them is to basically mute the person who is interrupting or in that case maybe interrupting. And if they say something important, you leave them in and then you mute the other person if they finish talking. I don't think that works, but that's one way to do it.
01:04 And you can do this first in the timeline. If you look at the bottom, you have the timeline tracks. They're all merged at the moment. They're shown together, but you can expand them like this. If you go to this button here to expand the tracks. And now you can see very clearly everyone's speech. And if I wanted to play this part here where I'm interrupting Brett, I want to see, can I actually mute him or should I mute myself until he's finished or what?
01:31 Let's see. Oh, only a few people a day are going to buy it. I'll put that in the questions. When you launched your course. So he just had one more thing to say there and I jumped in, but I think what I'm saying can be muted. So this is one way to do it. You just make a selection down here and this is the part that I want to mute.
01:53 from myself. if I play this again, the when you launch your, okay. So I just say, so the whatever. So I'm going to make a selection like this. just drag down here on just that track, which is mine purple or pink. And then you can use this button here to mute that selection. You can also press M to mute it.
02:13 Now that solves the problem here, but you still see me talking there and moving my mouth. Look at this. I'll put that into some of those questions. when you launch your... So maybe you don't notice it. That's one way to do it. You just mute the person who's interrupting if you can. Now, what about the other way? What if I want to actually keep both of these features and have them moved away so they don't interrupt each other, but we say these things one after the other?
02:44 So essentially, can I move my track forward so that I allow him to finish talking? and then go back to him whenever we want to resume. And now this is the nice thing that wasn't before able to do in the Riverside editor, which is to move the tracks from each other, like basically move them and change the offset.
03:06 And you don't want to do this for the entire track because you will move the tracks out of sync. What you need to do is isolate a little segment that then you move and As a protection, you look in the timeline here at the top, there is this lock icon, which if I just move these things down, you see it says the tracks are locked to keep them in sync.
03:29 So you only want to turn that off if you really want to move the tracks or just a little bit of the tracks away. So let's unlock the tracks. I will just move this up so I can make some room. And now what exactly do I want to do? I want to basically take my speech and everything that comes after here, this whole segment where I'm talking, and I want to move it forward to make room for Brett here to finish talking.
03:54 So how do I do this? Well, you can make a selection down here and it's not really a selection. You just click on the track itself. I'm going to click on my track before I talk. What this allows you to do is slice or split the clip right there. You can press S to split like this, or you can press this button on the top toolbar here.
04:17 It's called split. You split it. And because my track was selected, that's what was split. And I'm going to go and split my track here as well and select again and press S. So look what you can do now. You can take this piece of the track that I isolated, this segment, and essentially just slide it forward like this.
04:40 And look at this, I have now moved it and it's not overlapping anymore. I'll put that into some of those questions. the way the downside is now that I have created on my track, I have created a black video because look, there is a gap here now because I moved that little segment forward.
05:02 So how do I solve this gap? Well, I can actually take this clip here and just expand it back. And look what it's doing. It's actually bringing that audio back, which now I need to mute because editing in Riverside is non-destructive. You actually get that audio back because I split and I expanded the split anyway, and it brings back the audio.
05:22 So in this case, I'm selecting that and muting it. Now the speech is fixed. The crosstalk is repaired. Look at this. I'll put that into some of those questions. So the, when you launch your core. So then there you go. It's very nice. Now, the only maybe thing if you're watching my video now, it looks like I'm talking and there's no sound coming.
05:45 If that bothers you, you can actually let the previous speaker stay full screen on the screen until they're done and then switch back to the person who is talking next. So let's go here. I'm going to insert a scene right here after Brett has finished talking. So you put your mouse, you you bring your play head in that location.
06:06 And you can either press this button here, insert scene, or you press forward slash on your keyboard. And now this is a scene here. And in this previous scene, I'm going to actually go about here when we were both on the screen, press slash again to insert a new scene. And in this particular scene that I just created, which begins here and ends here, I'm going to move to a single speaker layout and put Brett on the screen full screen.
06:32 So going to layout here and select solo speaker. And there he is. If instead the other speaker shows up here, you can select it and move from this dropdown, switch who you want to appear in that solo speaker scene. So I'm just going to play again the end here. This is where he finishes talking and you see he's on the screen.
06:53 I'll put that into some of those questions. now you can see how the scene, the screen has moved to me. So one thing you may have noticed when I was doing these splits is that Because I moved my segment forward, I have now overlapped with Brett here when he starts talking again.
07:13 So for this reason, what I can do is I can just make another split this time in Brett's track. And the same thing, press S, move Brett's track forward until about here, you know, and he's waiting for me now to finish talking and then expand this piece of Brett's track again and maybe just mute the whole thing, just select it so we don't have that little sound there.
07:42 Okay. And again, the same procedure. If I'm talking here and it looks like Brett's video is repeating because that's exactly what's happening. His video here is also copied here because I expanded it. If it looks like his mouth is moving again, you can do the same. I can put a scene right here before he starts talking.
08:02 Insert a scene by using the scene button here. You can do this. Press a new scene and then I can go and maybe for this part here, insert a new scene again. This insertion of scenes basically isolates that little segment so you can do something different visually for that part. It doesn't affect the audio. So in this little scene that I created, I'm going to go again to layout, solo speaker.
08:27 And in this case, it's me talking. So I'm going to switch from here. to me full screen and there you go I'm talking here existed which obviously had courses in it already. Yeah for the Docker the Doc. So we are back now to side by side speakers. So a little bit of acrobatics here with the tracks but this flexibility I really appreciate it now because I no longer have to mute somebody sacrifice one track or the other in that crosstalk section and you can really elegantly fix it here and just.
09:00 paint over it with different scene layouts. So yeah, I hope this helps. Thank you for watching.
Use the Riverside MCP and a prompt series to turn one episode into show notes, titles, posts and clips.
USE CASES
Whether you're recording a podcast, hosting a live stream, or creating content for social, we've got you covered.
Got a process that works for you? Get featured by submitting your step-by-step flow. Help other creators save time, learn new tricks and improve their productions.


.webp)