Set up high-converting webinars on Riverside
Webinars that convert: branded signup forms, CRM sync, polls, on-screen comments and live call-ins.

Webinars that convert: branded signup forms, CRM sync, polls, on-screen comments and live call-ins.
A practical guide to producing webinars that actually convert, covering everything from the signup form through to the live session itself.
The video covers:
00:00 Producing a high quality webinar doesn't have to be difficult. In this video I'm going to show you how to produce an engaging webinar. Not only showing video and other media, changing layouts for slides and multiple guests, interacting with your audience and showing their comments on screen, and you can even have your audience members call in live and share a question or thought on camera and video. So here's how to create webinars that convert with Riverside. Step one, you want to make it easy for audience members to register and get information about your webinar.
00:26 And when you use Riverside, you can schedule a future webinar and create custom signup forms. I'm going to go to the schedule tab here in my Riverside studio and let's schedule a future webinar. I'll click new in the top right. Title is something engaging. Remember your audience will see this title on the signup form. We can choose our future date and time here. If you're going to have remote guests and other co-hosts joining in the webinar, fill in their information here.
00:48 And let's add a description. After you add a description, you can actually pre-record webinar content and then you can upload it here as you're creating the event. This way it will be ready to play at the time that you sit, but we're going to do a live webinar. So I'll toggle that off. Then you'll see audience registration. This is really powerful because you can create a custom form with even custom fields. So let's say we want a registration form. We can say who
01:10 it's hosted by, maybe the main host or guest of the webinar. You'll have name and email address plus phone, company, and how did you hear about us already in the form. Of course, you can remove any of these fields that you want or add custom fields, including open text fields, single selection, or checkbox. So you can get the information you want from the audience as they register. And in a moment, I'll show you how you can sync that information to HubSpot and
01:34 Salesforce directly in Riverside. You can even add a logo and background image to the signup form so it matches your brand. And we not only want to send an email confirmation, but I'm going to send them a reminder a day, an hour before the webinar starts to make sure they join. And at the bottom, you can live stream directly on the Riverside platform using our audience mode. And you can live stream simultaneously to a YouTube channel, LinkedIn page, or Twitch.
01:56 And comments on those platforms will actually be brought into the Riverside studio. I'll show you how that works in a moment. Let's click create session. And now we can send out this registration link via email on social media, and we'll see registrant information as they fill out that form. Now, once someone's signing up for the webinar goes to that link, you'll see our logo, custom background image, the webinar information, title and description, and they can fill out the
02:18 form here. They'll click save my spot. They'll get a confirmation email and those reminder emails closer to the webinar. They can also add it to their Google calendar with just a click. Now, as attendees register for the event, I get to see in real time as they're added here to our session. I can click the one registrant. There's the person that registered. And if they lost their link, I can resend it or just copy the join link. And those links are unique to each attendee.
02:40 This way you will know if they actually attended and watch the webinar. Then both before and after the webinar, you can sync this information both to HubSpot and Salesforce, the information about what webinar they attended that will be in their details in those CRMs. And now it makes it even easier to follow up with attendees and make sure no one falls through the cracks. Let's say it's the day of the webinar. Let's jump in and create some engaging moments. I'll click start
03:02 session on the webinar. You as the host and any remote guests will choose their camera, microphone, and speaker, whether you're using headphones and let's join the studio. Now we can still add those live stream destinations right here before we click record. If I go up here to the live stream menu, I can add different social media platforms. So I'm going to add others and let's actually add a Twitch account. And it's that easy. You just log in with your Twitch
03:23 account. The same would be true for YouTube, Facebook, or LinkedIn. And now we're going to live stream both to our Twitch page and to Riverside's audience platform. Now before the day of the webinar, you can upload slides and other media so they're ready to play here in your Riverside studio. For instance, I can go down to the share button and here you'll see presentation. Here you can upload Keynote, PowerPoint, or a PDF. And then these slides will be ready to play.
03:46 You can advance through them or even give one of your remote guests access to move these slides. Just click the plus button and other remote guests will appear there so they can control them. I can stop the slide presentation here and I can also share my screen, either full screen, a window, or a tab in my browser. I would also recommend adding video or other media to your
04:04 webinar. And you can do that using the media board here on the right hand side. I usually recommend having a countdown. This way you can start the live stream and make sure everything's connected properly. And you can also hide yourself as a host and any remote guests while the countdown plays. Here in the people tab on the right, I can click hide for myself.
04:22 And then those who are viewing live will just see the countdown video. Then once that hits zero and it's time to present, I can show myself and any other remote guests on stage. Also while you're streaming, Riverside now has multiple layout options for both people and any media you might be sharing, slides, videos, or sharing your screen or browser. You'll see the layout tool down here at the bottom. And if I'm sharing content, I can choose to overlay myself in a
04:45 vertical window. And then you see the media large next to me. I really like this layout. You can also have yourself in a circle on the bottom and the screen share or media even larger. Or you can show the full 16 by 9 video. And when you have multiple guests, you have layout options for 5050, one thirds, two thirds, and more. To stop media from showing to the live audience
05:08 and being recorded, I'll just go back to the media board and then click preview down here in the bottom right. You'll also notice that our live stream is branded. You can do that here in the brand tool, adding your background logo. You can choose a solid color to match your brand colors. And you can also choose your fonts and how names appear on you and your remote guests. And above that, you also have the chat tool. This way you can actually see the messages from
05:30 those live streamed platforms. And there's an internal or studio chat if you need to send a message to your other remote guests and webinar hosts for something behind the scenes. Finally, before you start the webinar, visit our text tool here on the right because you can create lower thirds and these will appear on screen. And if your audience is watching on Riverside audience mode, these are actually clickable and they can click this paperclip right here and visit the
05:53 link that I'm showing on screen. I'll show you what the audience sees in a moment. As for right now, let's go back to our countdown video. I'll show that on screen. I'll hide myself. I've also had a remote guest join me. Maybe this is a special interview guest for your webinar and you can always invite someone else by clicking the invite button and copying the guest link. The guest link is someone who's going to record and be in the webinar with you and you can invite
06:15 them via email here. Now I'm going to hide my guest because again the countdown video is rolling and let's go live. I'll click the go live button here at the bottom and now we're being recorded in high quality and we're going to be live streamed. Now I've joined the webinar as an audience member and this is what they're seeing right now. The countdown video, the live chat where they can start saying hello and engaging with the webinar and as they leave chat messages there,
06:36 you and your producers will see those messages here in the studio. Now that the countdown is nearing zero, I'll actually show us on stage. I'll show myself and my special guests and we can hide the media just by clicking preview down here and now we're live. Those watching via Riverside audience mode are seeing me and my guests right now and this is what it looks like for them watching us on Twitch. Now for you, another remote guest, you can choose how you're laid out to the live audience as well. Maybe I want to be on the left and my guest on the right.
06:58 Well you can do that and it will be reflected for those watching live. I can also go back down to the layout tool here and maybe I want to show the full 16x9 video for me and my guests. You can do that and it will also be reflected for those watching live. Now let's share some of the presentation slides we had. I'll go to presentation, play one of the slides and again we can adjust the layout here. I personally like that vertical window in the slides and it'll
07:20 switch between the active speaker in my window and again every layout that you change in the Riverside studio will be reflected on any platform you're live streaming to and you're still getting a high quality local video and audio recording of you, your remote guests, any hosts and any slides or screen shares you'll be doing as well. That means you can repurpose all this content later in full high quality. Now let's say someone's watching on Twitch and they
07:42 send us a message but when they ask a question here in the Twitch chat you'll see that as a host or producer here in Riverside. I'll even see what platform it came from with that little avatar icon and if I wanted to I can show this question on screen. It shows that viewer's avatar, their username, what platform they're on. Now we can answer that question. This is immediately going to help your audience feel more engaged that they're being seen and heard and give
08:05 you great ways to do Q&A sessions throughout the webinar. You'll also see some new features here in Riverside called Q&A and polls. Audience members can actually choose to leave questions under that Q&A tab and then here in the studio I actually see those marked as a question and I can even filter it by going to Q&A and then showing those on screen and again now you'll see that someone's watching on Riverside audience mode you'll see their name and you can interact
08:27 with that question. You as the host or creator can also create polls that those watching in Riverside audience mode can participate in and you'll see that poll appears here for the audience and then they can vote. Let's say they say yes and I'll see those poll results live as the host or producer here in the webinar. Audience members also have reactions now so they can thumbs up heart or celebrate and everyone who's watching live will see those reactions down here. You
08:50 can also disable those in your studio settings if you prefer not to have those and a few other tools before we get to repurposing your webinar you can actually have an entire script or just notes down here at the bottom even go into teleprompter mode in Riverside to read from that script while you're recording and live streaming. You can also share that script or bullet points with guests so they can see it while you're here in the studio. And one last
09:11 feature here in the studio is audience live call-ins. For the audience mode they can see request live call-in down here in the bottom. When they click that they'll allow access to their camera and microphone just like they were a remote guest they choose their camera microphone and speaker here click continue they can enter their name the question they'd like to ask whether or not they're using headphones and then start the live call. Once the audience member does that
09:34 I'll see here in the US the host or producer will see under the people tab here in the studio that there's a live call-in request. If you'd like to accept them you can choose to let them in and they're going to join via video and audio they can ask their question and when they're done you can remove that participant from the studio and behind the scenes their high quality video and audio will be uploaded and you can access that as a testimonial use it in a short
09:56 form video later and repurpose it in many ways. Now that our webinar is over I'll click stop here at the bottom and as soon as I click stop even though me and my remote guests are still here in the studio we can see and hear each other the audience no longer sees us. The audience will just go back to that welcome screen and we can stay here in the studio for a few moments as our video and audio uploads. I just got green checks that everything's uploaded including that
10:18 audience question and our presentation and we're ready to go and start editing and repurposing this content. Now once you're done recording here on your dashboard you can go back into that project and here on the made for you tab I can jump into that magic episode put finishing touches and publish it. I also get AI generated show notes which is great to repurpose with some takeaways possible titles and sound bites. And then for magic clips I have a bunch of vertical videos
10:42 ready to go I can jump in and again add some b-roll or finishing touches and those are ready to share. And Riverside now offers magic segments which are about five to ten minute videos allowing you to repurpose longer content like a webinar or live stream that's an hour plus into multiple long form videos. And we even provide magic hooks these are engaging 30-ish second clips that you can put at the beginning of your short form video or segments to really
11:06 drive curiosity and hook those viewers right at the front. And here's the webinar we just finished recording our magic episode is ready to go put finishing touches on it we have magic clips already pulled hooks and there's a very powerful tool here on your dashboard called co-creator. I can click ask co-creator here in the top right and I can ask it for blog posts newsletters even show notes based on this recording. For instance I asked for a blog post
11:30 and I was going to generate a blog post based on the content we just recorded and because you get a transcript every time you record this blog post is based on your actual content you don't have to ask it for anything specific it will know what your content was about here's my blog post and how I can post that on my website with the recording of the webinar. I can even ask it for an email newsletter just with one click I can create a newsletter email and co-creator has
11:53 made that as well. You can even ask it to generate thumbnail images for YouTube social media images LinkedIn posts and more. And if you want to generate even more clips from this recording I can always go to the create button here generate more magic clips and more hooks or magic segments depending on the length of your recording. Let's jump into the editor with our
12:14 raw recording and we see how quickly we can get this put together. I'll go to edit now here's me and remote guest and let's say we want to apply our brand. I can quickly go over to the brand tool click apply brand that'll have our background image colors preferred layouts and more and this will already be done for me in the magic episode that was generated and that co-creator I showed you in the dashboard is also available here in the editor. So if I go up to co-creator I can ask
12:38 it to improve the sound that will improve the audio of any and all guests removing background sounds and making any microphone sound studio quality. I can also go over to AI tools here and remove any fluff maybe some small talking rabbit trails that happen. I'll remove all pauses and silences in a single click and just like that co-creator has removed all the silences. I can also remove filler words smart mute will mute someone when they're not speaking cuts down on
13:02 even more background audience and I can ask co-creator things like just add background music. I'll click add background music it'll ask for a mood or a style and you can just ask it things in natural language it will find an audio track that's royalty free so you can use it however you'd like and then it will just insert that audio track into our project without us having to do anything else. Just like that you see the audio is added below our timeline it already has
13:23 a fade in and fade out. I could still move that music around and edit if I'd like but we're ready to go. You'll also see any questions or comments that you showed on screen from audience will actually be here as text overlays in the riverside editor meaning your recording will be just as engaging as the live stream and you still have the flexibility to change the layouts even here in the riverside editor. So I can go down to our layout tool here maybe choose the full
13:48 16 by 9 ratio for me and the guest or maybe for the screen shares I prefer that vertical layout or the circle in the corner. Well I can choose that layout choose the shape and size of the picture in picture and I can add a new scene that changes the layout throughout the recording making it visually engaging the whole time. I can also go back in and ask co-creator things like add several v-roll clips to my edit and that quickly I can add even more visually engaging
14:12 elements just by asking co-creator. You can even ask riverside to generate video using google v03 or animate still images giving you all the flexibility to create the content you want and if you still want to make granular edits to your recording you can still select text here in the transcript click delete or cut copy and paste and you're editing your video and audio just by selecting just by editing the text like it's a word document. If I want to create a
14:35 vertical video, I can quickly change the format up here, change the layout once again, and then I can create multiple vertical videos for my long-form content all right here. Then when you're ready, you can export the finished recording and up to 4K quality. I'll put that to your website or send it to attendees so they can re-watch the webinar. And of course, you have all the magic clips that were generated for you for sharing on social media. You have the hooks, great for introing
14:57 those longer form segments, and you still have access to that attendee list. This way you can sync it to HubSpot or Salesforce and make sure everyone who didn't attend or watch the webinar live gets the recording. And that's how to record, edit and repurpose your engaging webinar. If you have any questions, go to our YouTube channel and leave comments below those videos, and subscribe to our YouTube channel. There, lots of tutorials on how to live stream, upgrade your gear and more,
15:20 which, if you're looking to upgrade maybe your camera or microphone setup, I'll put a video right here about that for all budget levels. And if you're trying to grow in organic media, like on YouTube or in a podcast, we have growth strategies for that as well. I'll put a video on that right up here. Thank you for watching. We can't wait to see the webinars you create.
More videos you might like
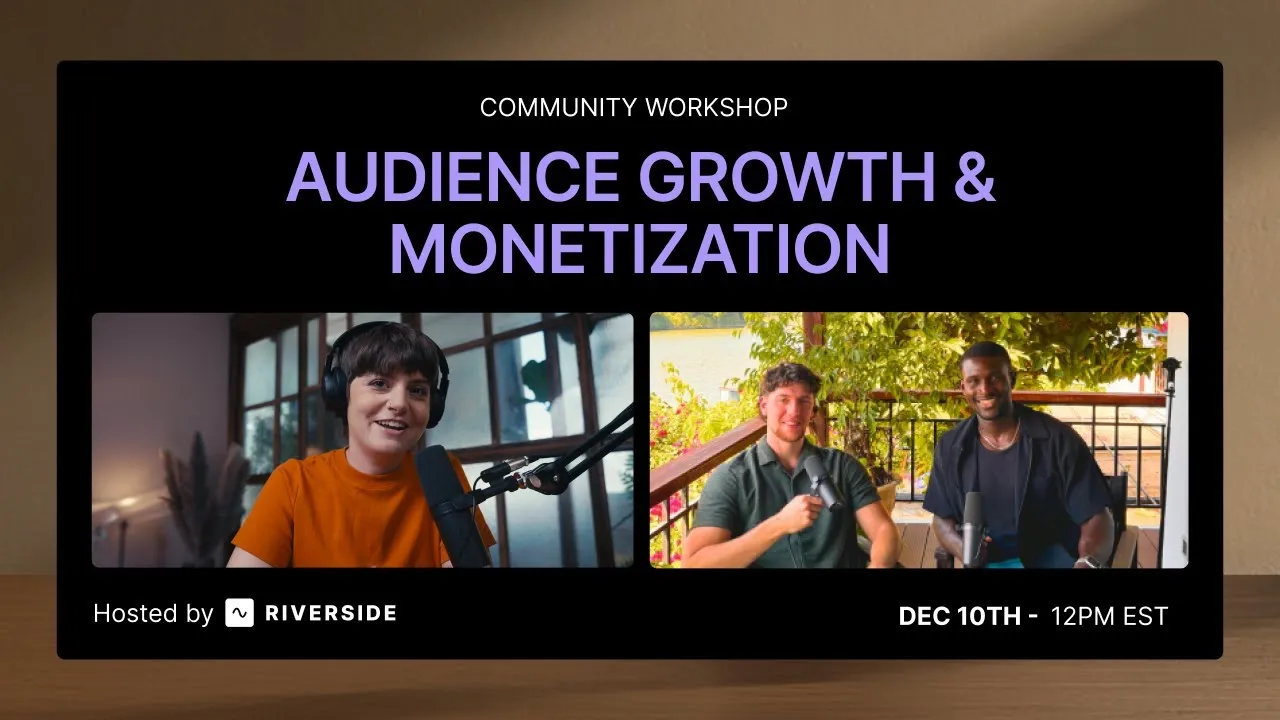
Grow your audience with podcast SEO, a unique selling point and branding that turns searchers into listeners.
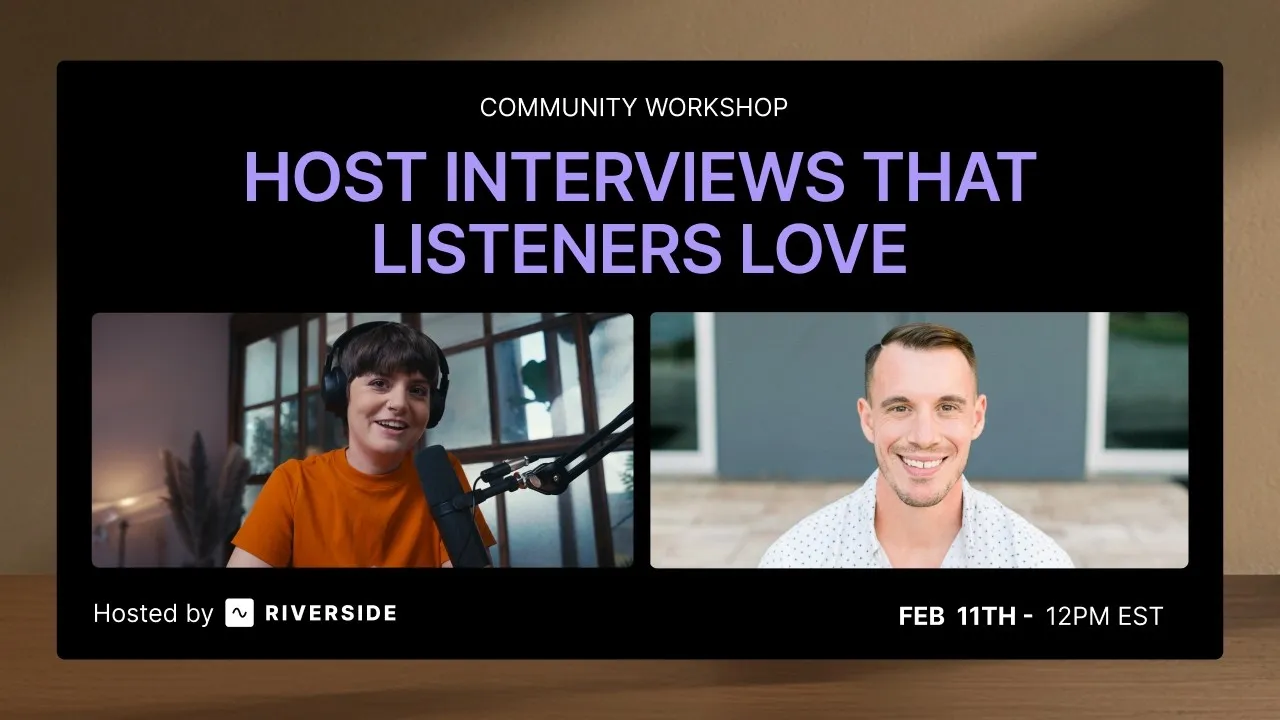
Tips from PodMatch on planning and hosting podcast interviews that keep listeners hooked until the end.
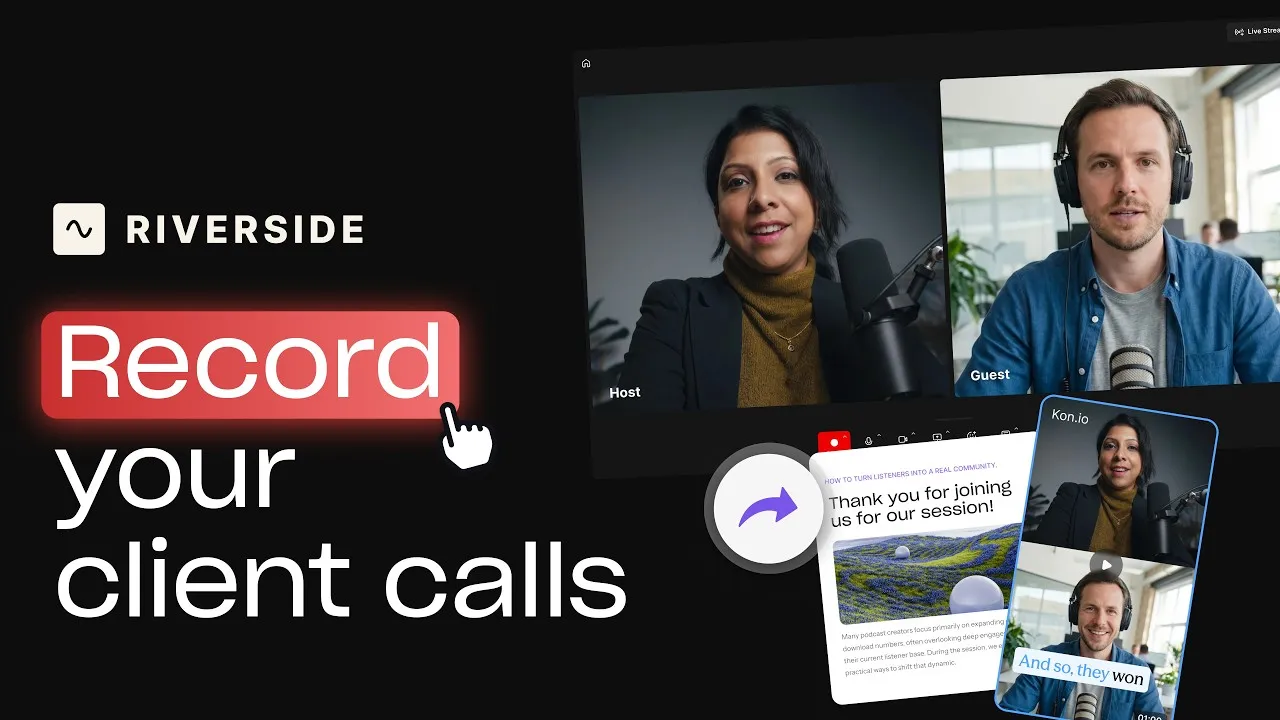
Record calls in Riverside, then use the transcript to create follow-ups, highlights, and insights.
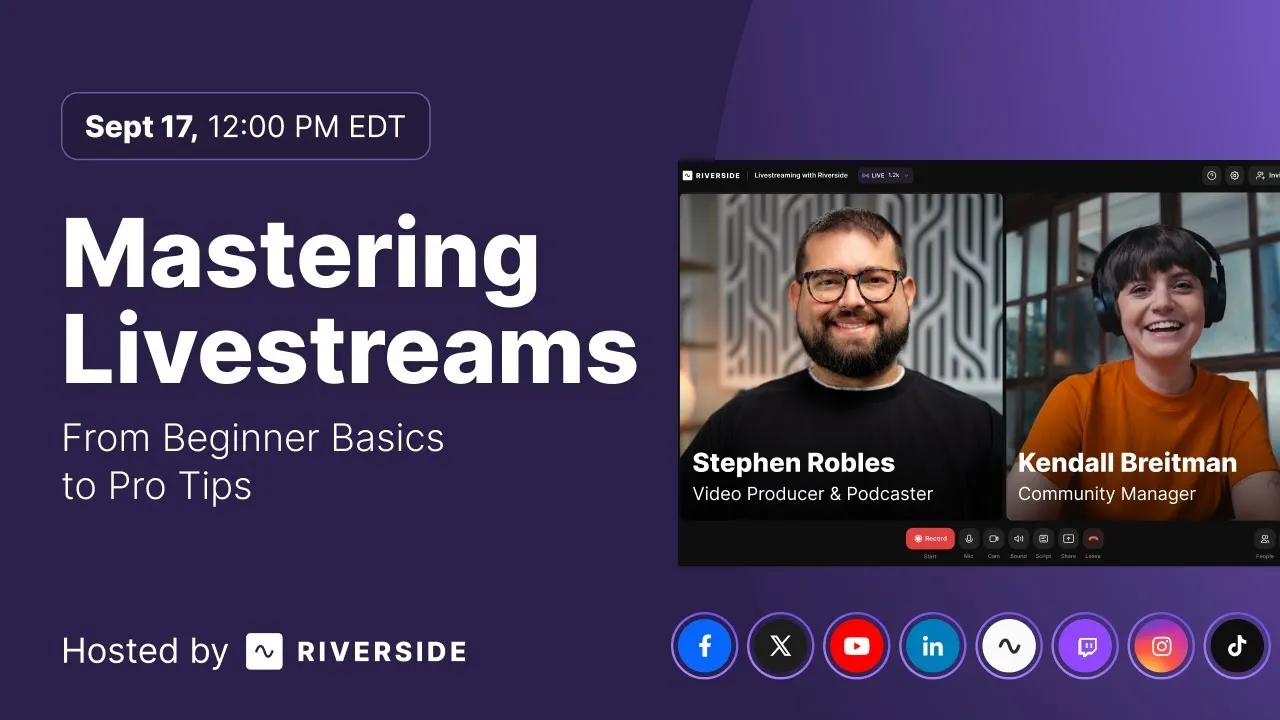
Learn how to plan, set up, repurpose, and keep livestreams engaging.
Got a process that works for you? Get featured by submitting your step-by-step flow. Help other creators save time, learn new tricks and improve their productions.


.avif)