How to build reusable motion graphics templates
Build animated names, CTAs and subscribe graphics once, save them as scenes and reuse them anywhere.

Build animated names, CTAs and subscribe graphics once, save them as scenes and reuse them anywhere.
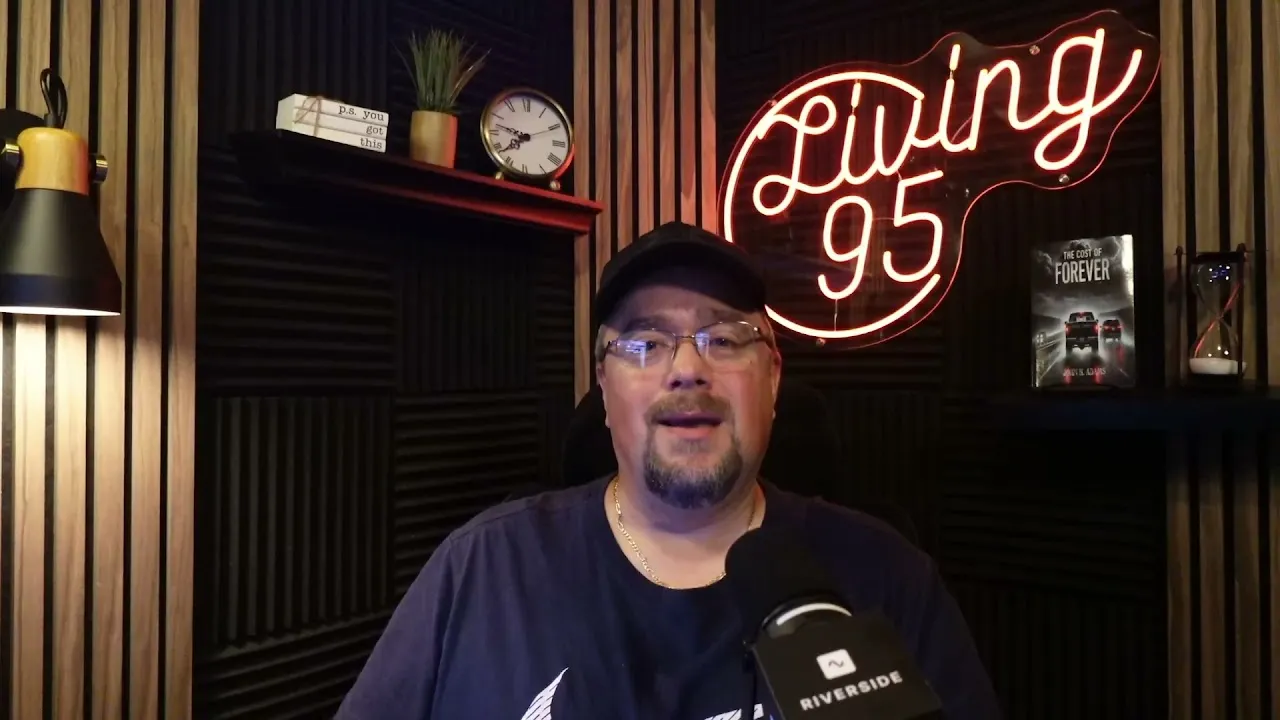
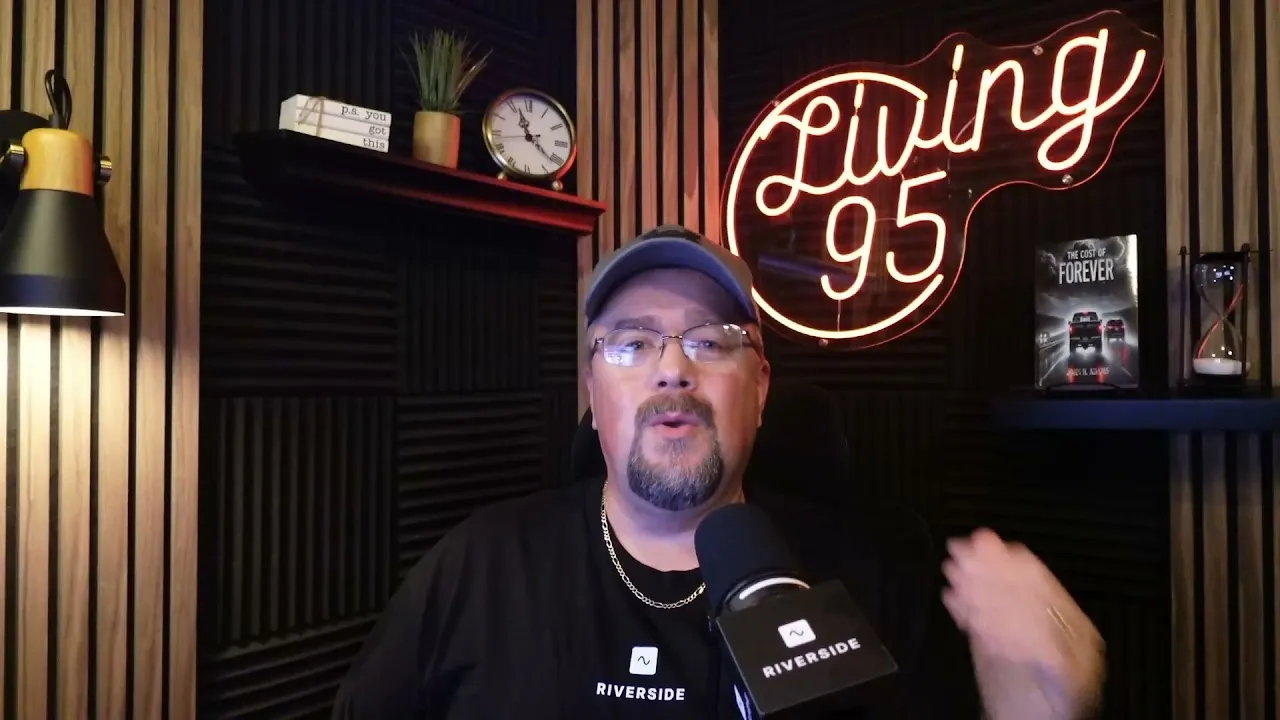
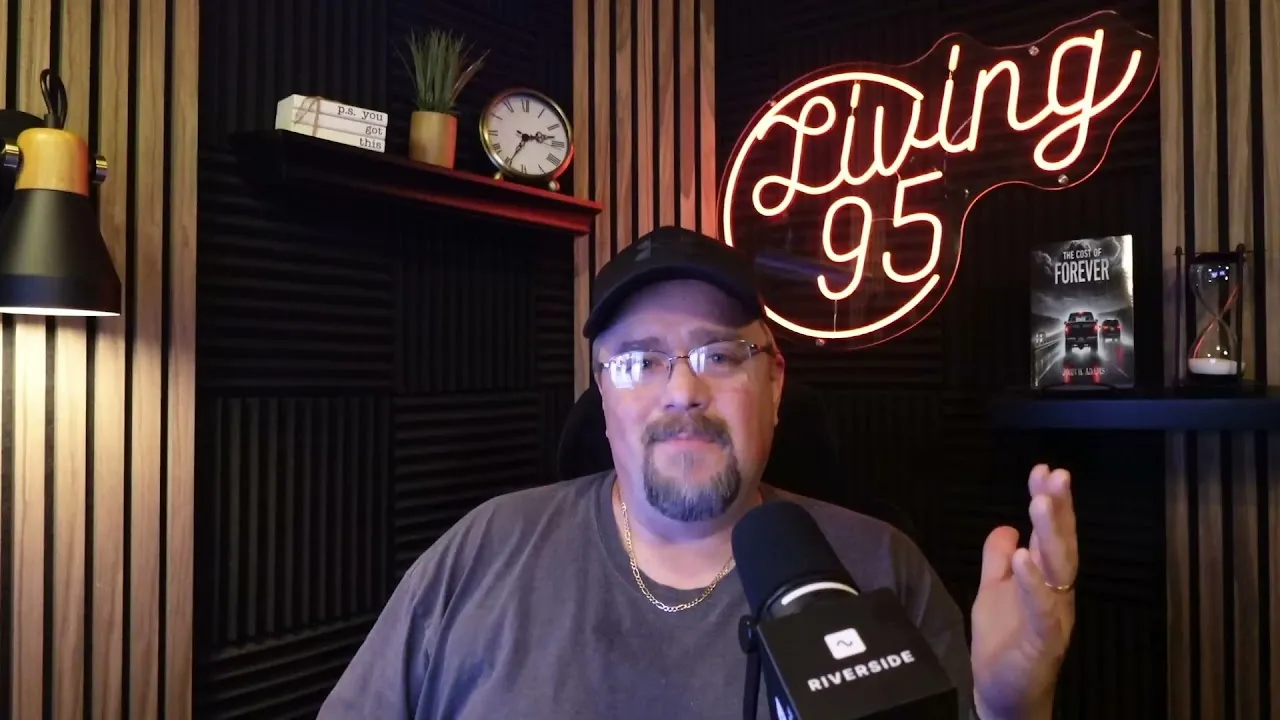
Rebuilding the same lower thirds, calls to action and subscribe graphics for every episode eats up hours of editing time. In this video, John H. Adams shows how he builds reusable motion graphics once inside Riverside and saves them as scenes he can drop into any project with all the motion already in place.
He starts from Riverside's speaker name and title templates and adds slide-in and slide-out motion with custom durations. Next, he turns a Canva graphic into an animated CTA that appears to come out of his show logo. Finally, he layers subscribe, like and bell graphics into one timed animation, saves each under My scenes, and only needs to add a click sound when he reuses it. Building these scenes takes a little time up front, but it keeps branding consistent and saves hours on every new episode.
Click the spot in the text-based editor where the intros start, then open Scene to see Riverside's pre-made templates. Pick a speaker name and title template, fill in each person's name and title, or remove the title line if you don't need it.
Select each text element, open the motion tab, and set In to slide right and Out to slide left. Adjust the duration with the slider or type in a value.
Once the names, titles, and motion look right, save it as a scene. Next time, go to Scene > My scenes and click it to drop in the whole thing, motion included.
Near the end of the episode, bring in a CTA (you can design them yourself under Motion Graphics). Resize and position it so it looks like it comes out of your logo, adjust the corner radius to round it, and set it to fade in and fade out. Save it as a scene too.
Add your uploaded graphics (subscribe button, like button, bell, arrow, and mouse cursor) and give each its own motion, such as slide up for the buttons and arrow, a pop for the second subscribe, and a fade out for the bell. Time everything so it plays in sequence, then save it as a scene. Take your time here, because you only build it once.
Go to Scene > My scenes, click the scene you want, and it lands with every position and animation intact. For the subscribe animation, add a click sound where the mouse clicks, since audio isn't part of the scene.
00:00 Welcome, I'm John Adams. And in this video, I'm going to show you how I use overlays and save scenes inside of Riverside to build reusable motion graphic templates that save me hours while editing and help me maintain consistent branding and avoid rebuilding the same exact scenes over and over again. So let's jump into it. So here we are inside of the editor and I'm in one of my podcast episodes with Crystal and I.
00:25 And normally when we start out, I like to introduce ourselves. So right here in the text base editor, you can see where I say, I'm John Adams. So at that point, I want to come in and I want to have our titles and names come in. So you can either right here on the timeline, just put where the scene is or click right there.
00:48 And then here's one of the best parts. Riverside has already given us pre-made templates. So if you click up here in scene, you'll bring up these templates. So if I clicked on this one right here, and when I go ahead and I play into this one, cast, I'm John Adams. And I'm Crystal Nevidale. You can see that it brings in the generic speaker name, speaker title on both of us.
01:12 Now, you would want to fill in your name and title, your co-host name and title, or your guest name and title, or you don't even have to use title at all, you can remove those. You're also going to probably, as you can see, they come in without any motion right now they're just popping in. that's not really, you know, dynamic, right?
01:34 So we want to have some dynamic motion in. So what I like to do is go up here to the motion tab and I like to have them slide to the right and come in. And then on the out, I have them slide to the left. Same thing for the speaker title. Come in, slide to the right, go out.
01:58 slide to the left. And then I would do that again for Crystal and her title. But here's what I've already done. I've already done this. I put my name and title, her name and title. So honestly, all I have to do, let me go ahead and give us some room down here in the editor so we can see everything. That's the great thing with this new editor.
02:19 Everything is sectional. You can slide up, move everything around. You can give your video more space or give your text more space, whatever you need. They've really done a great job with this new editor. Let me go ahead and delete these real quick.
02:40 And I'm just going to apply my already saved scene. So I'm going to go to scenes. And if you look over here, it says my scenes. I'm going to go ahead and click that and it's going to put those already in with the motions, with the names. So if I click over and hit play.
03:01 Cast, I'm John Adams. And I'm Crystal Nevidale. And our names come in, stay in and slide away. You can even, let's say you don't like how fast they come in or go out. You can change your duration speeds. So on in, have it coming in on four seconds. On out, I have it going out on four seconds.
03:21 But let's say you wanted it to come in and out a little slower with the slider or right here, you can type in how fast you want it to come out and in. I like four seconds. So we'll leave that. Now you're saying, okay, John, yep. Okay, tax is really cool. But can you do anything else? Well, now that you say it, yes, you can.
03:43 And here's the best part. So let's go towards the end of the podcast. And for my podcast, I've already went into Canva and I've made a CTA that I like to use for our podcast. We talk a lot of mental health. So I've got the blue and green gradients. And when it comes in, it's kind of animated.
04:05 So the first thing that I like to do is I like to resize this and bring it down to here. And you're gonna see what I do is it kind of ends up looking like it's coming out of here.
04:26 Then I go in and I change my quarter radius to make it round. And by doing this, you're gonna start to see that now Let's bring it just a little smaller. Bring it up. So now I also have it fade in.
04:48 and fade out. Now when you watch, it's going to look like it comes right out of our logo. So as always guys, stay healthy, stay balanced, and keep driving forward. We'll see you next time. So that right there is a really simple CTA.
05:13 And here's what I've also done. Same thing up in my scenes, my scenes. I've already saved that. So I don't have to drag it in each time, resize it, change my corners. It's all right here. Now let's jump into another video and I'm going to show you even more possibilities with save scenes.
05:33 So in this video, what I want you to see is this is a pretty complicated scene that I've built here. And if you had to build this each and every time and place it, that would take you hours. But with Riverside save scenes feature, you build this once, save it, and you can use it in every video.
05:53 So let me go ahead and play this for you. I'm going to bring it down. so you can see more of the video. Make sure to hit that subscribe button. You can also check out my full Riverside course that I'm building. So literally, I've got the subscribe button right here in my media pool.
06:17 got the like button and the bell. And you might be looking at this going, wait a minute. Why do you got subscribe on here twice? Well, I got creative. Watch those motions again. You should hit that subscribe button. So what I've done there is by having this one.
06:40 Slide up. When it gets to this one right here, the motion is a pop motion. And then right here is my arrow with a slide up motion. And then the mouse click.
07:01 We go to the like. Same thing. Comes in with a slide up. pops, mouse comes in, mouse click. Time everything out, play with it. Take your time, do this all in advance. You've got your bell here.
07:21 The bell comes in, just pops right when it comes in. And then everything goes out at the same time and I let the bell fade out. So we'll play that one more time with it wide open. Make sure to hit that subscribe button. You can also full Riverside course. And all I have to do anytime I want this is go up to scenes, my scenes, click on it and place it right in.
07:52 Now here's the only thing that you'll need to do right as your mouse is coming in and clicking, you'll have to add your audio. That's it. But look at that simple step of scenes, my scenes, add the scene. and then just add my little bit of audio. It's gonna save you loads of time and make your productions ultra professional looking.
08:16 And that's my workflow for creating reusable motion graphics right inside of Riverside. By taking just a little time upfront, you can build multiple scenes that you can use across all of your projects, maintain consistent branding and avoid rebuilding the same scenes over and over again. So I hope this gives you some ideas for your own workflow. Thanks for watching.
08:37 and I can't wait to see what you create.
USE CASES
Whether you're recording a podcast, hosting a live stream, or creating content for social, we've got you covered.
Got a process that works for you? Get featured by submitting your step-by-step flow. Help other creators save time, learn new tricks and improve their productions.