Turn stumbles and restarts into clean, intentional cuts
Record solo videos without restarting, then turn mistakes into clean jump cuts or zoom cuts.

Record solo videos without restarting, then turn mistakes into clean jump cuts or zoom cuts.
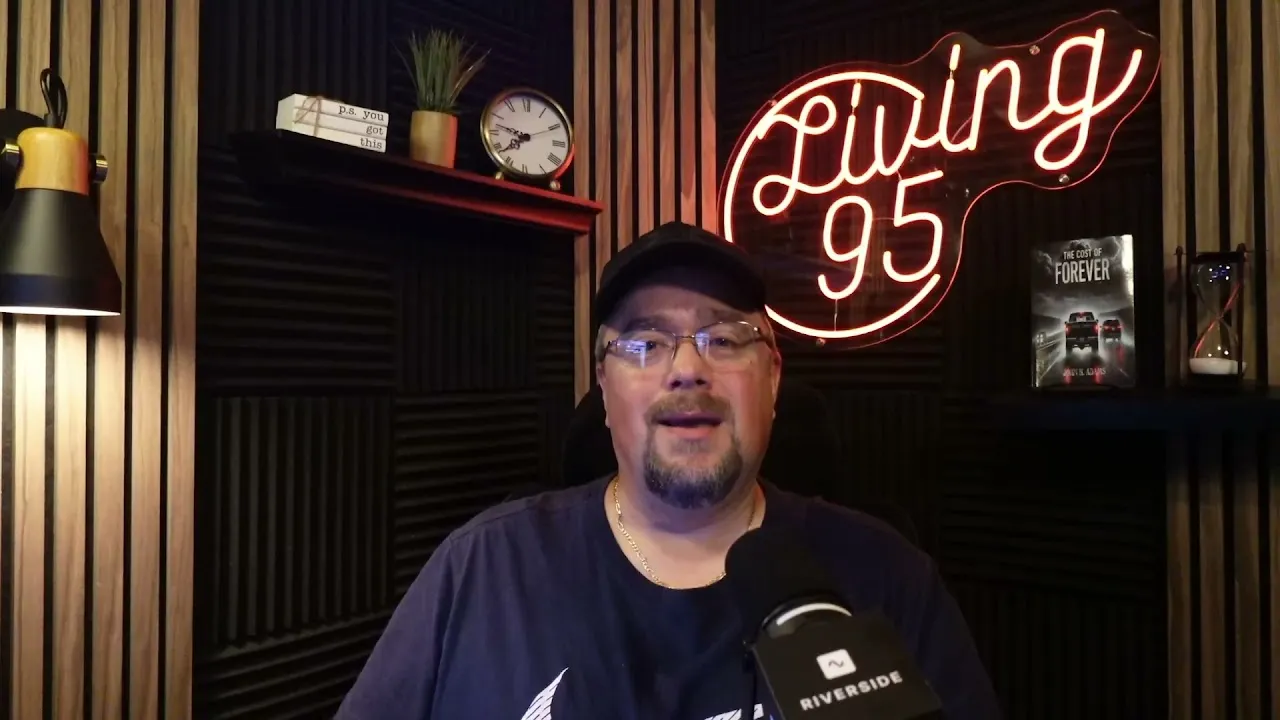
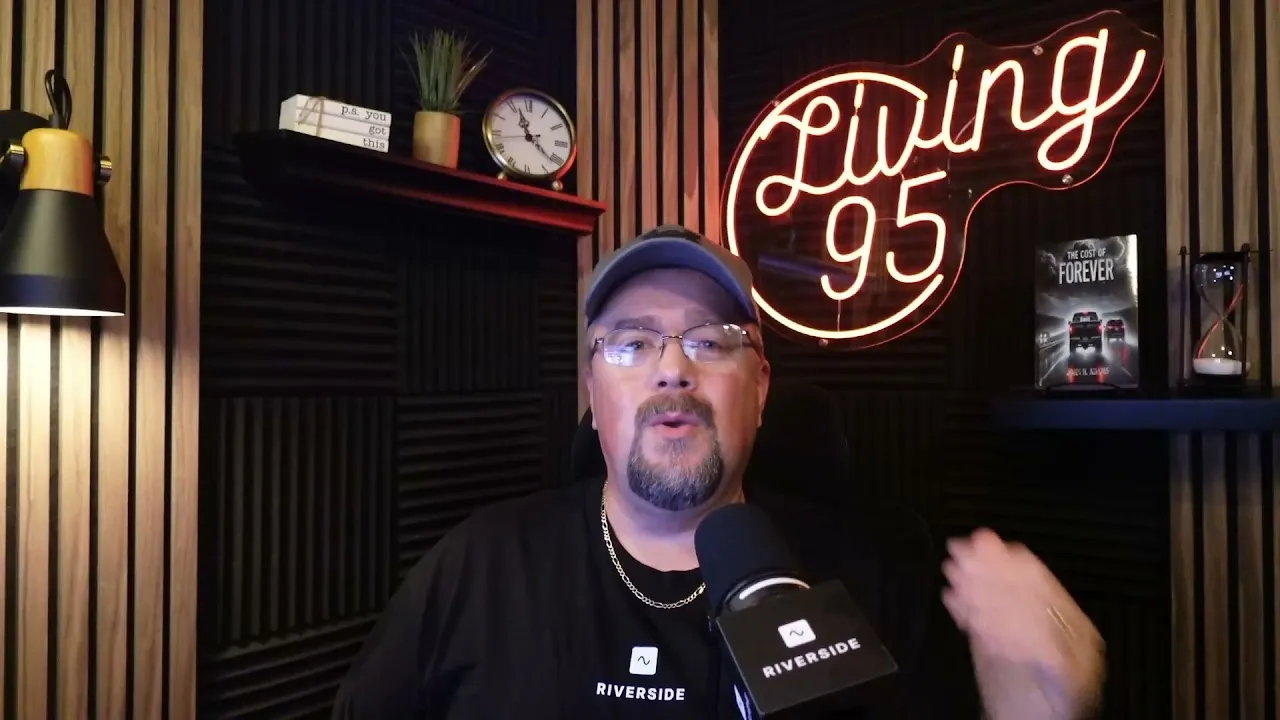
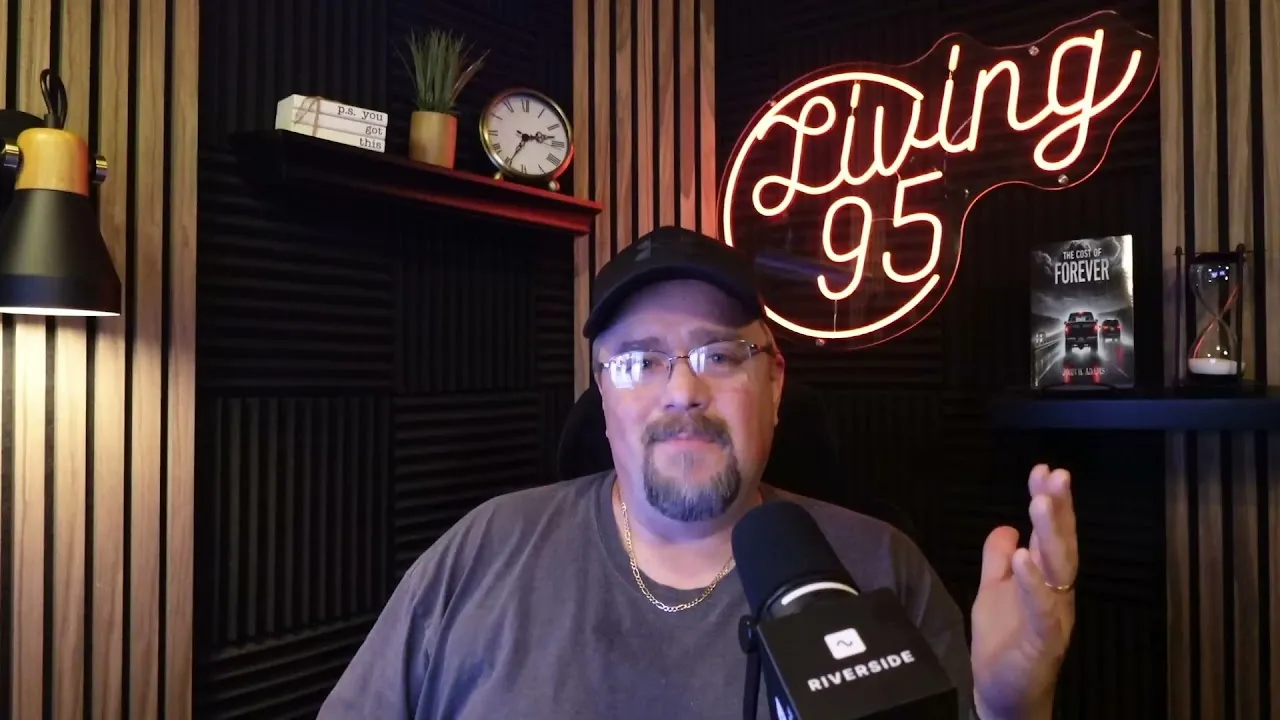
Recording solo content means nobody is on the other side of the camera to keep you on track, so stumbles, restarts and lost trains of thought are part of the process. In this video, John H. Adams shows how he keeps recording straight through and lets the Riverside editor do the cleanup afterwards.
He deletes the retakes that Find the Fluff has already flagged in the text-based editor, tightens each cut on the new magnetic timeline, and then turns the leftover jump into something that looks intentional. That can be a zoom cut made by cropping in on a single scene, or a restyled scene with a smaller camera frame, a custom shadow background, text and fade or zoom animations that snap neatly into place. The result is a workflow that lets you stay focused on your message while recording and still end up with a polished video.
When you stumble, pause for a beat, restart the sentence, and keep recording. Holding still for a second before the redo makes the cut cleaner later.
Open the recording in the editor. Your mess-ups are already underlined in the text-based editor. Play them back to confirm, highlight the flagged section, and hit Delete. The timeline closes the gap.
Play across the cut and watch for jumps. Zoom the timeline with Cmd + scroll (Ctrl + scroll on PC) and move sideways with Shift + scroll. Drag the handle at the end of the cut to trim dead space, then replay. If a small jump is left and you like it, keep it as a jump cut.
Put your playhead on the cut and add a new scene, then add another scene break at the end of the sentence. Select the middle scene, choose This scene only, and click the crop tool two or three times to zoom in. Re-center yourself.
On any scene, set the layout you'd like so you can switch between layouts and have it look smooth rather than a jump cut.
Add your text, then drag the text and background to span the full scene. The magnetic timeline snaps them to the scene's start and end.
Set the background to fade in and fade out, and set each text element to zoom in. Play it back to check the timing.
00:00 Hi, I'm John Adams and in this video, I'm going to show you the workflow that I use to create smooth solo videos inside of Riverside. Even when I mess up, lose my train of thought or decide that I don't like how I just said something. Because one of the biggest challenges of recording solo content is that there's nobody on the other side of the camera.
00:21 You're going to stumble over words, restart sentences or occasionally record the same thing multiple times. You're just trying to get it. just trying to get it right. You're also gonna try... Actually, let me say that even better. You're also gonna have moments where you're completely...
00:42 I don't like that either. You're also gonna have moments where you completely lose your train of thought and wonder, what was I even trying to say in the first place? But here's the good news. You don't have to be perfect when you record, especially in Riverside. So before we go any further, did you notice I stumbled a few times there and I just restarted right where I messed up.
01:07 Most creators, they would think that they have to start all the way over every single time that that happens. Trust me, I used to feel the exact same way, but let me show you a few tips and tricks that I use in my workflow to clean all of that up. So let's jump into it. So here we are in the editor and one of the first things that you're going to see is that part that I messed up on and redid.
01:34 Riverside's magic episode has already used Find the Fluff and it's already underlined every piece where I've messed up. It already knows where the good part was where I stopped and where I start over again. Now you can always read through or listen through and hit play and make sure that it's right.
01:55 But looking at this one, it is. So it's really simple. I just highlight that section. And as you can see, it's already expanded the timeline and highlighted the section that I've got there. And all I have to do is hit delete. It still shows in the text base editor, but as you can see, their new magnetic timeline, it has completely pulled it over.
02:22 And now if I go here and I hit play, we'll just go. beginning of the sentence here. You're going to stumble over words, restart sentences, or occasionally record the same thing multiple times. You're also going to have moments. So there's a small jump there as you can see.
02:44 So let's go ahead and expand the timeline by hitting command mouse on Mac or control mouse on PC. And let's use shift mouse and bring over where that cut is. And as you can see, there's a little bit here of dead space after times.
03:06 So if I click on times in the text base editor and double click, you'll be able to see that it ends right here. So let's bring this in by grabbing the handle that appears at the end of the cut. Let's bring it over and then let's replay, watching for any jumps.
03:27 times. You're also gonna have moments. So as you can see my hand was down and it's kind of jumping up because normally when I would make a mistake I record for the edit. So if I make a mistake I hold. I resay what I'm gonna say and then I'm good. But since I was doing it as a demonstration for you guys I didn't really hold like I probably should plus I did a couple fake mess-ups over and over.
03:53 So as you can see let's play this again. Watch my hand. You're also going to have moments. So to an untrained eye, you probably wouldn't even notice that, but because I've been editing a lot, I notice it a little bit. So let's get a little bit more off and let's move a little bit more this way. And let's do it again.
04:15 You're also going to have moments. So you still have a little bit of a jump there, but let's say you like that. You'd be ready to go and you'd call that a jump cut. But let's just say you don't like that jump. Let's say you want it to look intentional. Well, at that moment, you'll see where I'm saying you're also going to have moments where you completely lose your train of thought and wonder, what was I trying to say in the first place?
04:42 Right? So that's kind of an emphasis, right? So let's treat it like one. And here's the great thing when you do have a mistake. And usually that's when those happen. So I can put my play head right on that cut if I wanted to, or As you can see in the text base editor, it's already put the selection on your when I did that.
05:04 So what I would do is either click in the text base editor or put my play head right on the cut. And then let's add a new scene. And then when I add that new scene, I'll go to the end of that sentence. And if I put my mouse right on the word, but The play head is now here.
05:26 So that tells me this is that full sentence. Let's add another scene break right there. Now what I just did is I've got three separate scenes. Scene one, scene two, scene three. If I take scene two, click on it and make sure I'm on this scene only, not similar scenes because then it would do this to all because all three scenes are the same.
05:54 It's just me in the frame. Now if I take on this scene, I click on my crop tool and I click in once, click in twice, click in three times. Now you don't have to go three times, you can go two, whatever works for you. Take and center myself out a little bit. Now you'll see at that jump cut, it now becomes a zoom cut.
06:19 Restart sentences or occasionally record the same thing multiple times. You're also gonna have moments where you completely lose your train of thought. So that looks like I'm intentionally zooming in to emphasize the fact that you're gonna have those moments, right? Now you have other options. I'm gonna change my layout of my scene.
06:42 and I'm going to change it to me small here. I'm also going to take and I'm going to change my corner radius to 10 pixels, which is going to round the corners. And the background, again, making sure I'm just on this scene, I'm going to change my background to black because I'm not using my...
07:13 branded background for this video. And then I'm going to go into my media that I've uploaded. And I've got this background that I created in an external photo editor. I'm bringing that in. I'm going to fill the screen with that background.
07:33 Now this background is a shadow that I've made. If I take and click on this background, click on the three dots here where it says More Actions, and click Move Backward. Now it's moved it behind my camera. Now I've got my camera here. I'm going to click on the crop and I'm just going to center myself out in the center of the camera.
07:58 And I'm going to drag my camera over the shadow, bring it down to where it fits in the shadow. Now my camera looks like it's floating over the background. Let me zoom back out on the timeline again.
08:20 and I want to take and drag this to the full scene. And if you'll notice this new editor, it's magnetic. When I get to the end of the scene, it just snaps right into place. At the beginning, the same way. If I move off, bring it back in, it just snaps right into place. This new magnetic editor, there's no more guessing where should my stop point be, where should my start point be.
08:47 Now, throw in some text. Let me go ahead and do that for you. So now I have my text in my background. I'll hit play. You're also going to have moments where you completely lose your train of thought and wonder, what was I even trying to say in the first place? But here's the good.
09:07 Currently that just jumps in, jumps out. Let's say you want to make it a little smoother. Well, for the background, I want it to fade in. and I want it to fade out. For lose your train of thought, let's have that zoom in.
09:32 And for what was I even saying? Let's have that zoom in also. So now you have multiple times. You're also going to have moments where you completely lose your train of thought and wonder, what was I even trying to say in the first place? Now you have three different options that I've given you.
09:55 And there's so many more that you can play with. You can do a jump cut. You can do a zoom cut, or you could throw in B-roll, backgrounds, overlays, text. Really anything, the world is your oyster. And that's my workflow for creating smooth solo videos right inside of Riverside. By giving myself permission to make those mistakes while recording, I can stay focused on the message instead of worrying about getting every sentence perfect the very first time.
10:22 Then, by using Riverside's transcript-based editing, their Find the Fluff feature and their brand new magnetic timeline, and just a few simple editing techniques, I can clean up everything afterwards. And I can create videos that feel natural and polished and look like I meant to make every one of those edits. So the next time you stumble over a word, lose your train of thought or decide that you don't like how something sounded, I hope this gives you some ideas for your own workflow so you can just keep recording.
10:52 Thanks for watching. And I can't wait to see what you create.
USE CASES
Whether you're recording a podcast, hosting a live stream, or creating content for social, we've got you covered.
Got a process that works for you? Get featured by submitting your step-by-step flow. Help other creators save time, learn new tricks and improve their productions.