My go-to AI tools in Riverside's Editor
Take a remote podcast from raw to polished with Magic Audio, Smart Mute, Smart Layouts and eye contact.

Take a remote podcast from raw to polished with Magic Audio, Smart Mute, Smart Layouts and eye contact.
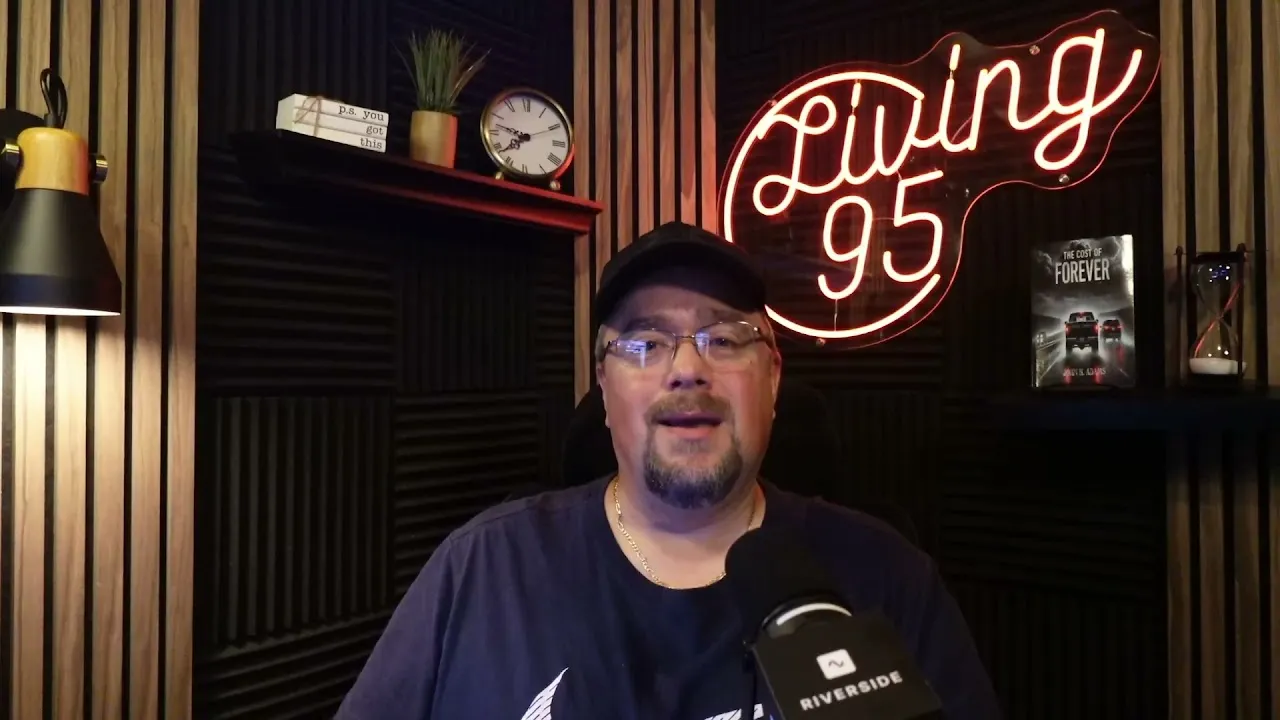
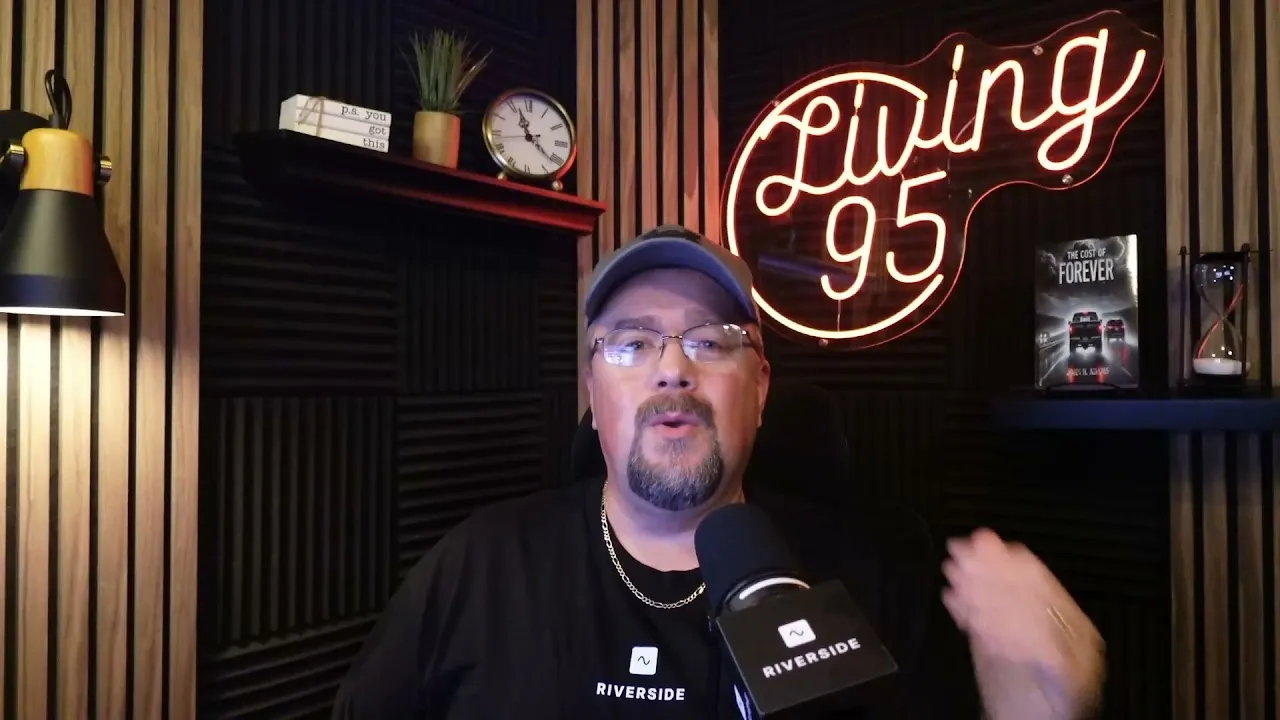
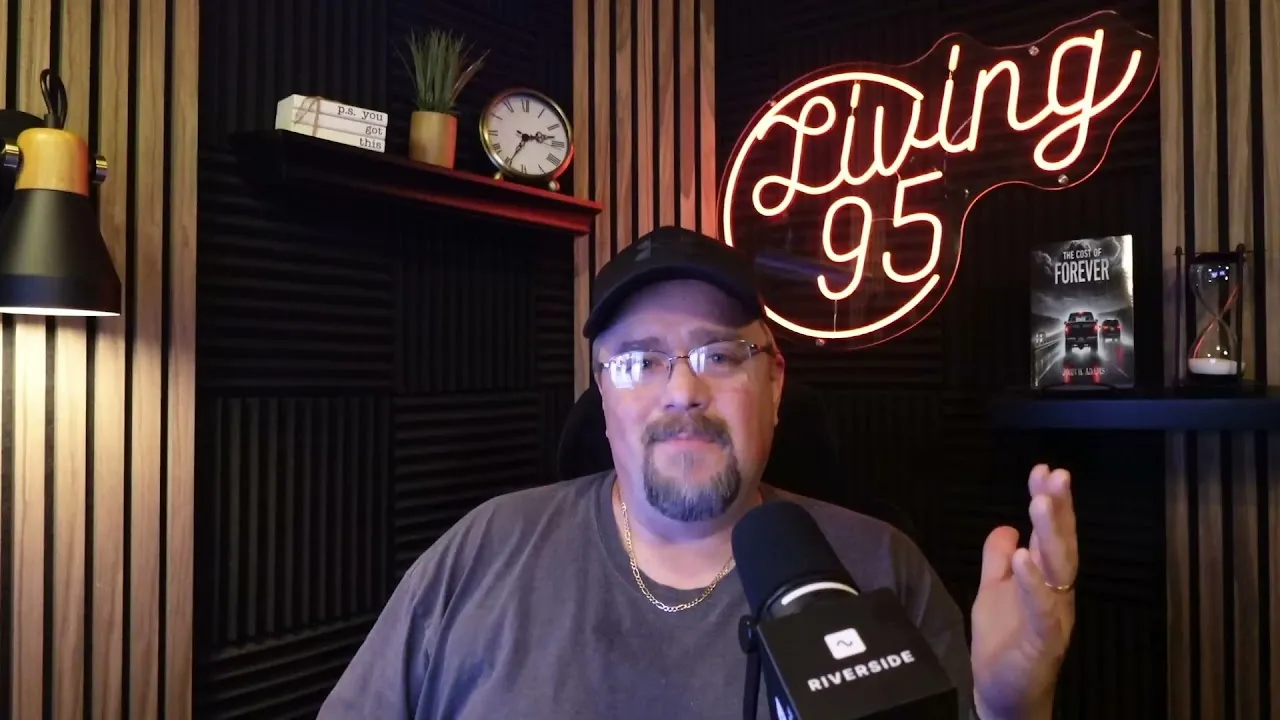
Once a remote recording ends, the real work begins: cleaning up the episode, improving audio, fixing framing and getting it ready to publish. In this video, John H. Adams shows the Riverside AI tools he relies on to get from raw tracks to a polished episode in a fraction of the time.
He starts from the Magic Episode, decides when pause and filler word removal fit his format, and applies Magic Audio track by track, around 25% on his own mic and 90% on his co-host's Bluetooth headphones. He adds Smart Mute, Smart Layouts and Eye contact for a co-host recording on her phone, fixes scene borders with similar scenes, reviews the episode at 1.5x and trims the ending with a fade out. By letting AI handle the repetitive cleanup, he spends less time in the editor and more time on the conversations themselves.
In your project, go to the Made for You tab and open the Magic Episode, which already has your branding, logos, and backgrounds applied.
In AI tools, apply Remove Pauses and pick a pacing. For Remove filler words, the Smart method mixes cuts and mutes so the edit flows. John uses these for solo videos but skips them for his podcast so the conversation stays natural.
Set Magic Audio for each speaker based on their setup. John uses about 25% on his own track (good mic, decent room) and about 90% on his co-host, who records with Bluetooth headphones. If someone reconnected during the recording, they'll have several tracks, so apply it to each one.
Smart Mute silences whoever isn't talking, so mic bumps and background noise don't bleed through. Smart Layouts switches between the active speaker and a shot of both of you. John's Magic Episode applies Smart Layouts automatically, so he only adjusts a switch if it comes in too early.
Turn on Eye contact for any speaker whose eyes drift toward their screen instead of the camera. John does this for his co-host, who records on her phone, and applies it to each of her tracks. At this point, he says about 85% of the edit is done.
Play the whole episode at 1.5x and watch for bad switches or off-topic moments.
Add your CTA at the end of the timeline. If there's an outtake after your sign-off, slow playback to 1x to find the exact spot, trim the rest, and add a fade out at the very end.
00:00 Hi, I'm John Adams. And in this video, I'm going to show you the AI tools that I use inside of Riverside for my remote podcast editing workflow that saves me hours every single week. Because once the recording is over, the real work actually begins, you still need to clean up the entire episode, improve the audio, remove mistakes, make editing decisions, generate show notes and get everything ready to publish.
00:25 In this video, I'm going to show you how I use Riverside's AI tools to streamline that entire process and get from raw recording to polished episode without spending hours in the editor. So let's jump into it. Here we are inside of my projects folder in one of my podcast episodes. When you first go in, you'll see the recordings tab and this is all of your raw recording tracks from your episode.
00:49 You could already download all of these, move them into a separate editor. But Riverside's editor, especially their new editor, has made this so easy and so streamlined. Where I always start is I move right into the Made For You tab. In the Made For You tab, they start with magic episodes. Magic episodes have already applied all of your branding, your logos, any backgrounds that you use.
01:14 It's pretty much got everything already set for you. So let's click Edit and jump right in. When you first open up Riverside's new editor, On the left, you'll see all of your edits that you can easily jump into back and forth, but we're not going to be working with any of this today. So let me go ahead and get that out of the way. Another thing that I like to do inside of the editor is give myself as much canvas as I can for my actual preview window.
01:40 Over here on the left, you'll see your transcript. Down below, you'll see your tracks. Currently they are combined, but if I expand my tracks, You'll see Crystal's track in pink and mine in the yellow. That way I can determine who's talking when. Now what I usually do is I like to work in the collapsed track just because for me it's a little cleaner.
02:06 And I start right up at the top with my AI tools. So when I'm recording solo just like this, I would go right in and click on remove pauses. That way anytime that I'm stopped or I'm thinking it'll remove that. I would also remove my filler words. But when I'm recording my podcast, I found that our conversation flows a lot cleaner and a lot smoother.
02:27 If I just don't even use those. But if you did want to use them, here's the nice thing. You have adjustments. You can have it remove all of them super fast. Any pauses that you've got that are over half a second, all the way up to keep all pauses. So you can adjust it, you know.
02:50 Natural pacing, three seconds or more pauses, balance pacing, one and a half seconds or more. So you can do that there. Also on your remove filler words, you can do the same thing. Do you want it to be a smart method? With the smart, it'll take and cut some of them out. It'll mute some of them. When you use the smart, it's a nice mix of both of them.
03:10 So that way it just flows and makes it a smoother edit. When I'm doing my remote podcast, I go right into Magic Audio. When I open up Magic Audio, you'll see that there's a couple different tracks for Crystal. That's because she was having some internet issues and even though she came in and came out and all of that stuff is still there because everything was recorded locally and uploaded to the cloud, every time she reconnected, it would just give her a different track color.
03:39 For me, my Magic Audio, I'm using the Shure MV7 Plus. So mine is usually pretty clean, but I still like to give it a little bit So I take it and I put about a 25 % magic audio on there. What that does is just gives it a little bit more studio quality because I am, even though I'm in a nice little studio area here, I'm in a previous bedroom of my own home that I use as an office.
04:03 The acoustics are pretty good, but they're not studio. So I do give it about a 25 % magic audio. And I know that for every episode, I can go right in and do that. Now with my co-host, she currently isn't using a mic. Right now she's using Bluetooth headphones, but with Magic Audio applied, and I don't apply 100 % because she doesn't really need that.
04:25 I take it right down to about 90%. And then I'll just do that on each track for her. Now, once I've got Magic Audio applied, the next thing, you have Smart Mutes. Smart Mutes are if you have any cross talk or anything like that, what that'll do is it'll mute whoever's not speaking at that time. So if they hit their mic arm like this, or any of that, none of that will bleed through because there's no actual speaking at that moment coming through.
04:52 If there's any background noise, dogs or whatever, you can add in Smart Mute and that'll remove any of that. The next one right here, Smart Layouts is one that I use regularly. And with my magic episodes, I've already got it set up to do this automatic. I didn't even have to turn it on. What Smart Layouts will do is you have whoever's speaking, on the screen or if at those times it's better to have both of you on the screen.
05:17 It kind of does that all for you. So all you've got to do is as you're watching through, just make sure if maybe one comes in a little too soon, you can adjust it. But that's it. So for eye contact, I'm looking right into a teleprompter that I have my co-host up on the screen and I'm looking right into her eyes or if it's a guest or whatever.
05:37 co-host Crystal, right now she's recording with a phone and Bluetooth headsets. So for her, as we all know on a smartphone, If you're looking at the screen to see me, the camera's over here. So her eyes are a little off sometimes. So what I will do for her is I'll turn on eye contact.
05:59 And I'll do it on all three tracks since, again, this is one of those episodes where she was having some internet issues. Now that I've done that, 85 % of the edit is already done. So now I would play through the entire thing at 1.5. and I would just look for any of the switches, any issues, maybe we went off topic or whatever, and I would just play through.
06:21 Now, what I want to show you next is when I go from this scene here with both of us to the next one, you're going to see it's put the border back. That's because in the scene, I've already got it set without the border, but it doesn't realize it when I'm not in these pre-made scenes. So how do I fix that so I don't have to keep changing it all the way across?
06:45 It's really simple. You're just gonna go right up here to Design, and while you're on Design, I'm gonna click on Similar Scenes. And what that will do is anytime that I'm on the screen by myself, it's gonna recognize that as a scene, and I'm gonna remove Corner Radius, and I'm gonna remove Spacing. Now it's got me full on the screen, and I would play through this entire scene.
07:09 When I got to the next one, I would make sure that it transitions back to the split. Another thing that you'll look at, let's say I don't like our spacing on the screen. Let's say I want to be a little more centered or her. That's a really simple too. So if I click on mine and I make sure again, similar scenes and go to my crop, I can move myself anywhere I want.
07:31 Same thing with her. Click on that one. Click on crop, make sure I'm on similar scenes. If I wanted to move. left or right, can do that also. Let's go to where she now is talking and it's going to go to her by herself. And I want to do the same thing now. I would go to design, make sure I'm on similar scenes, drag my corner, drag my spacing, bring that there, hit play.
08:00 All of the scenes are set. We're going back and forth. Everything looks good. Now I would go and zoom out and go to the end of the timeline. So right here, I would add in my little CTA that I've already made. And let's play through that.
08:21 Because balance isn't weakness, it's survival. And as always, stay healthy, stay balanced. And keep driving forward. We'll see you next time. We messed that up, but we fixed it. You want to do it again? So there, I have a spot where we... had a little joke, right? And I caught that even playing through at the one and a half percent. So how do I fix that? Now it's really simple. Zoom in, take it back to one time, play through it one more time.
08:46 Balance isn't weakness, it's survival. And as always, stay healthy, stay balanced. And keep driving forward. We'll see you next time. We messed that up, but we fixed it. You want to do it again? No. So I would just bring that back. to we'll see you next time. And right here is where that comes in.
09:06 So I will just get rid of the rest of this. Bring it right there. Thank you. driving forward. We'll see you next time. There we go. At the very end, click and fade out. He's driving forward. We'll see you next time. That's how I use Riverside's AI tools to streamline my remote podcast editing workflow.
09:27 By letting AI handle many of the repetitive and time consuming tasks. I can spend less time in the editor, stay focused on creating great conversations, and get my episodes polished faster. I hope this gives you some great ideas for your own remote podcast workflow. Thanks for watching. I can't wait to see what you create.
USE CASES
Whether you're recording a podcast, hosting a live stream, or creating content for social, we've got you covered.
Got a process that works for you? Get featured by submitting your step-by-step flow. Help other creators save time, learn new tricks and improve their productions.