Make high-quality screen recordings on any device with Riverside
Screen record on Windows, iPhone and Mac, or capture camera, mic and screen as separate tracks.

Screen record on Windows, iPhone and Mac, or capture camera, mic and screen as separate tracks.
How to screen record with Riverside for tutorials, webinars, presentations, product demos, and YouTube videos.
The video covers:
00:00 If you need to screen record something, there are a few easy ways to do it depending on what device you're using. And in this video, I'll show you how to screen record on PC, iPhone, and Mac. But more importantly, I'll show you how to get a lot more out of your screen recording by using Riverside. Because if you're just trying to quickly capture your screen, your built-in tools are probably enough. But if you're recording a tutorial, a webinar, a product walkthrough, or any type of content where you also need your camera, microphone, editing, and separate tracks, Riverside can make the entire process a lot easier. So let's start with the basics.
00:32 If you're on a Windows PC, one of the easiest ways to screen record is with the Snipping tool, or what a lot of people still think of as Snip and Sketch. To open it, you can come down to the search bar and type Snipping tool, and it'll come up as the first option. Or if you're on Windows 11, you can press Windows Shift R to jump straight into a screen recording. From there, choose the area that you want to screen record. You can either click a section, create a rectangle of
00:58 where you want to record, like this. Then you can click Start, and a countdown will begin, and Windows will capture that section of your screen. This is a great option if you just need to quickly record a tutorial, show someone where to click, or capture something happening on your computer. If you're on an iPhone or iPad, screen recording is also built right into your device. You can open the control center, tap the screen recording button, and after a short countdown,
01:23 your iPhone will start recording whatever is on your screen. And if you press and hold the screen recording button, you can also turn your microphone on, which is helpful if you want to talk while recording. Then on a Mac, screen recording is really simple too. You can press Command Shift 5, and that opens the built-in screen recording controls. From there, you can choose to record your entire screen, a selected window, or a selected portion of your screen, and adjust it
01:47 to the size that you want to record, just like this. There's also some extra options with the option tab to choose where it's being saved, if there's a timer at the beginning, which microphone you can choose, and the capture format. You can also choose to show mouse clicks, which is cool. Then you hit record and capture whatever you need, and then stop the recording when you're done. So yes, you can screen record on pretty much any device using the tools that
02:11 are already built in. But here's where things start to get more interesting, because a basic screen recording is just that, a screen recording. And if you're creating content teaching something, making a tutorial, or walking through a product, you usually need more than just your screen. You might need your camera, high-quality audio, and bringing guests. You might want separate tracks, and once you're all done, you might want to edit everything faster. And that's where
02:34 Riverside becomes a much better option. To screen record in Riverside, start by logging into your Riverside account and opening your studio. Before you join, you can choose your camera. Mine is the Osmo Pocket 3, your output device, output 1 and 2, and your input device, which is the current microphone that you're hearing right now. I'm not using headphones, so I'm going to put this right here. But basically, you can make sure everything
02:56 is set up the way that you want. Then once you're inside the studio, you'll see the share button at the bottom of the screen. And then you can click share screen, present slides. In this case, I'm just going to hit share screen and choose this screen right here, and then hit share. Now, if we go back into that, though, you have a few different options when it comes to actually sharing. You can either share a Chrome tab specifically, a specific window, or your entire screen, which is really cool. So in the Chrome tab situation, I'm right here.
03:26 And now I can share my screen and have my camera right here on the side, as well as my screen share. Then when you hit record, Riverside records your screen, your camera, and your microphone. But the important part is that Riverside gives you more control over everything after the recording. Every screen share is saved as its own separate track. So instead of having one flat and screen recording where everything is baked together, you can download your video,
03:52 audio, guest tracks, and screen shares individually. That makes a huge difference when you're trying to edit a polished video. So if you want to switch between your face and the screen, then we can just split our scene here and have this one be our full screen. So we can just click on my screen right here, come up to this bar and hit full screen. And now we have a
04:14 full screen of my face, and then we can come back to split screen here. Or maybe we want to change the layout a little bit so we can actually come to layout. And we have all these different options to choose from. I like this one a lot so I can have my face in the corner with the content on the main feed. And I can even change the sizing of this. I can move it around. You can get very, very customized right here. And it's not just that format. You can also change it to,
04:40 you know, a bunch of different presets if you want split screen side by side on top of each other if you have more than one guest. So you have a bunch of different layouts that you can choose from. In my opinion, that's one of the biggest reasons to use Riverside for screen recording. It doesn't just help you capture your screen. It helps you turn that screen recording into an actual finished video. And inside the Riverside editor, you can trim your recording, clean up mistakes, add captions, and export the final video in high quality 4K.
05:06 So instead of recording your screen in one tool, recording your camera somewhere else, syncing the audio and importing everything into an editor, Riverside keeps that whole workflow in one place. And that matters a lot if you're creating content regularly.
05:20 If you want to screen record in Riverside, you can use the link in the description to get started for free. And if you want to learn more ways to improve your recordings, I'll link a few more videos up here and in the description below, like and subscribe for more content just like this. And if you have any questions, feel free to leave them in the comments. I'll be happy to answer them personally. Thanks for watching. And we can't wait to see what you create
More videos you might like
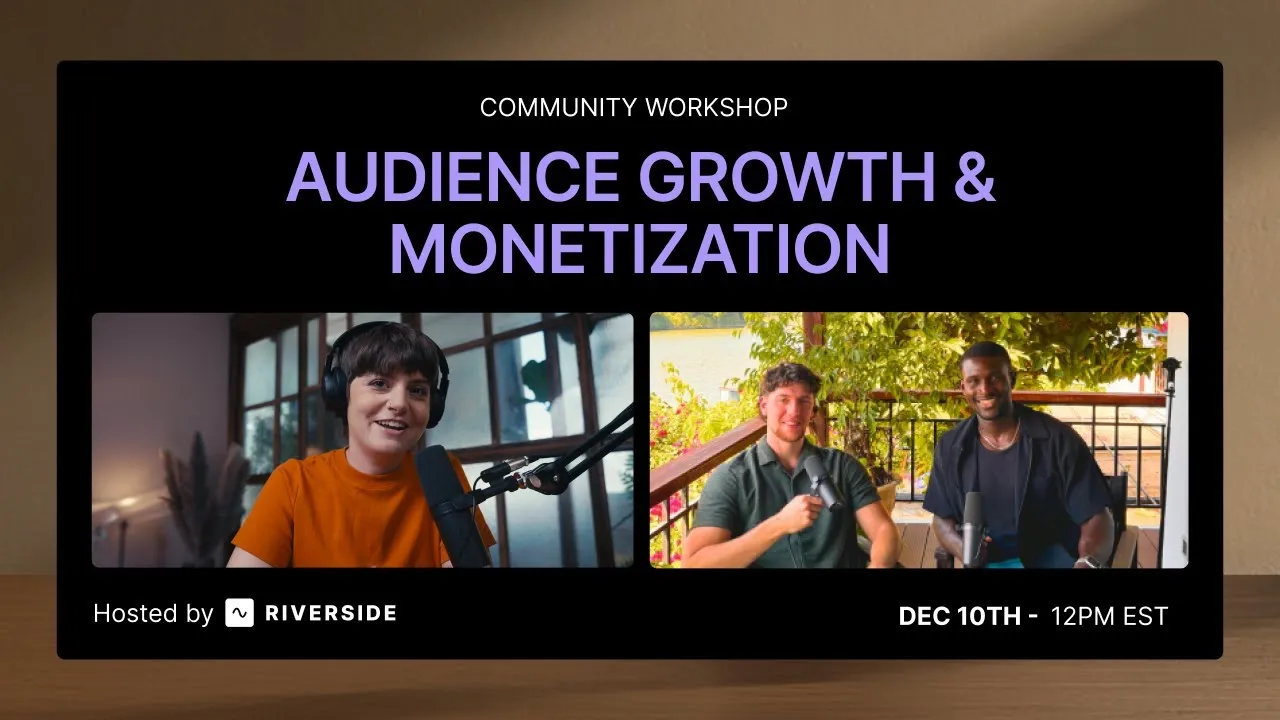
Grow your audience with podcast SEO, a unique selling point and branding that turns searchers into listeners.
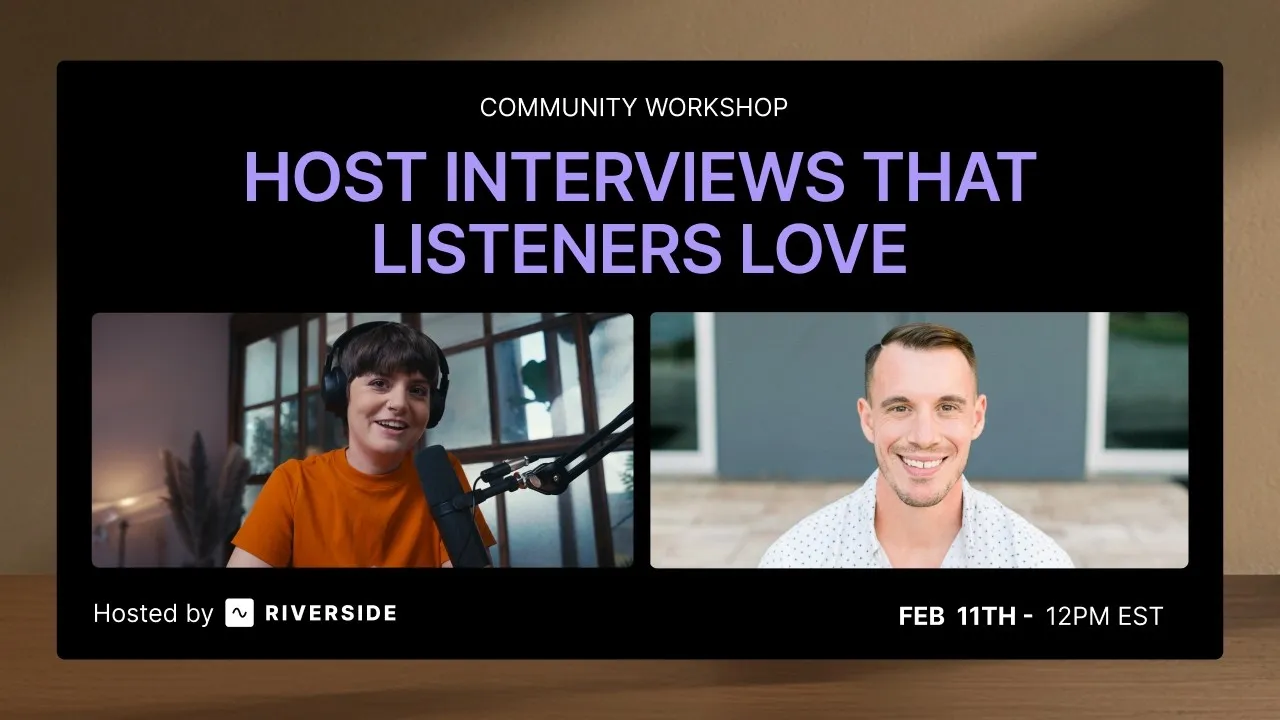
Tips from PodMatch on planning and hosting podcast interviews that keep listeners hooked until the end.
Record calls in Riverside, then use the transcript to create follow-ups, highlights, and insights.
Learn how to plan, set up, repurpose, and keep livestreams engaging.
Got a process that works for you? Get featured by submitting your step-by-step flow. Help other creators save time, learn new tricks and improve their productions.


.avif)