


Key takeaways:
- Framing yourself from the shoulders up lets you connect directly with viewers. Talking head videos are a simple but powerful format to increase your engagement.
- While you can start with a simple camera like a smartphone, good lighting and an external mic are the next step to level up your content quality.
- Keep visuals dynamic. Use cuts, zooms, captions, motion graphics, and B-roll to break up the frame and keep energy high.
- Editing is where videos come alive. Riverside’s text-based editing and AI tools speed up the process.
Talking head videos frame the subject from the shoulders up, speaking directly to the audience.
They’re simple to make but highly effective, which is why they’re a go-to for presentations, social media, and ads.
If you want to create one but aren’t sure where to start, I’ve recorded many and will walk you through the process. Plus, I’ll share examples of videos that nailed the style.
While you could just record yourself talking directly to a camera, that won’t make much of an impact on your audience. Check these examples to learn how successful creators stand out and hold their viewer’s attention.
Ali Abdaal brings you into the scene
Ali Abdaal proves that talking head videos don’t have to feel like dry lectures. His videos feel casual and natural, like you’re sitting down for coffee (or in this case, tea!). He’s talking with you.
He also keeps things visually interesting with a fast-moving pace and lots of B-roll.
This balance has turned him into a master of talking head videos, amassing more than 6 million YouTube subscribers.
Marques Brownlee uses dynamic field of view
Like Ali Abdaal, Marques Brownlee’s videos keep things dynamic and interesting. His delivery is natural and he uses lots of B-roll. But, he also constantly adjusts the camera’s field of view.
See how the camera gently zooms in on Brownlee as he introduces the topic? This is just one way to make a talking head video more dynamic.
As a tech vlogger he also does a great job breaking down tech topics and reviews in a way that is both critical and honest.
HubSpot Marketing relies on titles and animations
Because HubSpot’s goal is to educate viewers, it uses lots of animations to emphasize key points and help them follow along.This requires more time and editing skill, but definitely keeps things interesting.
Gary Vaynerchuck strives for raw and authentic
Gary Vee’s videos might come off as less polished than other brands, but that’s intentional. His brand is raw and authentic so his videos reinforce this.
They’re often filmed with very simple setups. His delivery is high-energy, honest, and conversational. But he also uses a lot of tricks for emphasis, including repetition, quick cuts, and bold captions.
Slack shows that simple can be effective
Slack’s talking head videos show that simplicity can do the trick. These videos show real employees explaining how to use specific Slack features.
They focus on clear delivery, and using on-screen explanations and examples. The simple office backgrounds are appealing but not distracting. And the videos are short and concise, so that people can quickly jump in, solve their problem, and be on their way.
Riverside videos are never boring
I’ve made a lot of talking head videos (many of them for Riverside!). If you’re looking for one more example, this video features my top tips for making a talking head video. It breaks down how to keep a talking head video from getting boring and shows my favorite techniques along the way.
What you need to make a talking head video
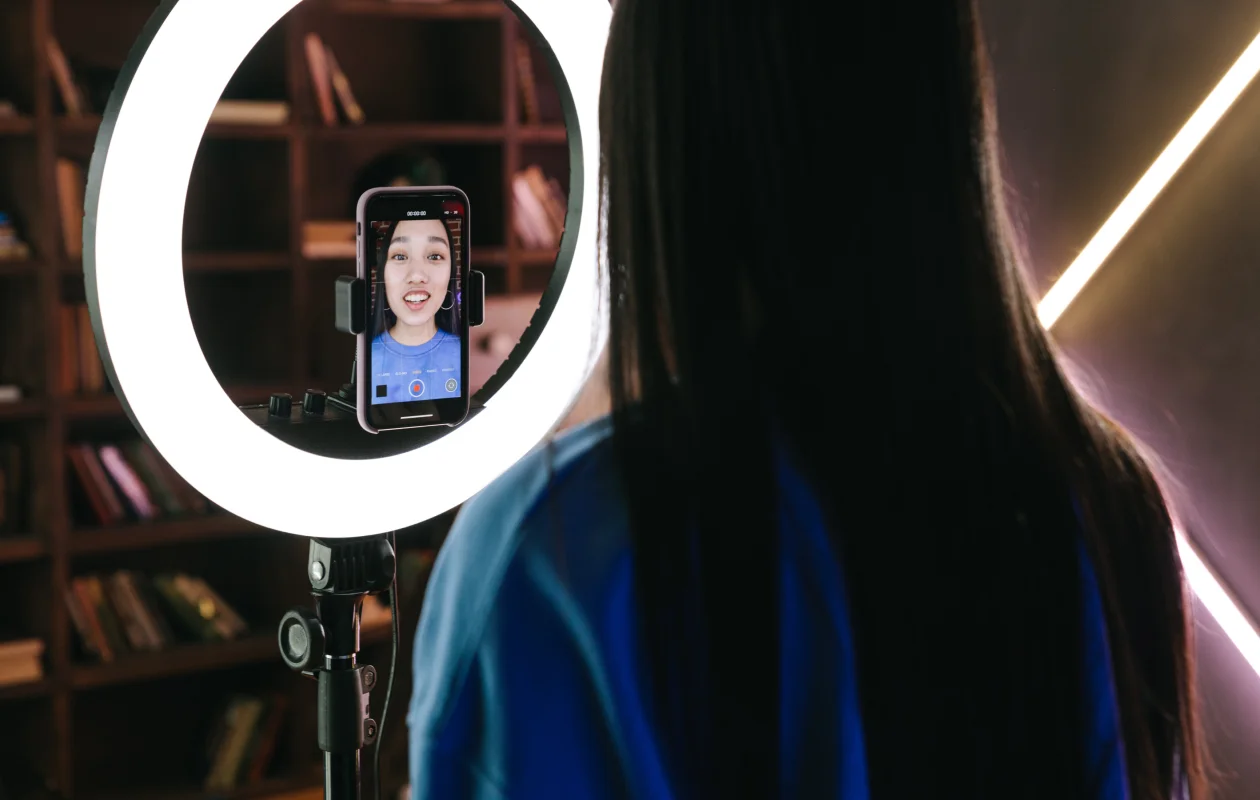
Talking head videos don’t require a fancy studio. You can start with just your camera (even a phone), decent lighting, and a plan. From there, you can upgrade piece by piece.
Here’s the setup I recommend:
Camera
You can begin making talking head videos with your phone. I recommend adding a tripod or phone mount for stability. When you decide to upgrade, consider a mirrorless camera with good lenses. I like the Sony A7 IV.
Lighting
Good lighting is key in talking head videos. if your face is the focal point of the video, you want it to look good! If you’re just getting started, facing a natural light source can work. You can also get a small LED setup for as little as $20. For the best results, consider a three-point lighting system for flattering light and better video quality.
Audio
Crisp audio matters, but you don’t need the best mic to get most of the way there. If you're a beginner, you can use a basic USB mic (I like the Shure MV7), or even your cellphone’s mic.
For a higher-end mic, I love the Sennheiser MK600. If your mic isn’t the best, you can also use Riverside’s Magic Audio to remove background noise and give your audio that rich, studio-quality sound.
Teleprompter
A teleprompter makes it easier to talk directly into the camera and make eye content with your viewers. Getting this right is key to a successful talking head video.
You can buy a dedicated teleprompter device, like the Elgato Prompter (my top choice). There are also lots of teleprompter apps out there you can try. If you record with Riverside, you can use the built-in teleprompter to load your script right on screen as you film.
Sound isolation
I use acoustic panels to ensure that echo and background noise don’t detract from my video. If you’re on a budget, you can improve sound quality by recording in a quiet space with soft fabrics and furnishings (like curtains and rugs).
Recording and editing software
Whether you’re a beginner or a pro, I recommend recording and editing software. Riverside is great for both.
With Riverside, you can record professional quality audio and video, whether solo or with remote guests. You’ll also get quickediting tools that allow you to add captions, B-roll, overlays, music, and all the elements that make a talking head video stand out.
Of course, in addition to the right equipment, you also need a great concept and interesting content. Study other content creators, understand what makes them stand out and what people in your niche are likely to connect to.
As you publish content, you should also use your analytics to better understand what’s working.
How to make a talking head video
You’ve got your setup and your idea, now it’s time to start making your first talking head video. Here’s a step-by-step guide on how to do it.
Step 1: Plan out your video
A typical plan starts with a core message, which you can use to create a brief, a script, and a storyboard.
Choose only one message
The best talking head videos stick to the point. Decide the key thing you want to get across, then focus your planning and script around it.
Is your video meant to inform YouTubers about the number of videos they need to make to increase their presence on YouTube? Then stick to that topic ONLY.
Write a brief
For an effective video, you need to know your objectives. To flesh this out, ask yourself these questions:
- What is the purpose of the video?
- Who is your target viewer?
- What action do you want your viewers to take?
- Which platform(s) do you plan to upload the video on?
- What value does your video provide to viewers?
Take some time to answer the above questions. This will give you a broad idea of what to include in your script.
Create a script
Great delivery typically doesn’t come from talking off the cuff. It comes from a great script that’s delivered in a clear and natural way.
Most talking head videos follow a basic plot structure that looks like this:
- Introduction: Draw your viewer in with a question, a story, statistic, or anything that makes them hungry to watch the video further.
- Hook: Introduce yourself, your company, your product, or your topic. Give some background information on any of these.
- Rising action: This is where you will present the main points you wish to convey to your audience
- Climax: Here, you should wrap up your main points with a satisfying conclusion that ends the video. You can summarize previous points and give additional tips and takeaways.
- Resolution: This is where you conclude your video with a call to action. You can also thank your viewers, ask them to subscribe, and add a final note here.
Let’s look at an example video (below) and see how the plot structure plays out in an actual video.
Hook (0:00–0:08): The unique thing about this video is it starts with the hook and then goes to the introduction. In this section, Nick piques the interest of the audience by driving curiosity. His audience consists of budding YouTubers eager to learn how to grow their presence on the platform. Here, Nick promises to give them just that information.
Introduction (0:09–0:25): The segment includes a call to action for viewers to subscribe and an introduction to him and his channel.
Rising action (0:26–3:29): This is where Nick dives into the heart of the topic and explains how many videos a YouTuber should make to grow their channel.
Climax (3:30–3:43): Here, Nick wraps up the video with a concluding statement/tip.
Resolution (3:43-3:53): Nick ends the video with a call to action to watch other videos on his channel.
You should use natural language in your script and talk to your audience (not at them). Remember how Ali Abdaal’s video makes you feel like you’re sitting down and having coffee with a friend? That isn’t easy to do, but it’s exactly what you should strive for.
Step 2: Build a storyboard
Your storyboard is basically your plan for shooting the scene. Will the shot require a zoom-in or a long shot of the presenter? Will there be lots of edits in the scene, or will it be one continuous shot?
Create a storyboard with a shot list that describes:
- The different individuals that will appear in different shots.
- The location of each shot.
- The different visual elements, including props, graphics, background, etc.
Step 3: Set up your space
Whether you have a studio or are just setting up in your basement, plan your recording space carefully. Here’s what to do:
Set up your lighting
Good lighting for a talking head video usually requires three light sources (i.e., the three-point lighting setup). This includes:
The key light (mandatory): This is a light at the front or slightly to the side of the subject’s face. It’s typically positioned at a 45° angle. Its job is to create primary illumination as well as some shadows to give the subject’s face some depth. Use natural light like sunlight or professional lighting here.
The fill light (good to have): This is typically placed on the opposite side from the key light, at about a 30–45° angle to the subject’s face. It’s roughly the same height as the key light and it softens shadows.
The backlight (good to have): The backlight (or rim light) is placed behind the speaker, opposite the key light. Its job is to better separate the subject from the background.
Frame your subject
In a talking head video, your subject should typically look straight into the camera for maximum engagement.
Frame the shot from the speaker’s mid-stomach or mid-chest upwards. It’s also best to leave about 2 inches between the top of the speaker's head and the top of the frame.
For interview-style videos, follow the rule of thirds: Picture the frame divided into three equal vertical sections. If your subject is facing right, position them along the left grid line (or vice versa if they’re facing left). This creates balance and gives them space to look into the frame.
Set up your background
Your talking head video background can be simple, but it should also be visually appealing and uncluttered.
Find a plain wall you can film against, and consider adding a simple bookshelf with some plants, or even an appropriate virtual background. You can check out other setups in our article on streaming background ideas.
Prepare your equipment
Whether you’re using your phone or a high-end mirrorless camera, set up a tripod or stand to avoid shaky recordings. You should also set up your teleprompter and run some test footage to ensure it’s at the right height.
This is also a good time to test your microphone and camera (storage, batteries, etc)!
Step 4: Rehearse a dry run
Great delivery takes practice. Once you have a script, film a dry run, then watch it to see how you did.
- Was your delivery tight enough to keep people engaged?
- Do you look natural?
- Is your background and lighting doing its job?
This is the time to smooth out any potential rough spots before you start recording for real.
Step 5: Record your video
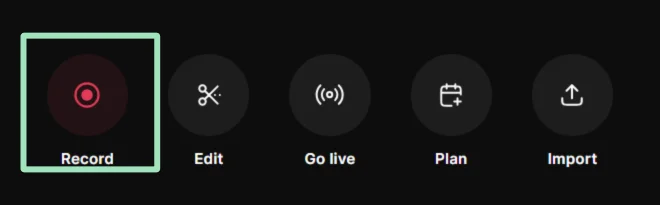
To record using Riverside, sign up or log in to Riverside and click the “Record” button.
Choose your camera, mic, and headphones, then click “Join Studio.”

Once inside, all that’s left to do is click “Record.” You’ll get a short countdown, and your recording will begin.

When you’re done, click “Stop.” Your video will be uploaded to the cloud and ready for editing in minutes.
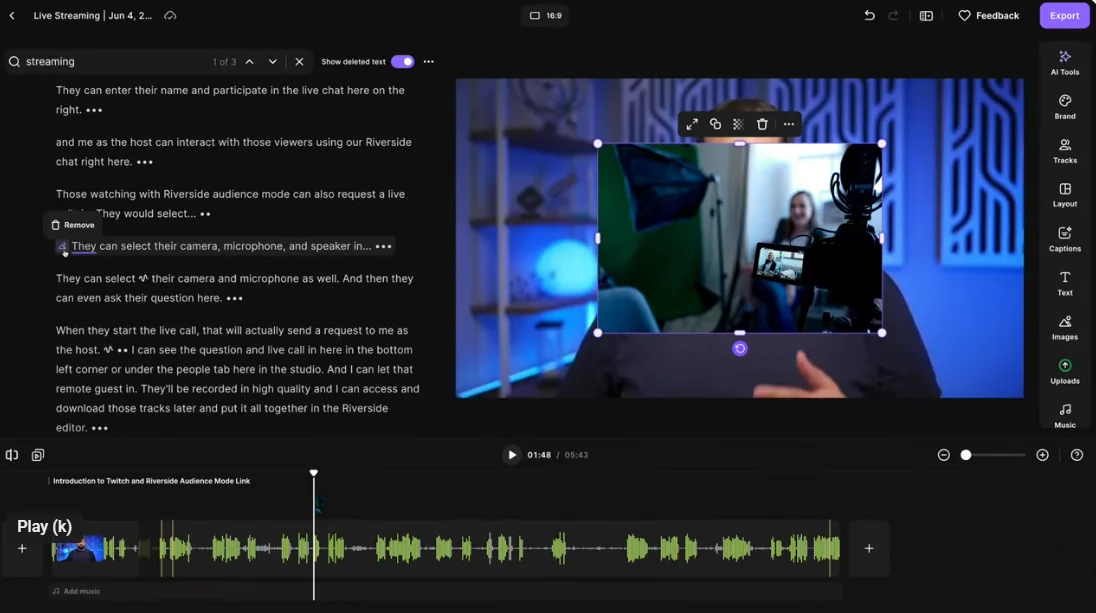
If you record with Riverside, you can:
- Record in up to 4K video and 48 kHz audio.
- Invite remote guests with a simple link.
- Use the built-in teleprompter to stay on script and look natural.
- Share your screen or a presentation.
- Add branding, overlays, or a virtual background.
- Live stream to multiple platforms while recording.
How to edit a talking head video
Once you finish recording, it’s time to edit your video. Here’s how to use Riverside to edit your recording into a professional-level talking head video.
Step 1: Remove mistakes and rough sections using Riverside’s text-based editor. Simply delete sections of the transcript and the corresponding video will go right along with it.
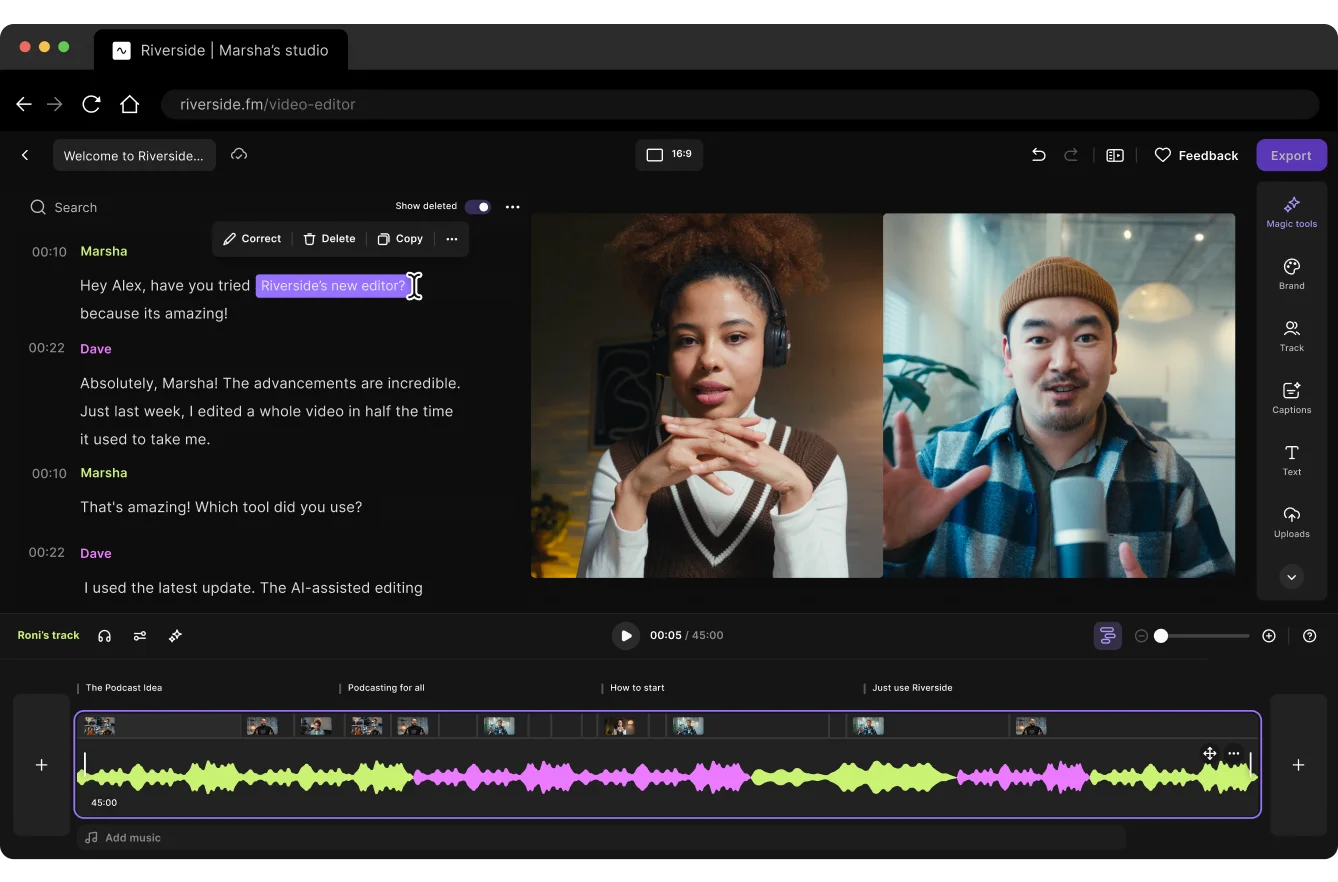
Step 2: Cut pauses and remove filler words like “um,” “ah,” and “like,” for a smoother, more confident delivery.
With Riverside, you can remove each one with a click using our AI Cleanup tools. Head to AI tools, then click “Remove filler words” and “Remove pauses.” It’s as easy as that.

Step 3: If some background noise crept into your recording, clean up your audio using the Magic Audio tool. It will give your recording a rich, studio-quality sound.

Step 4: Select your aspect ratio depending on the platform where you’d like to share your video.

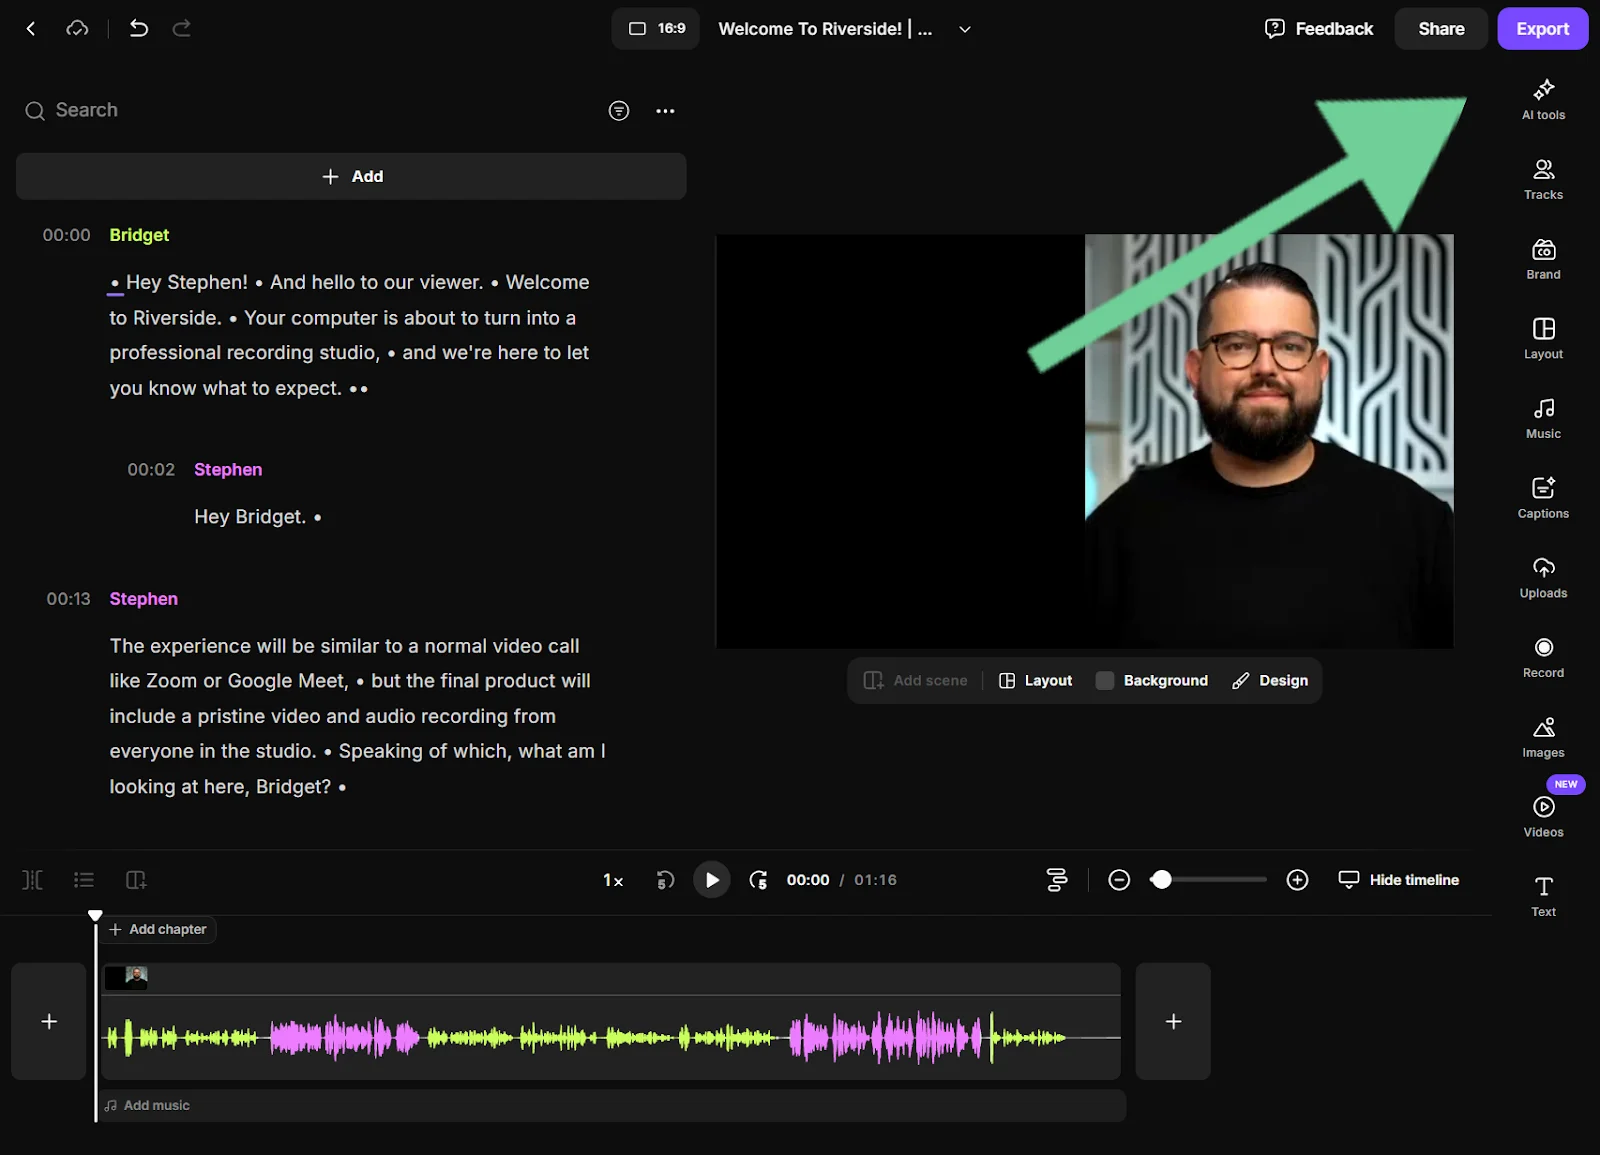
Step 5: Add an intro by creating a simple title screen with text, background, and music.
Riverside’s editor includes stock imagery and music you can use, or you can upload your own. Here’s a guide on how to add intro and outro clips to your recordings.
Step 6: Add assets and overlays like images, B-roll, or text highlights to reinforce key points. This helps break things up and keep viewers’ interest. Riverside can even AI generate B-roll, ensuring you always get just the right shot.
Riverside also makes it super easy to add the lower-thirds you see on many talking head videos. You can use the “Text” button to add text, and then adjust the size, style, and placement.
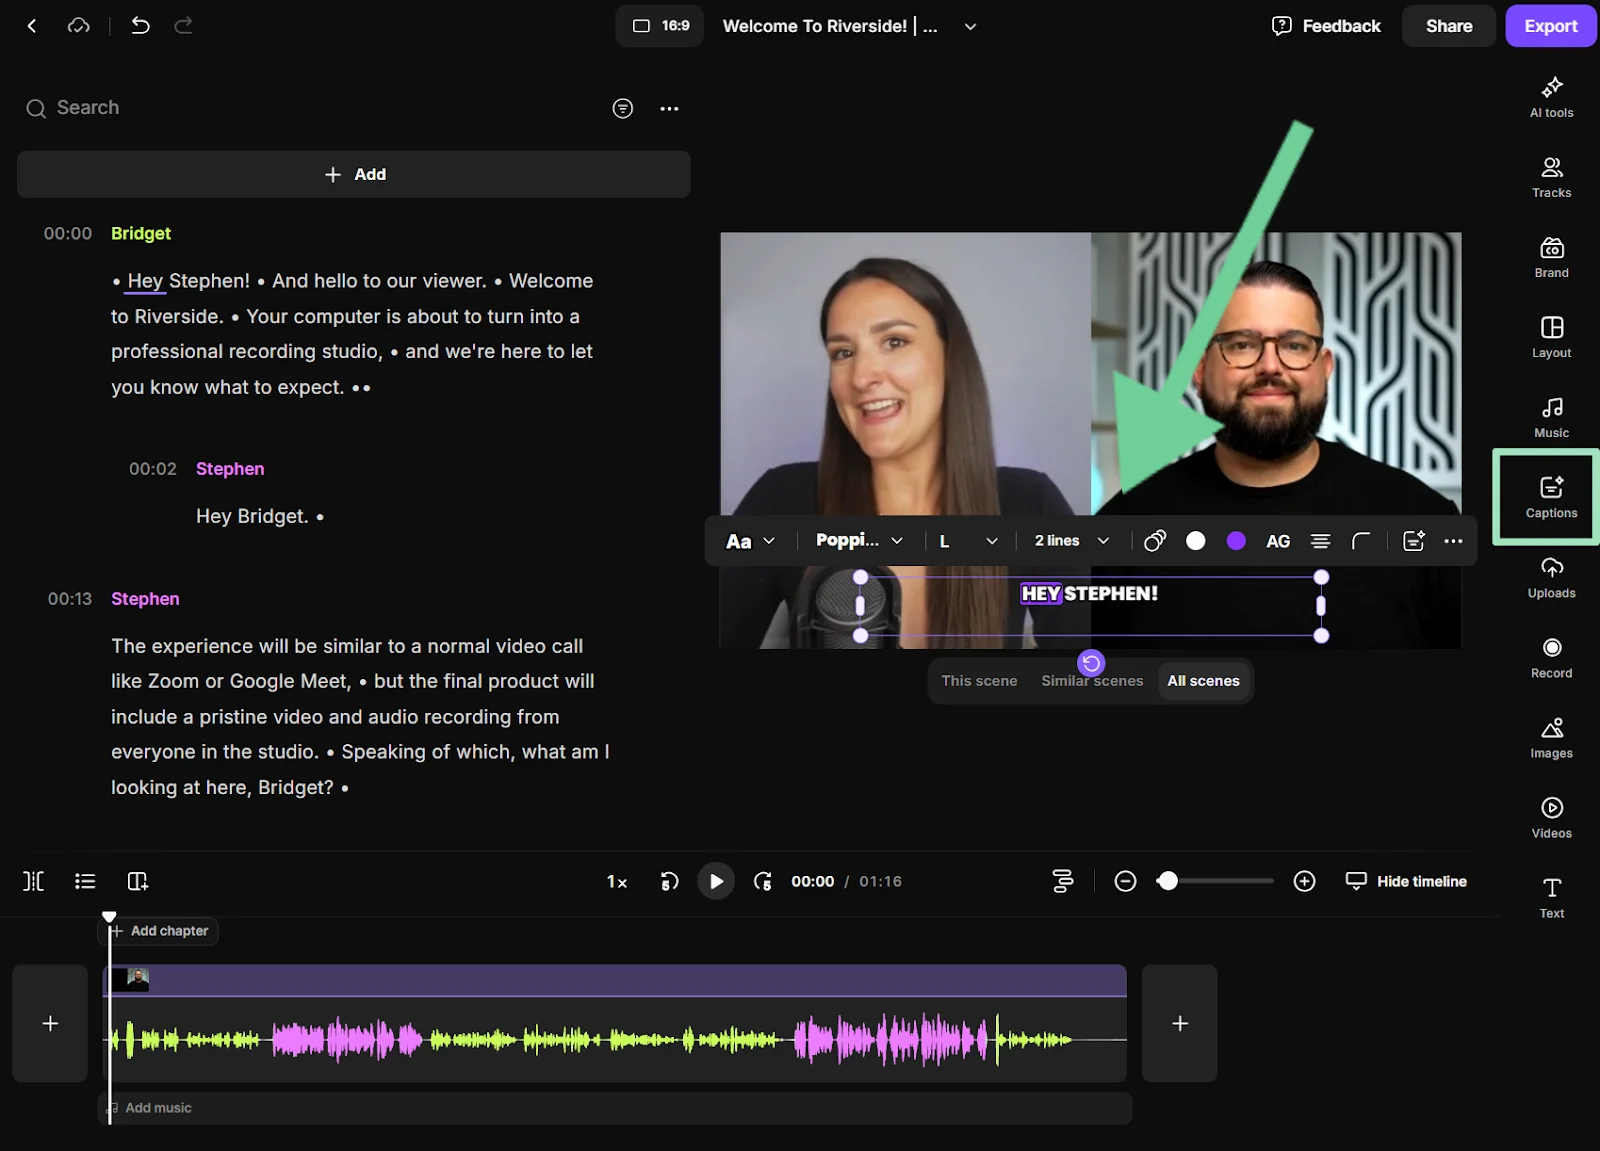
Step 7: Add captions with Riverside’s caption tool. Riverside automatically transcribes your content, so you can add captions with a click, and then customize their font, style, and placement.
Step 8: When you’re done editing, click “Export” to export your video in up to 4K quality.
You’ll find your exported videos in your “Projects” folder, where you can download them for sharing.
How to use AI to make a talking head video
There are two key ways that AI can help you make a talking head video. Here’s a quick overview.
Use an AI avatar as the talking head
Yes, you can now make a talking head video using an AI avatar, thanks to tools like Synthesia, Elai.io, and Collossyan. With these tools, you simply upload a script, choose an avatar and a voice, and then let the software create a talking head video for you.
While this type of talking head video might be adequate for training purposes or a product explainer, AI avatars still lack the human touch that allows people to connect with these videos.
Check out which software you can use to make AI avatar videos in our list of best AI video editors.
Use AI to edit and enhance
Many video editors use AI-powered tools to make editing and enhancement easier. This way, you keep creative control and a human touch while AI saves you time.
For example, Riverside’s AI powered tools can create custom B-roll, clone your voice for voice-overs, clean up audio, create virtual backgrounds, and more. It won’t make a talking head video for you, but it will make video creation much faster (and more fun!).
Talking head videos: Pros and cons
Talking head videos can be a great way to build a relationship with viewers, but they aren’t appropriate for everyone or every project. Here are some of their key strengths and weaknesses.
Pros
- Ease of production: Even the most polished talking head videos are cheap and easy to make compared to other types of video.
- Personal connection: Because these videos use a one-on-one approach, they can help build a personal connection with viewers that makes them more likely to keep coming back for more.
- Versatility: You can use talking head videos for marketing, interviews, vlogs, education, and corporate communications. It’s a very adaptable format.
- Content repurposing and distribution: Because these videos are simple and clear, it’s easy to break them down into shorter-form clips for other social platforms. (This is even easier if you use Riverside’s Magic Clips to do it!)
- Authority building: Talking directly to the camera helps convey confidence and positions you as an expert and credible source.
Cons
- Can be boring: Without a great concept and some key techniques (e.g., B-roll, cuts, overlays), talking head videos get boring fast.
- Performance pressure: Not everyone has on-camera skills. If you don’t, the talking heads format probably won’t work for you. Remember, practice makes perfect.
- Limited visual variety: Compared to animations, demonstrations, or cinematic video, the talking heads format is less dynamic (although many top creators add in those elements too.)
- Not always brand appropriate: Some audiences expect more polished, stylized, or abstract visuals.
Tips to make your talking head videos more engaging
To stand out from boring talking head videos and get audiences to watch through to your CTA (and subscribe or buy from you), try the following engagement tips.
- Call and response: Call and response is when the main speaker says something (the ‘call,’) that is quickly followed by another clip, sound bite, graphic, or voice (the ‘response’) that confirms or illustrates that point. This breaks up monotony and keeps videos engaging.
- Pattern interruption: Viewers like variety. Try using cuts, zooms, animation, and B-roll to ensure that the visual doesn’t stay static for too long.
- Add motion graphics: On-screen text, bullet-points, or animated overlays can help reinforce what’s being said and help maintain viewer attention.
- Be funny: You don’t have to be a comedian, but even small, light moments of humor can make your content more digestible and keep viewers entertained.
- Add music: Background music and sound effects can help shift your video’s mood and maintain energy. Signature music can also become part of your branding.
- Insert easter eggs: An easter egg is a small recurring visual or sound that pops up throughout the video. For example, a creator might keep a small toy on a shelf behind them, then change its position each episode. This gives viewers something to look out for.
Talking head video FAQs
How long should a talking head video be?
It really depends on your topic and your platform. There’s a huge range length among successful talking head videos.
In general, videos under 1 minute long tend to get the most engagement, but they’re followed closely by videos that are up to 5 minutes long. Plus, your topic matters too. The average engagement rate for a 3–5 minute video is 45%, but how-to videos of the same length see 74% engagement.
Look at successful videos on similar topics in your niche. How long are they? What do they do to keep viewers’ attention? How do they adapt their content for different platforms? Then, start experimenting with different video lengths and formats to find what works for you.
What are the best talking head video backgrounds?
Talking head video backgrounds should fit your brand and style. Clean, uncluttered backgrounds work best, but they can still be visually interesting.
Ali Abdaal’s background looks like a simple living room, while Gary V presents in front of a simple brick wall. Marques Brownlee’s background looks like an office (it makes sense for a video about business and tech!). You can even use a virtual background.
Get some more tips in our guide on how to create perfect video interview backgrounds.
What is the best aperture for a talking head video?
Aperture settings are found on DSLR or mirrorless cameras. They control how much light passes through your camera’s lens to the sensor. A wide aperture (low number) means more light and a brighter image. A narrow aperture (high number) means less light enters for a darker image.
For talking head videos, the ‘best’ aperture depends on the look you want and your lighting conditions. f/2.8 to f/4 is often ideal for a nicely blurred background without risking parts of your face going out of focus. Plus, it still lets in enough light for most indoor setups.
If you have a branded background or studio that you want to keep visible, you could try a narrower aperture like f/5.6 to f/8. Note that this will require more light.
Smartphones and webcams have fixed apertures, although you may be able to influence adjust exposure by adjusting brightness, contrast, and gain in your webcam software.
What is the best shutter speed for an interview?
The best shutter speed for interviews is about double your frame rate (usually 1/50 or 1/60 second for most setups). If the shutter speed is too fast, you’ll look choppy and unnatural. If it’s too slow, you’ll get a distracting blur every time you move.
What is the best lighting for talking head videos?
Lighting is what makes or breaks a talking head video. The ‘best’ setup depends on your budget and space, but I recommend using a three-point lighting setup if you can. This includes a key light in front of and slightly to one side of the subject, a fill light on the opposite side of the key light, and a back light behind the subject.
If you can’t use a three-point lighting setup, natural light or a ring light are the best budget options. Always test your lighting with your camera and make adjustments based on what looks best.


.png)
-(1).webp)
.webp)


